As possibly the last project of my high school career, I decided to make something a little more complicated and intricate than any of my previous builds. Although while building my electric skateboard I had to master some basic coding, I wasn’t able to take those sills beyond rudimentary. This project required both electrical skills, programming and some more duct tape than I would like to admit for something that’s supposed to be a ‘precision tool’
I began the project by researching commercial ‘kit 3D printers’ that you are meant to assemble, taking note of the shapes, designs and electrical components of the builds and finding individually purchasable alternatives.
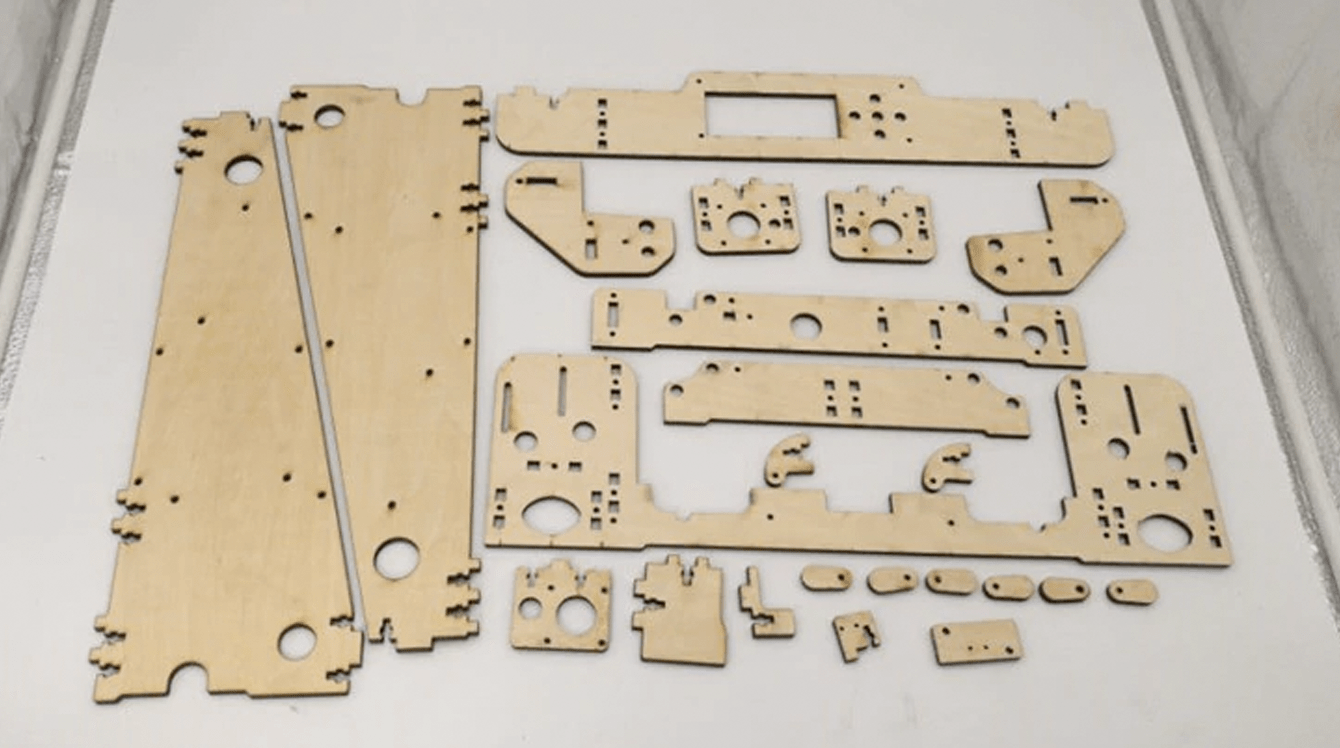
I took the information I had regarding the general shape and construction of the DIY printers online and draw the following outline using photoshop. This was then laser cut and assembled to form the frame of my printer. Given the fact that I had never used the schools’ laser cutter, nor draw an outline to be cut before, I was very happy with the result and only had to resize and recut 1 piece.

From this base, I began to assemble to the electrical components, starting by uploading a program that I found online and edited slightly to work for a printer of specific dimensions to a microcontroller board. I then started the arduous process of plugging in the stupid number of separate, almost identical wires into very specific ports.


Then the most dangerous portion of the build was attaching the power supply. This was a high voltage component that i had to modify to work with the limits of my printer, meaning that I wasn’t exactly certain what would happen when I turned it on. Fortunately, I am still alive and the money I sunk into this project remains unwasted.

The final step was just the final assembly and attachment of the stepper motors (these control the X and Y movements of the nozzle) and the attachment of the hot plate (controls the Z movement by moving the plate forwards and backwards). These steps were quite straight forward and just involved some screws and a small amount of force to get everything in place properly.


With some aesthetic additions, the project was finished. Although it wasn’t particularly difficult, it is one of the most complex and cool things I’ve ever built.