


I was able to experience the fun and satisfaction of handcrafts and designing when I first started playing lego at the age of 6. However, as time passed, I progressed to more challenging hobbies, and these included First Lego League competitions (robotics), modelling (Tamiya), and more technical drawings.
Whilst many are attracted to Gundam models, I am more inclined towards Tamiya replicas. I love projects that require dexterity, but that is not enough – they must represent a sense of realism. Because of that, I have found military vehicles as the most realistic models so far. You might ask how a 12-year old boy would be into killing machines. Well, I was first impressed by the smooth and continuous movement of the tanks’ caterpillars in the WW2 documentaries on my old TV. More importantly, what sparks my interests is not really the war aspect of these machines but the complicated mechanisms and details they comprise. For example, just thinking about the design is already sufficient to satisfy my mind: caterpillars for maneuvering through harsh terrains, sloped surfaces for matching aerodynamics and reflecting projectiles, and arrangement of spaces for maximizing crew efficiency. Nonetheless, another aspect of knowing these weapons of war is that you will be able to understand how technology has evolved over time. For me, I became quite interested in war histories.
Unfortunately, I was unable to complete any projects in Singapore due to lack of space and tools. Now that I am back in Taiwan, I am able to obtain the tools easily and work in a comfortable workspace. For that reason, during the beginning of July, I asked my father to take me to several model shops in Taichung, the city I live in. We ended up in a new shop called Weei and chatted with its owner. The owner understood my interests in this hobby but also poked out skill level easily. That is when I truly understand the depth of this hobby – I was merely a beginner compared to all other hobbyists.
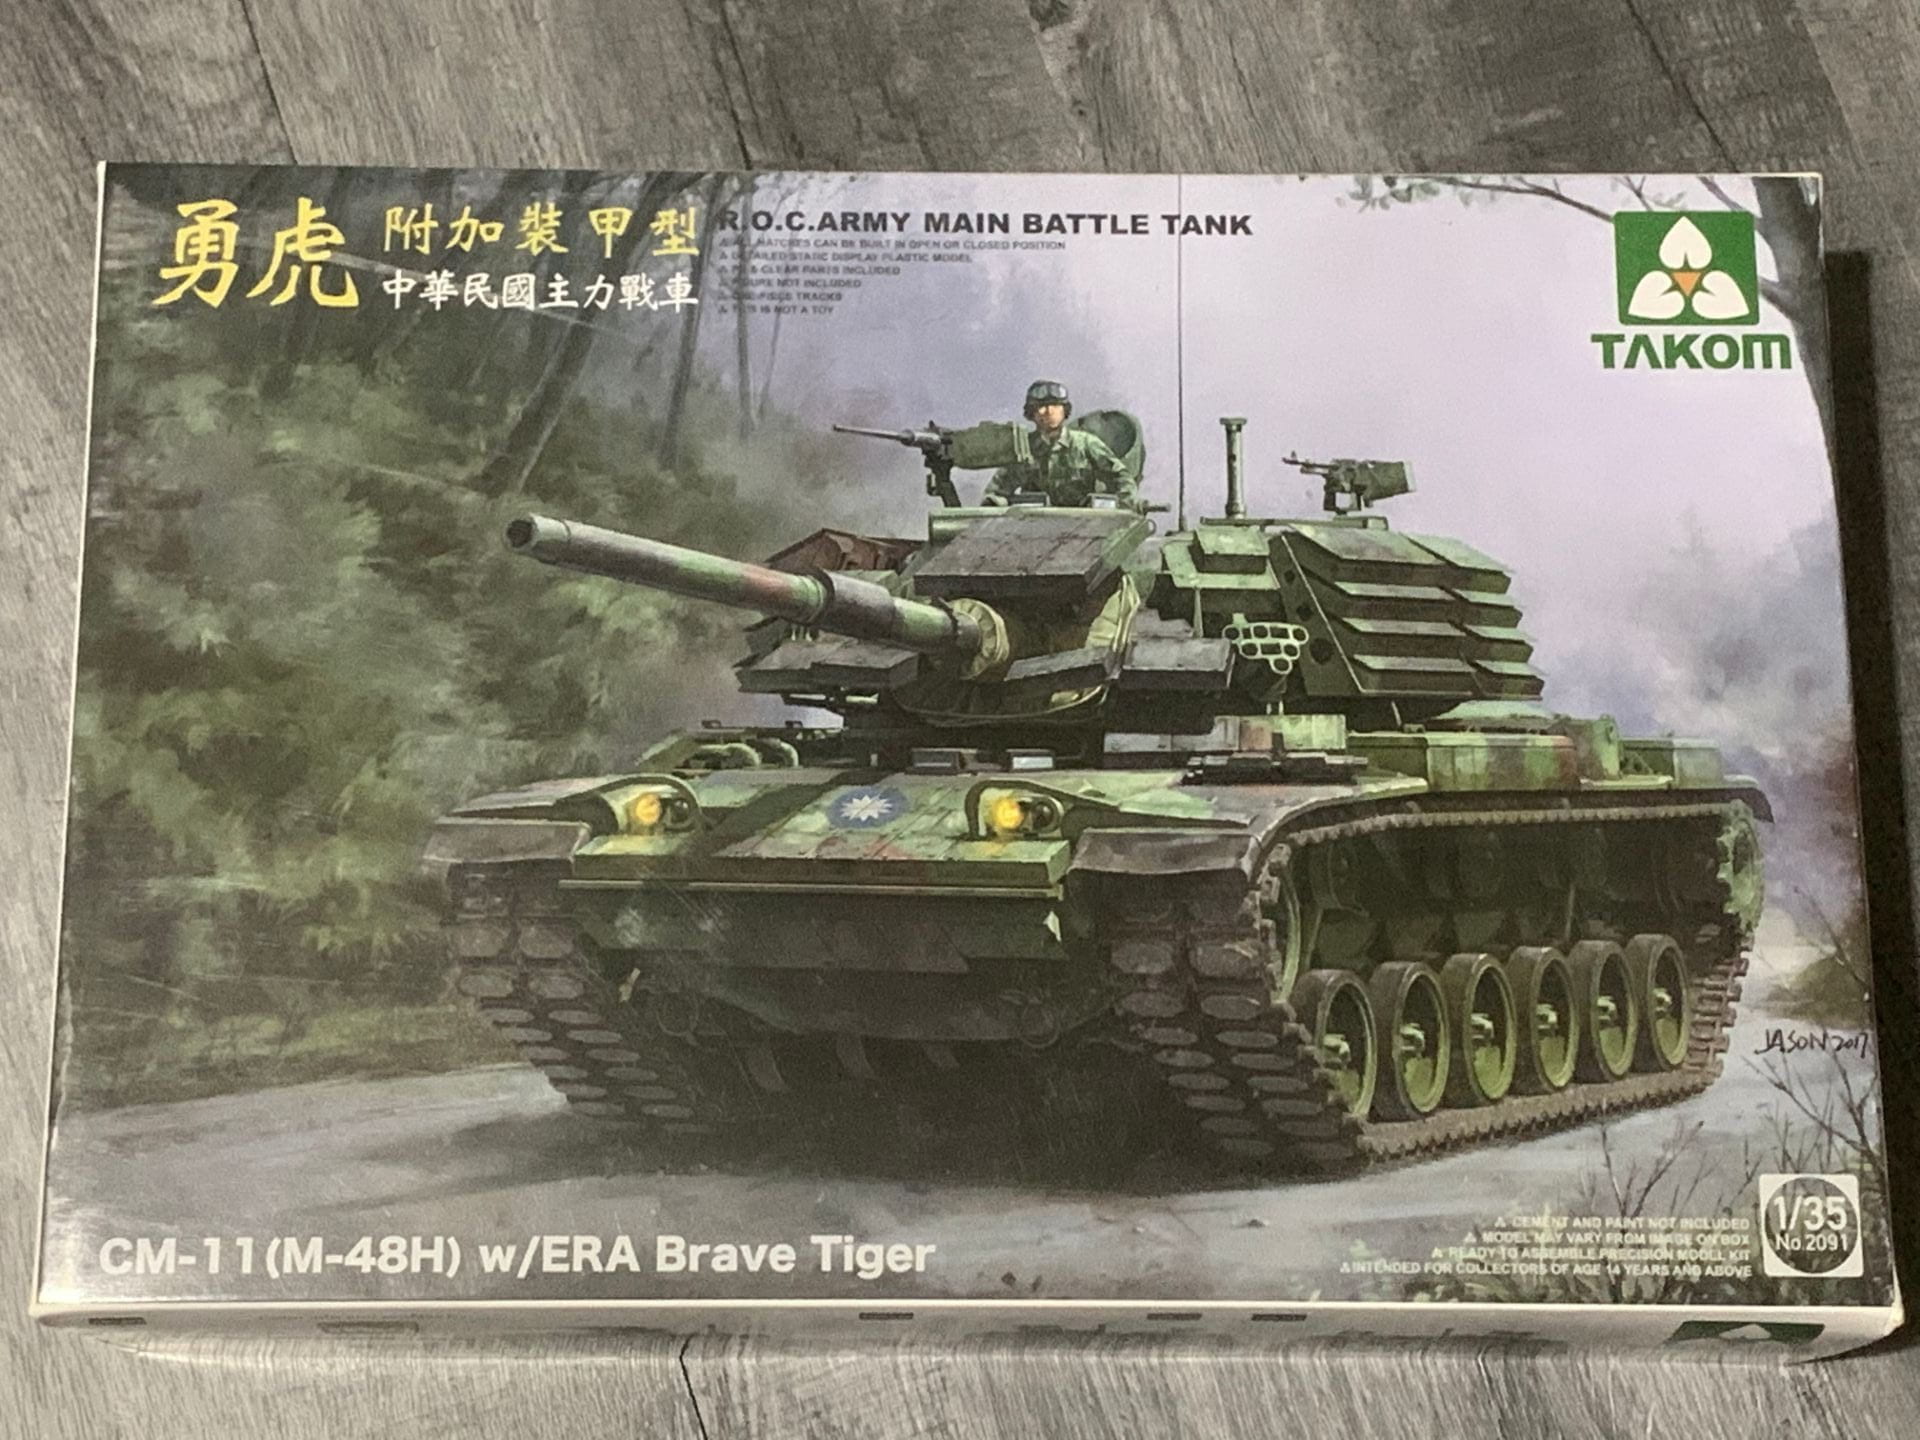
The owner kindly provided additional information on the types of models I should choose and some available lessons I can take. He then gave me a beginner-medium difficulty model (my skills may have gotten worsen though): Tamiya Model CM-11 (M-48H) w/ERA Brave Tiger. It was a modern tank, and even cooler, it was one of the primary tanks that the Taiwanese army is using at the moment (all my other models are from World War 2). With a pretty-decent quality and good price of NTD$1500 (roughly USD$50), I decided to bring it home.
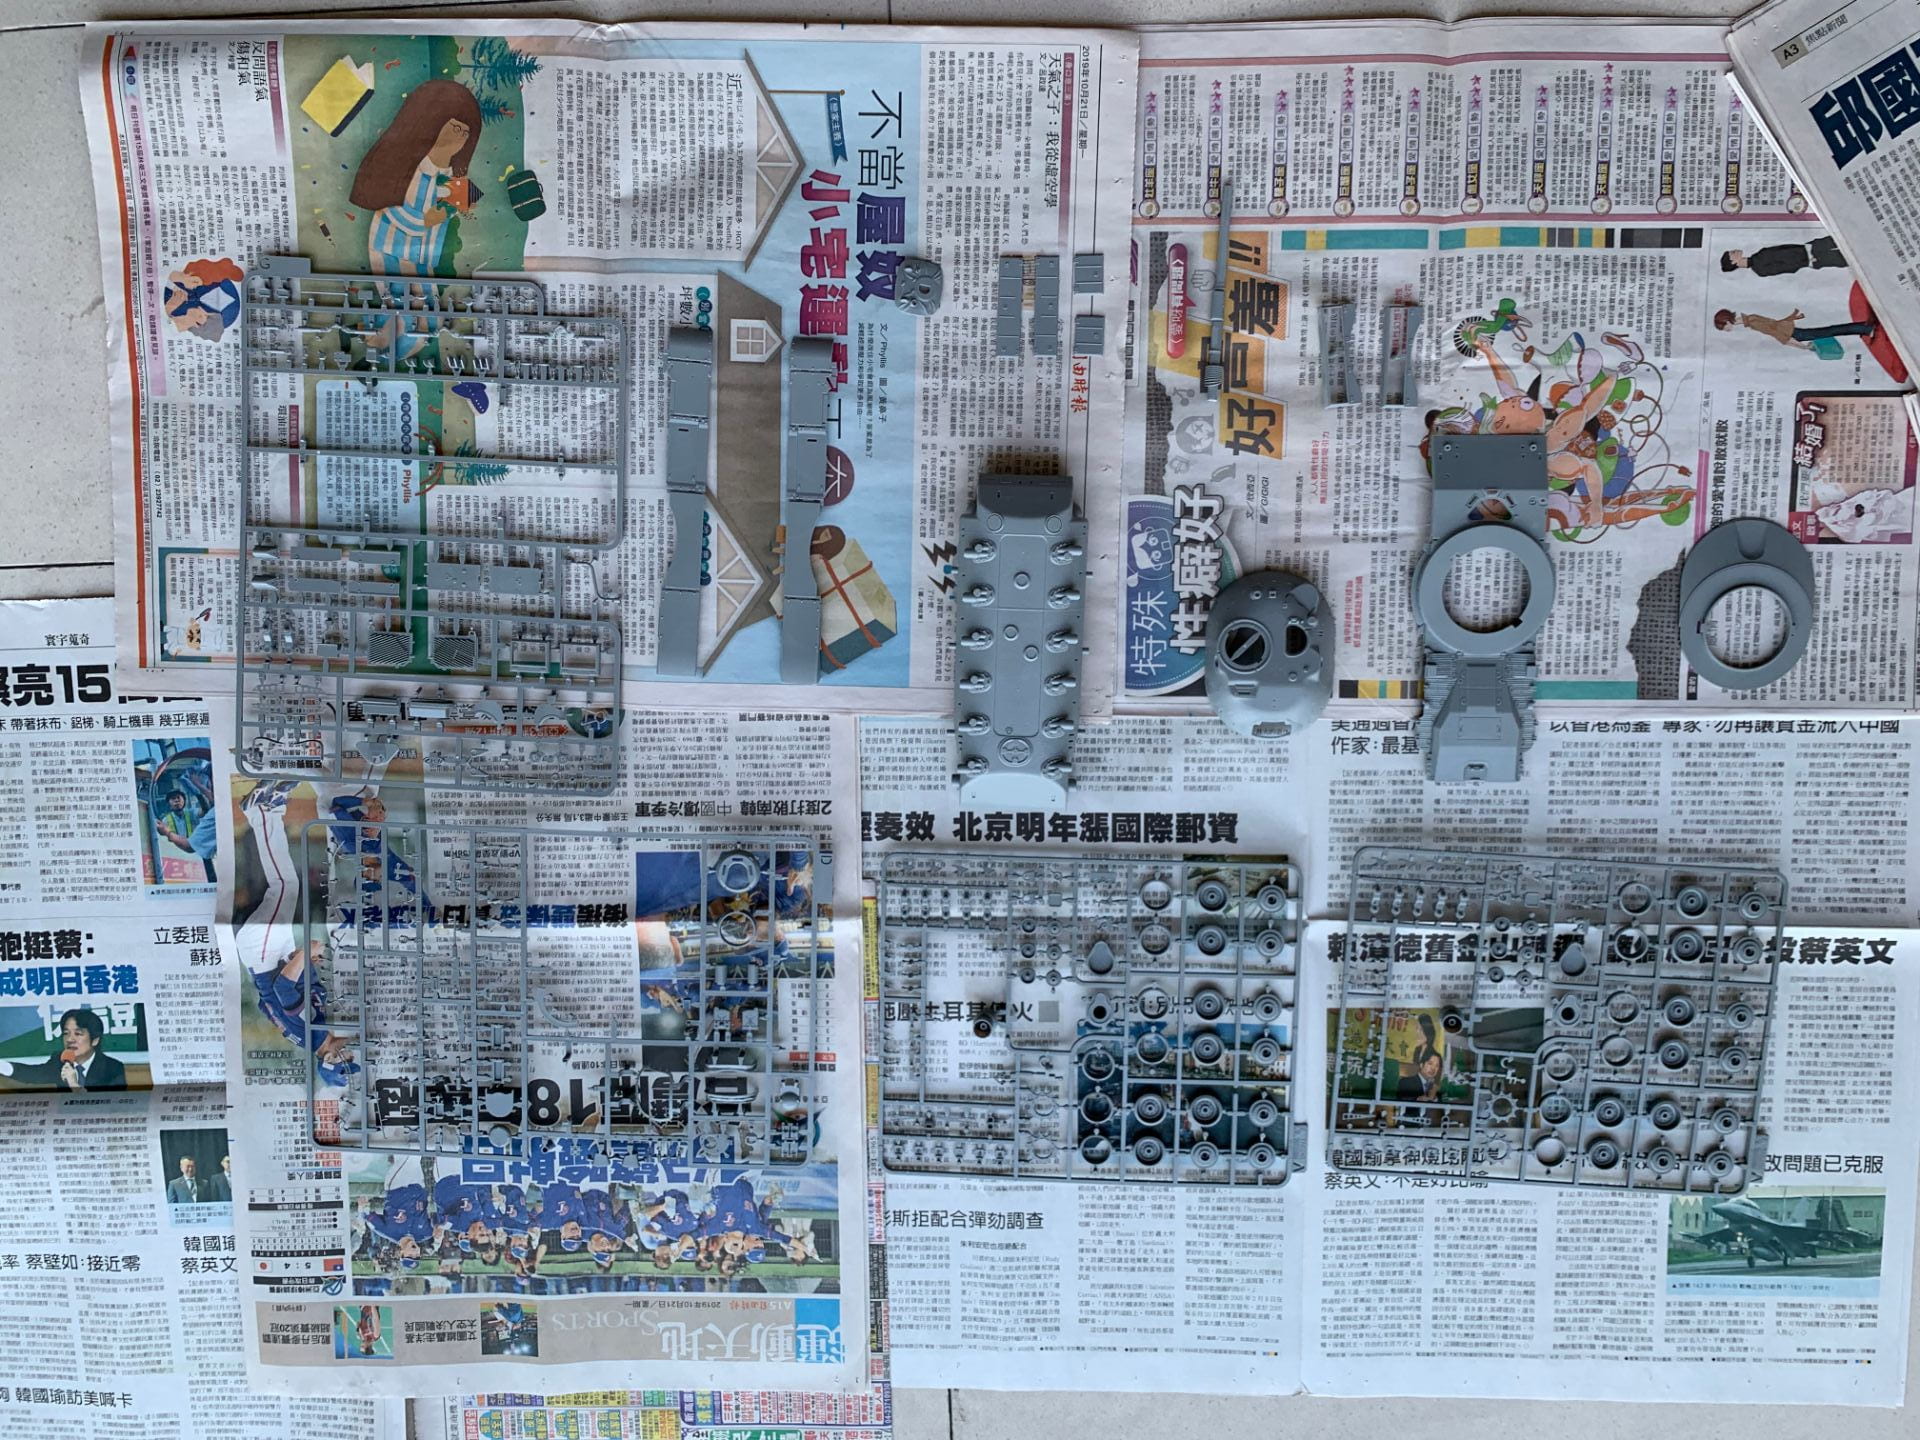
Usually, I would get on with the project right away. However, this time, I’ve decided to record the process of the model’s making. This way, I can keep a memory of it and revise improvements I could make for the next model. I got a cheap phone tripod off the internet for my iPhone and set up my table for the project.
Opening
First Session
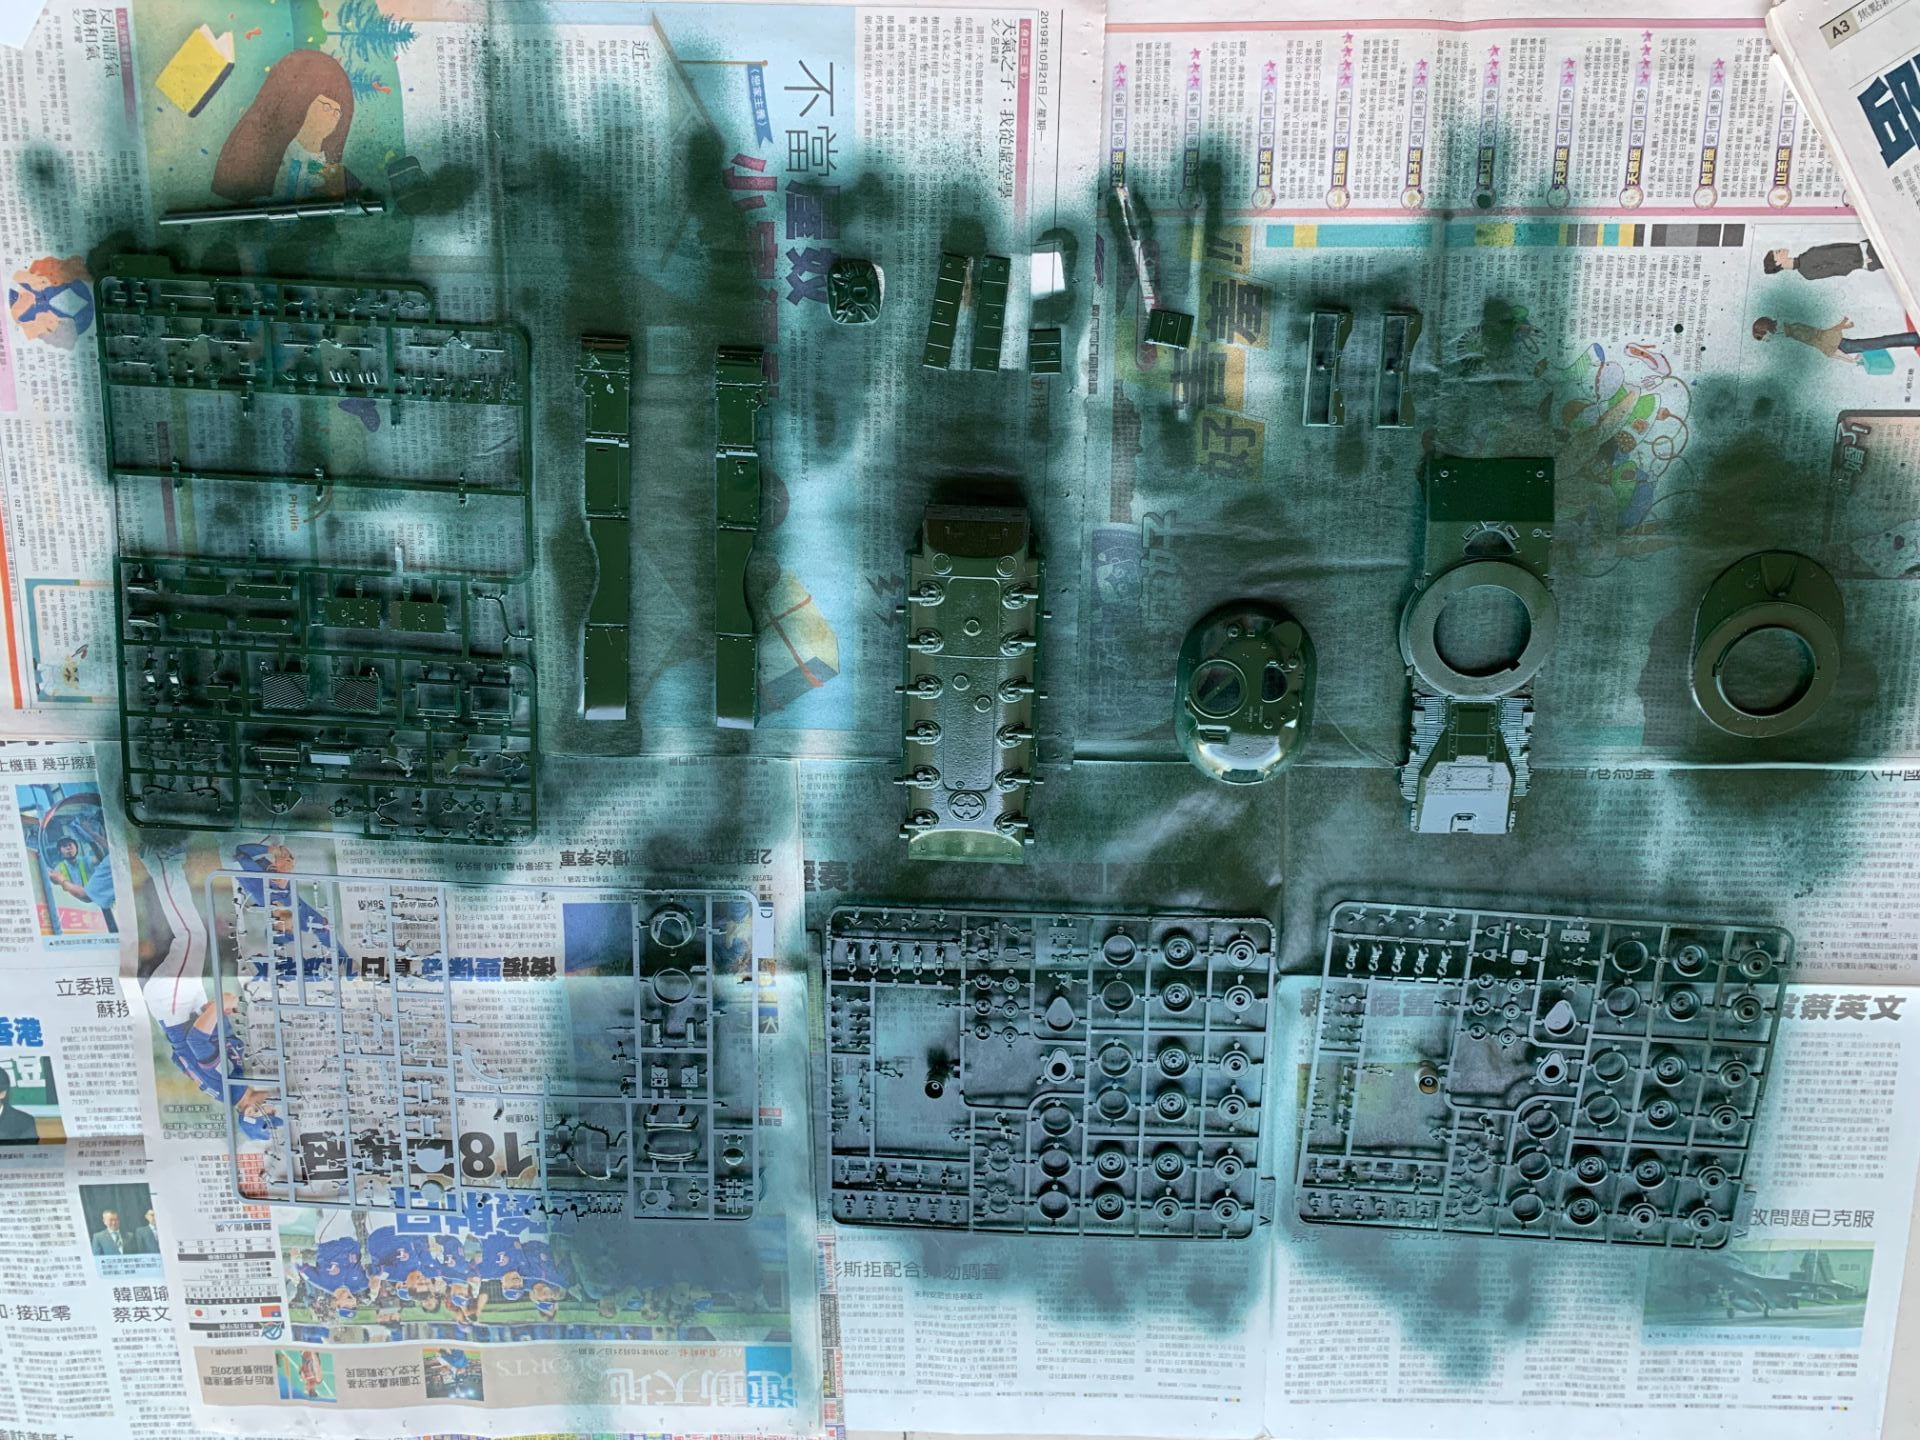
The first job was to apply basic paint for the tank itself. Other detailed colours such as rusting and scratches can be applied later. My choice was TS-9, British Green, for the model; it gave the model a deep, opalescent colour. I placed a few pieces of newspapers below the components, set up the phone, and started the paint job.

Paint job done on the balcony:
The hull and turret of the model are painted fairly okay. Sanding off some rough surfaces in the previous step would have created a much smoother look (it allows the paint to grab onto the surfaces better), but I simply didn’t know about this until later. The bottom right area of the hull is not fully painted, which would need some fixes afterwards. Nonetheless, I realized I was applying too much paint. This caused a thick coat of paint on top of the surfaces, and the paint closer to the surface slid and bubbled. If you look closely at the turret’s bottom right corner part, you will see white-dot freckles, and this is the result of applying an excessive amount of paint. Other than that, the other parts seem to be okay and will only need some extra sanding and a second or third layer coating.

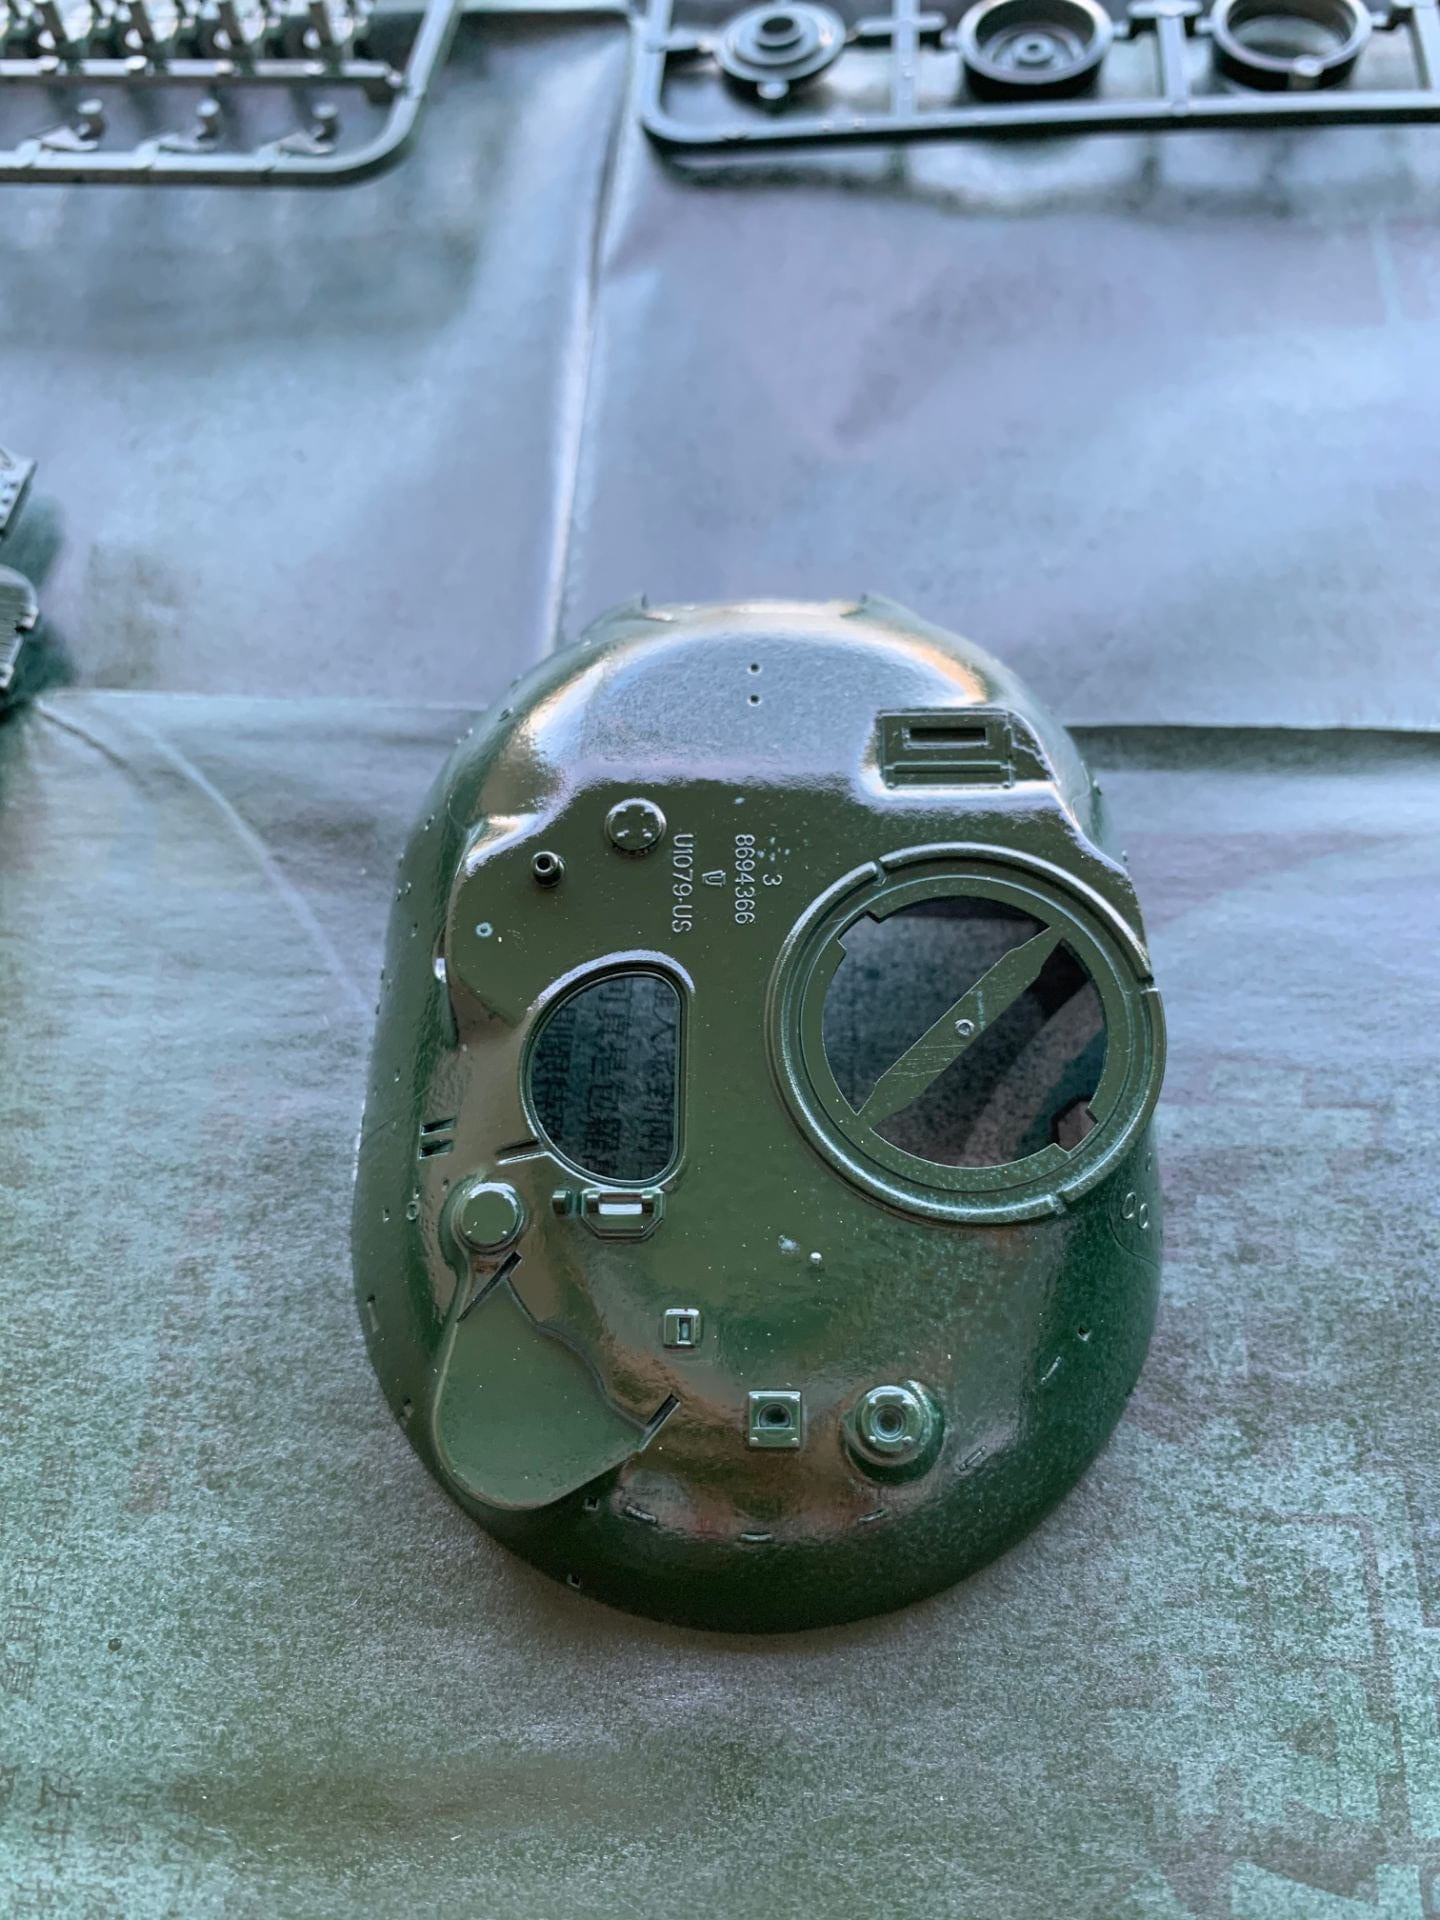
The same thing happened to the hull cover – white freckles appeared in some parts. I remembered that the last time I have done a paint job was around three years ago (go-kart painting does not count because Tamiya models are much more delicate), and clearly, my painting skills have gotten worse. Not to mention, the drying process took place on my apartment’s balcony, and the weather at the time in Taiwan was around 35 degrees celsius and was always humid (70%). I was quite disappointed as these are things that I knew but still forgot about because I was simply too thrilled to make the model. The good thing, though, is that I will take note of these things when I make another model.

After doing a not-so-satisfying paint job and letting the model parts to dry, I went online to search for model spray painting tutorials. Luckily, I was able to find a few videos and got a few useful tips.
Notes/points I have picked up from videos above…….
- Scrub/wash the surfaces of the models first to remove any dust and improve their ability to grab onto the paint
- The painting should be done at room temperature, preferably drier conditions.
- Warmup spray paint by placing the spray can in warm water.
- Put little painting first, and do the second or third coating with two hours between each session.
- Spray horizontally and repeat a few times.
