Empathy and Communication

During this project, keeping constant communication with my client was a very important process for designing and modifying my product. Here, I have selected a few examples from my coursework which demonstrates the several procedures I took to ensure the client was up to date and satisfied with my adjustments made to the design.


  • Evaluation over Specs

Prototyping & Planning

This is one of the pages from my coursework which demonstrates the progress and development I have made to my ideas. Here, I have created a few prototypes that plays around with different dimensions and shapes, all to visualise and help me decide which design I want to move on with

After choosing upon the design of choice, I moved on to inputting accurate and consistent measurements as beforehand, I was just eyeballing as I just needed to get an idea of the shape. The measurement of the holes also needed some adjustments and rework as I wasn’t completely sure if realistically, the components will fit even if it may have on paper. Thus there were many trial and errors on the laser cutter to get the size right(using cardboard).


Once obtaining the right measurements, I made sure to jot down these numbers. I also went ahead and used a vernier calliper to measure the dimensions of the components. I would then use these new measurements that I have acquired to 3D model it on Fusion 360. The image below is an example of an orthographic drawing which illustrates the dimensions in a more presentable manner derived from the 3D modelling. These measurements will then later help me without any hesitation when creating the final product, using the actual materials.


Problem Solving

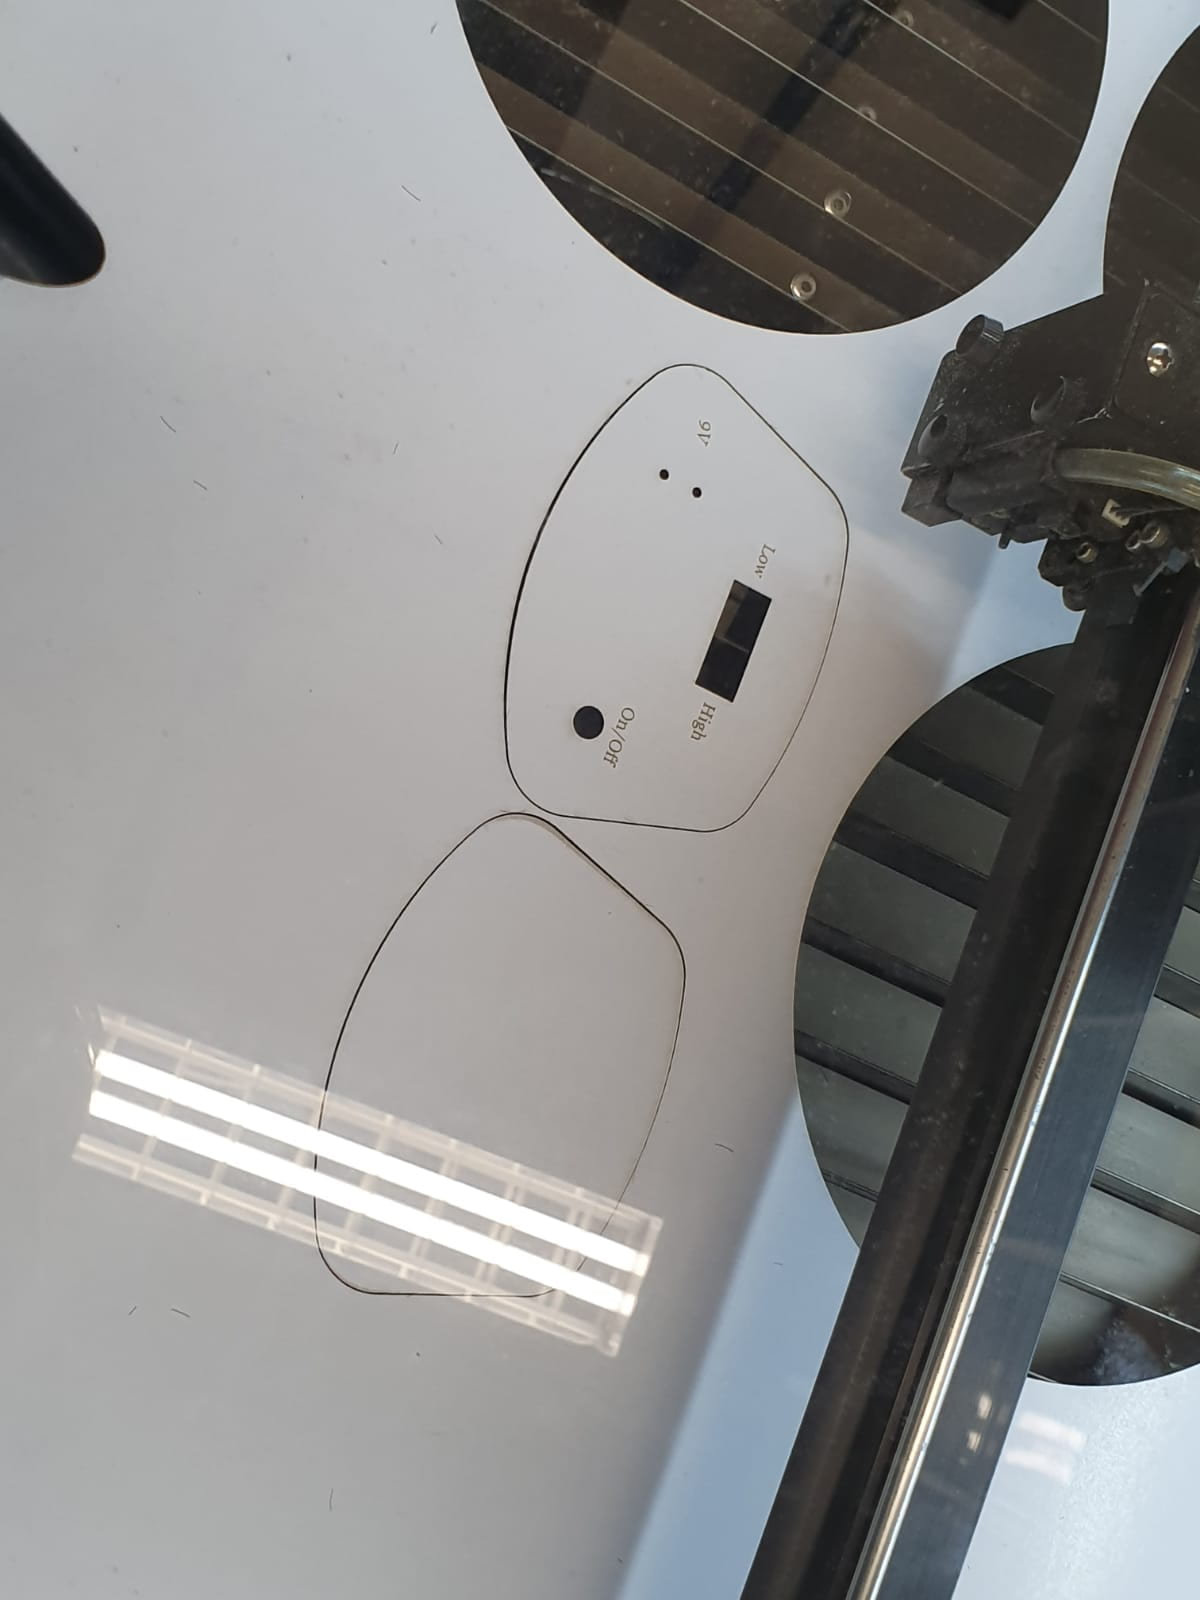
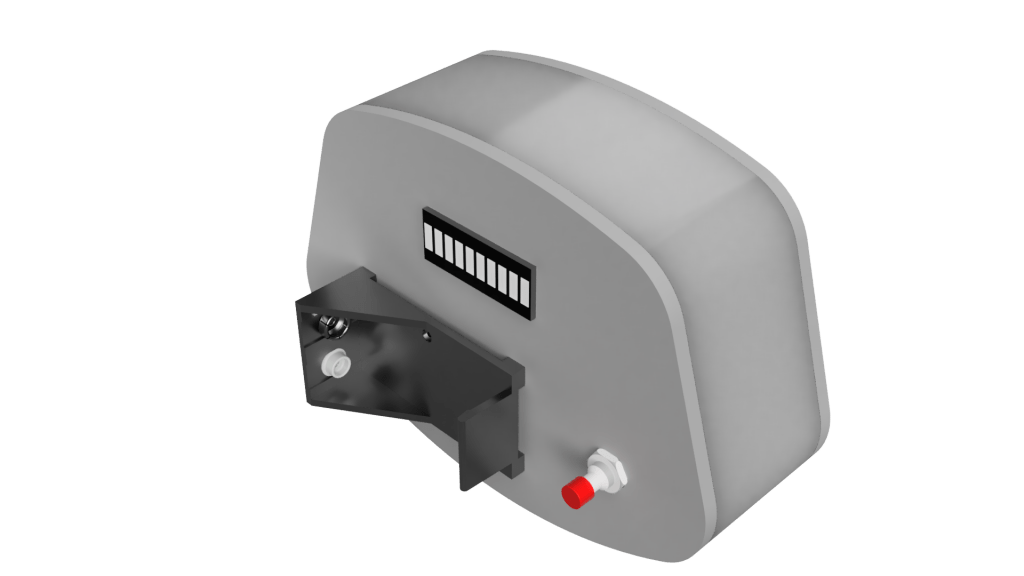
In this project, my final product is a battery level indicator. Despite my circuit being relatively minimal in terms of soldering, I did run across some issues. One of them being a huge disappointment, the fact that the 10 segment digital display didn’t work the way it was supposed to.  Even after pressing or adjusting the jumpers onto the digital display didn’t help, only 1 segment lit up, implying it wasn’t a soldering(connection) issue. After several other repeated trials, I realised these methods weren’t working.

With the help of others, I then thought, I could just try out the other mode that is available on this circuit, the single colour display. Currently, it was on multi-colour display, a display of battery levels using ‘multi’ colours, including red, yellow, orange and red. Since, the state the indicator was only displaying green, whilst doubtful, I thought something may have been wrong with the multi-colour feature. I then attempted switching to the other mode despite the single colour mode being less desirable, but without my indicator working, I decided it was better to compromise. To my luck, after switching, all the segments seemed to light up and although it may have not been the desired outcome, I was glad it at least worked at the end.

Creativity & Original ideas


These are some of my first few hand-drawn sketches I have made during the developmental stage of my product. This has helped me express creativity and create potential original ideas which may ultimately lead to the design of my final product.


These are some of the first rendered 3D Models I was able to create using Fusion 360. This allowed me to visualise my design with higher precision, not being limited to the capabilities of pen and paper but also demonstrate once again my creativity and ability to present innovative ideas.