I really enjoyed reading the Photography: The Definitive Visual History and it got me thinking about blending older forms of photography with newer digital equipment. I became obsessed with TLR (Twin Lens Reflex) cameras – not for their ability to view through one lens while capturing an image through the other, but for the style of photography that this type of camera forces the photographer to adopt.
Generally, you hold a TLR camera at your waist level so you can look down at the viewfinder to compose your image. Also, you need to use a crank on the side of the camera to move the film forward after capturing each image. Life seemed to slow down when I have used this type of camera in the past.
I thought, there must be a digital equivalent to this camera. So I searched the internet and I found a Seagull CM9 camera which was 10 megapixels. To be honest, I didn’t really like the look of the camera and the they were over $1000 on eBay. I even found that Rolleiflex made a Rolleiflex MiniDigi AF 5.0. I tracked one down and it is beautifully made, but the sensor is tiny and the resulting images are not great.

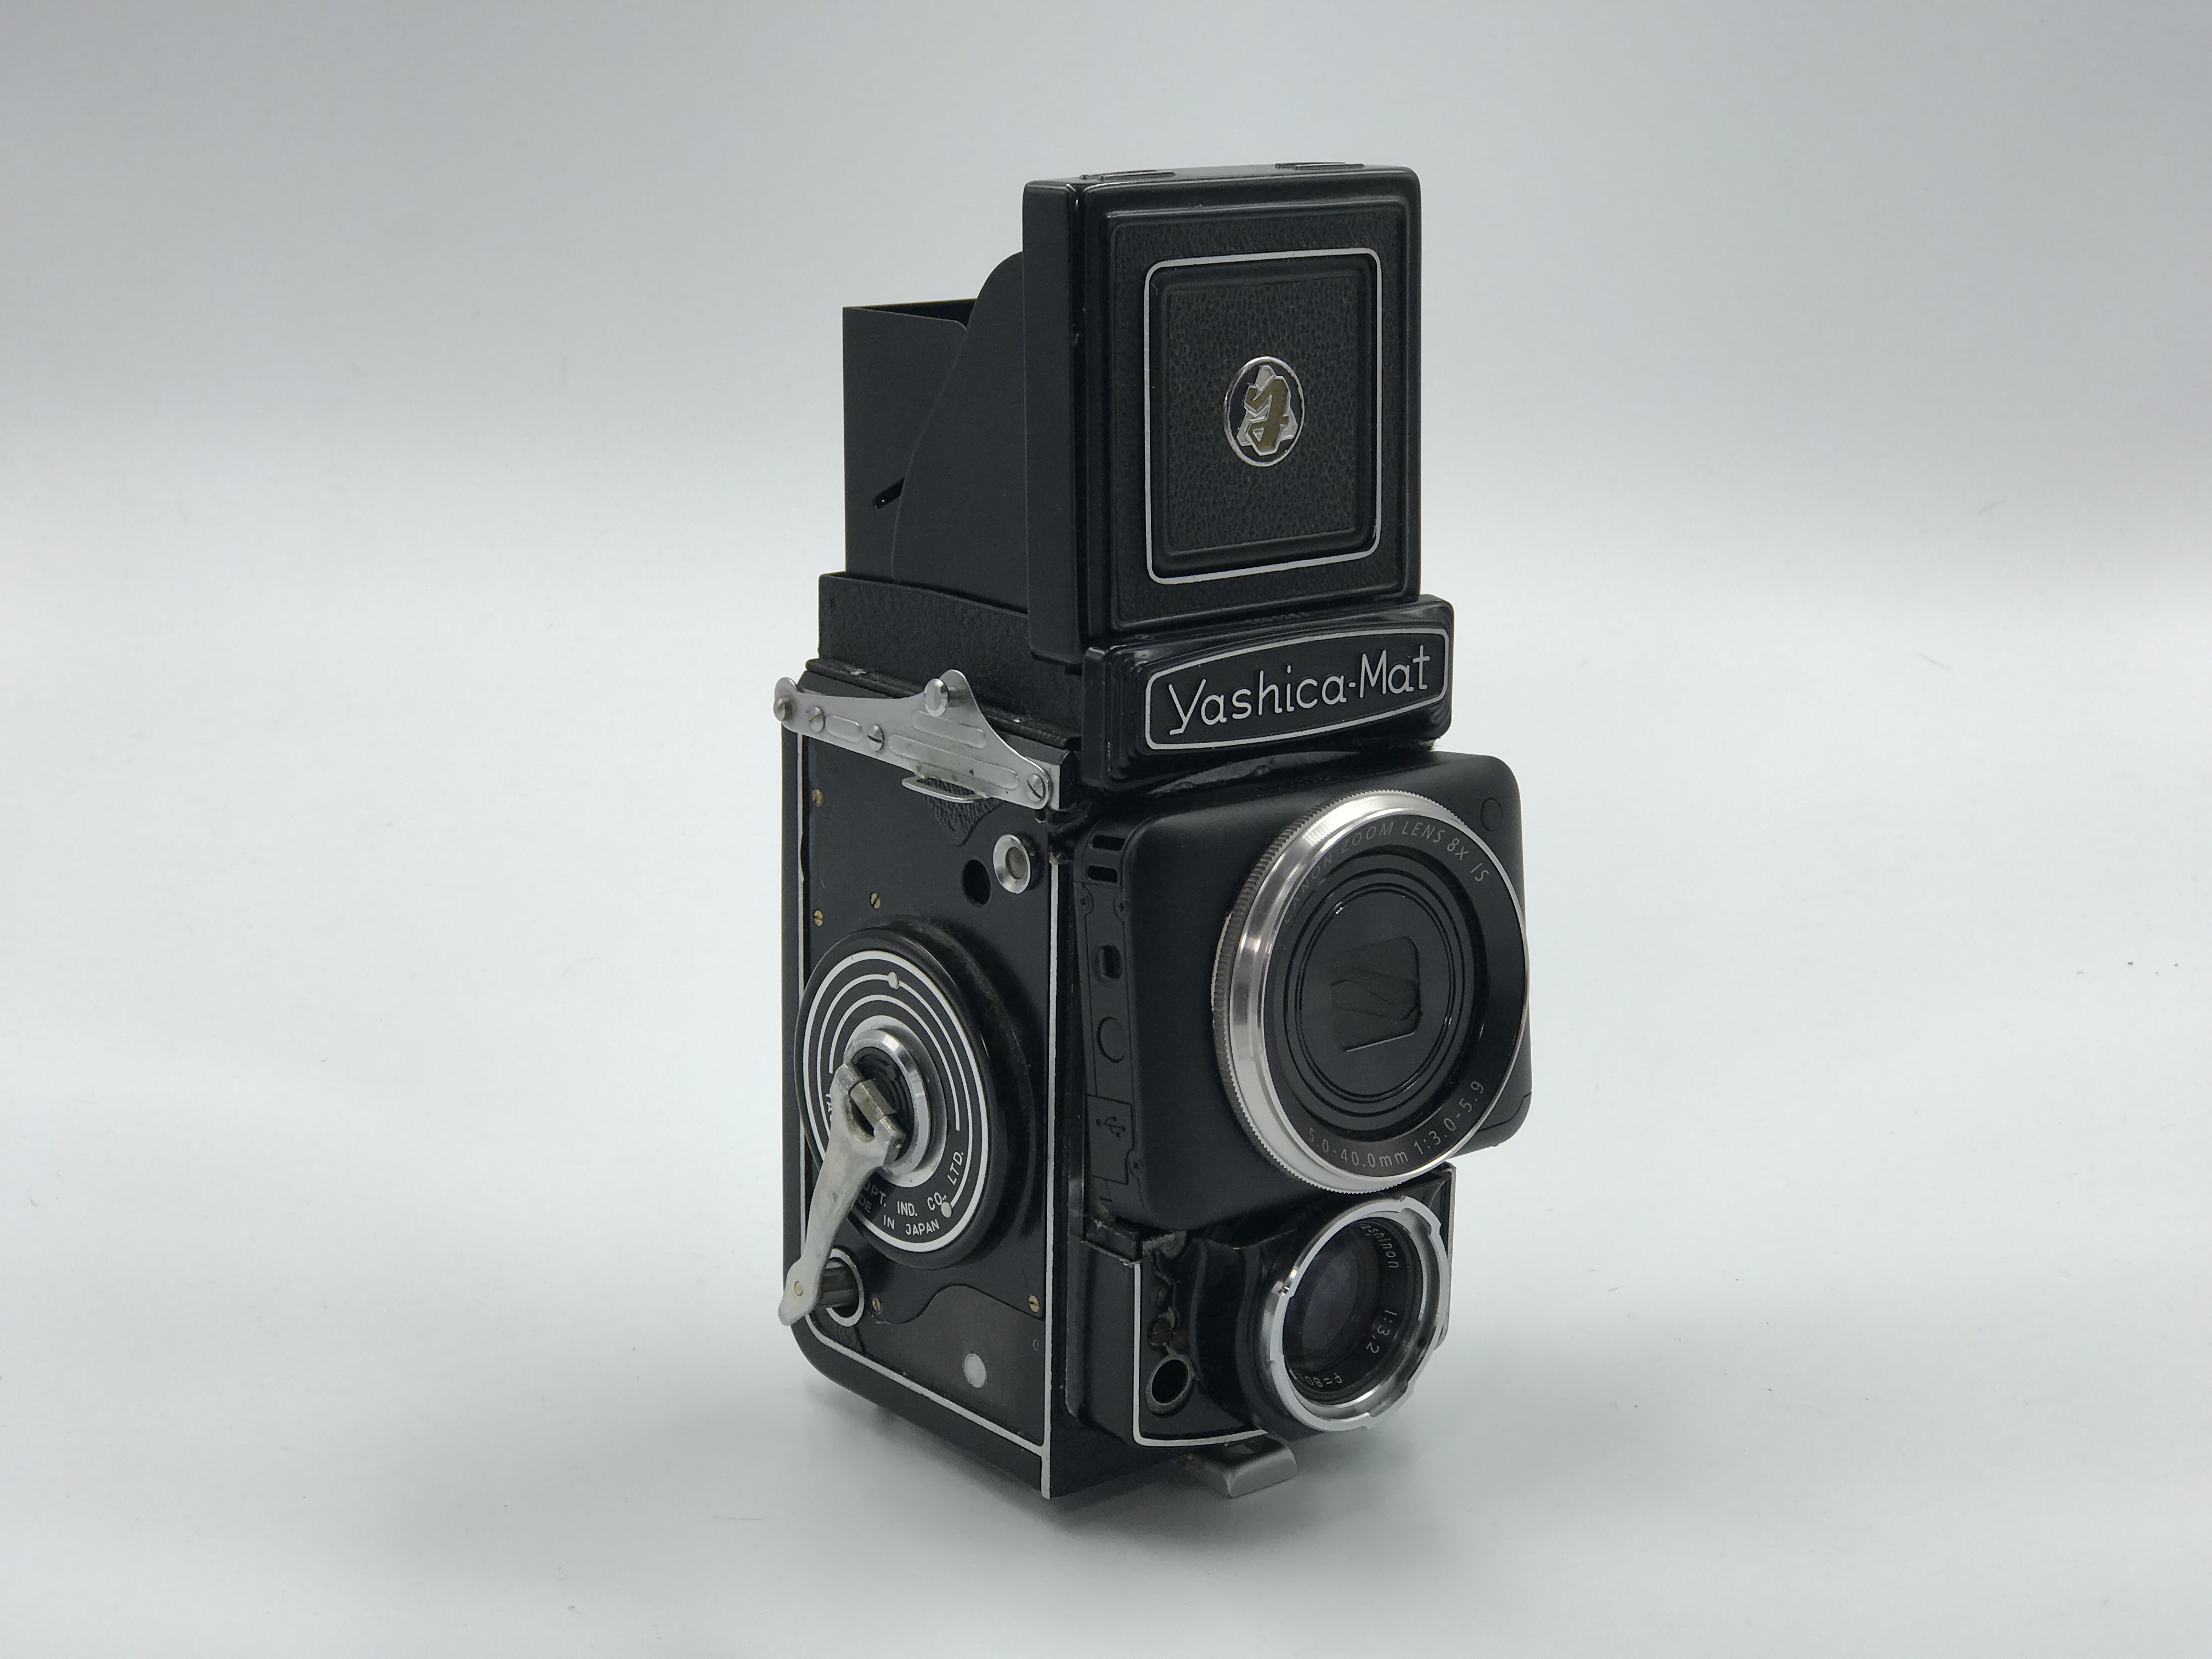
That is when I came across this post that changed everything. I loved the idea of building my own waist level viewfinder camera using a camera with a foldable viewfinder like the Canon PowerShot N. I knew that I couldn’t make a digital TLR with two lenses, but this was an alternative that would give me a camera which I could look down from above to capture images. I wondered to myself, instead of building a wooden box around the camera like the author did in his post, maybe I could use an old TLR camera as the frame and somehow insert the digital camera into the body. Before I knew it, I had purchased an less than fully functioning Yashica-Mat TLR camera online and found a used Canon Powershot N2 (a model newer Powershot N used in the post where I got the idea from). Now it was time to see if I could make my idea become a reality.
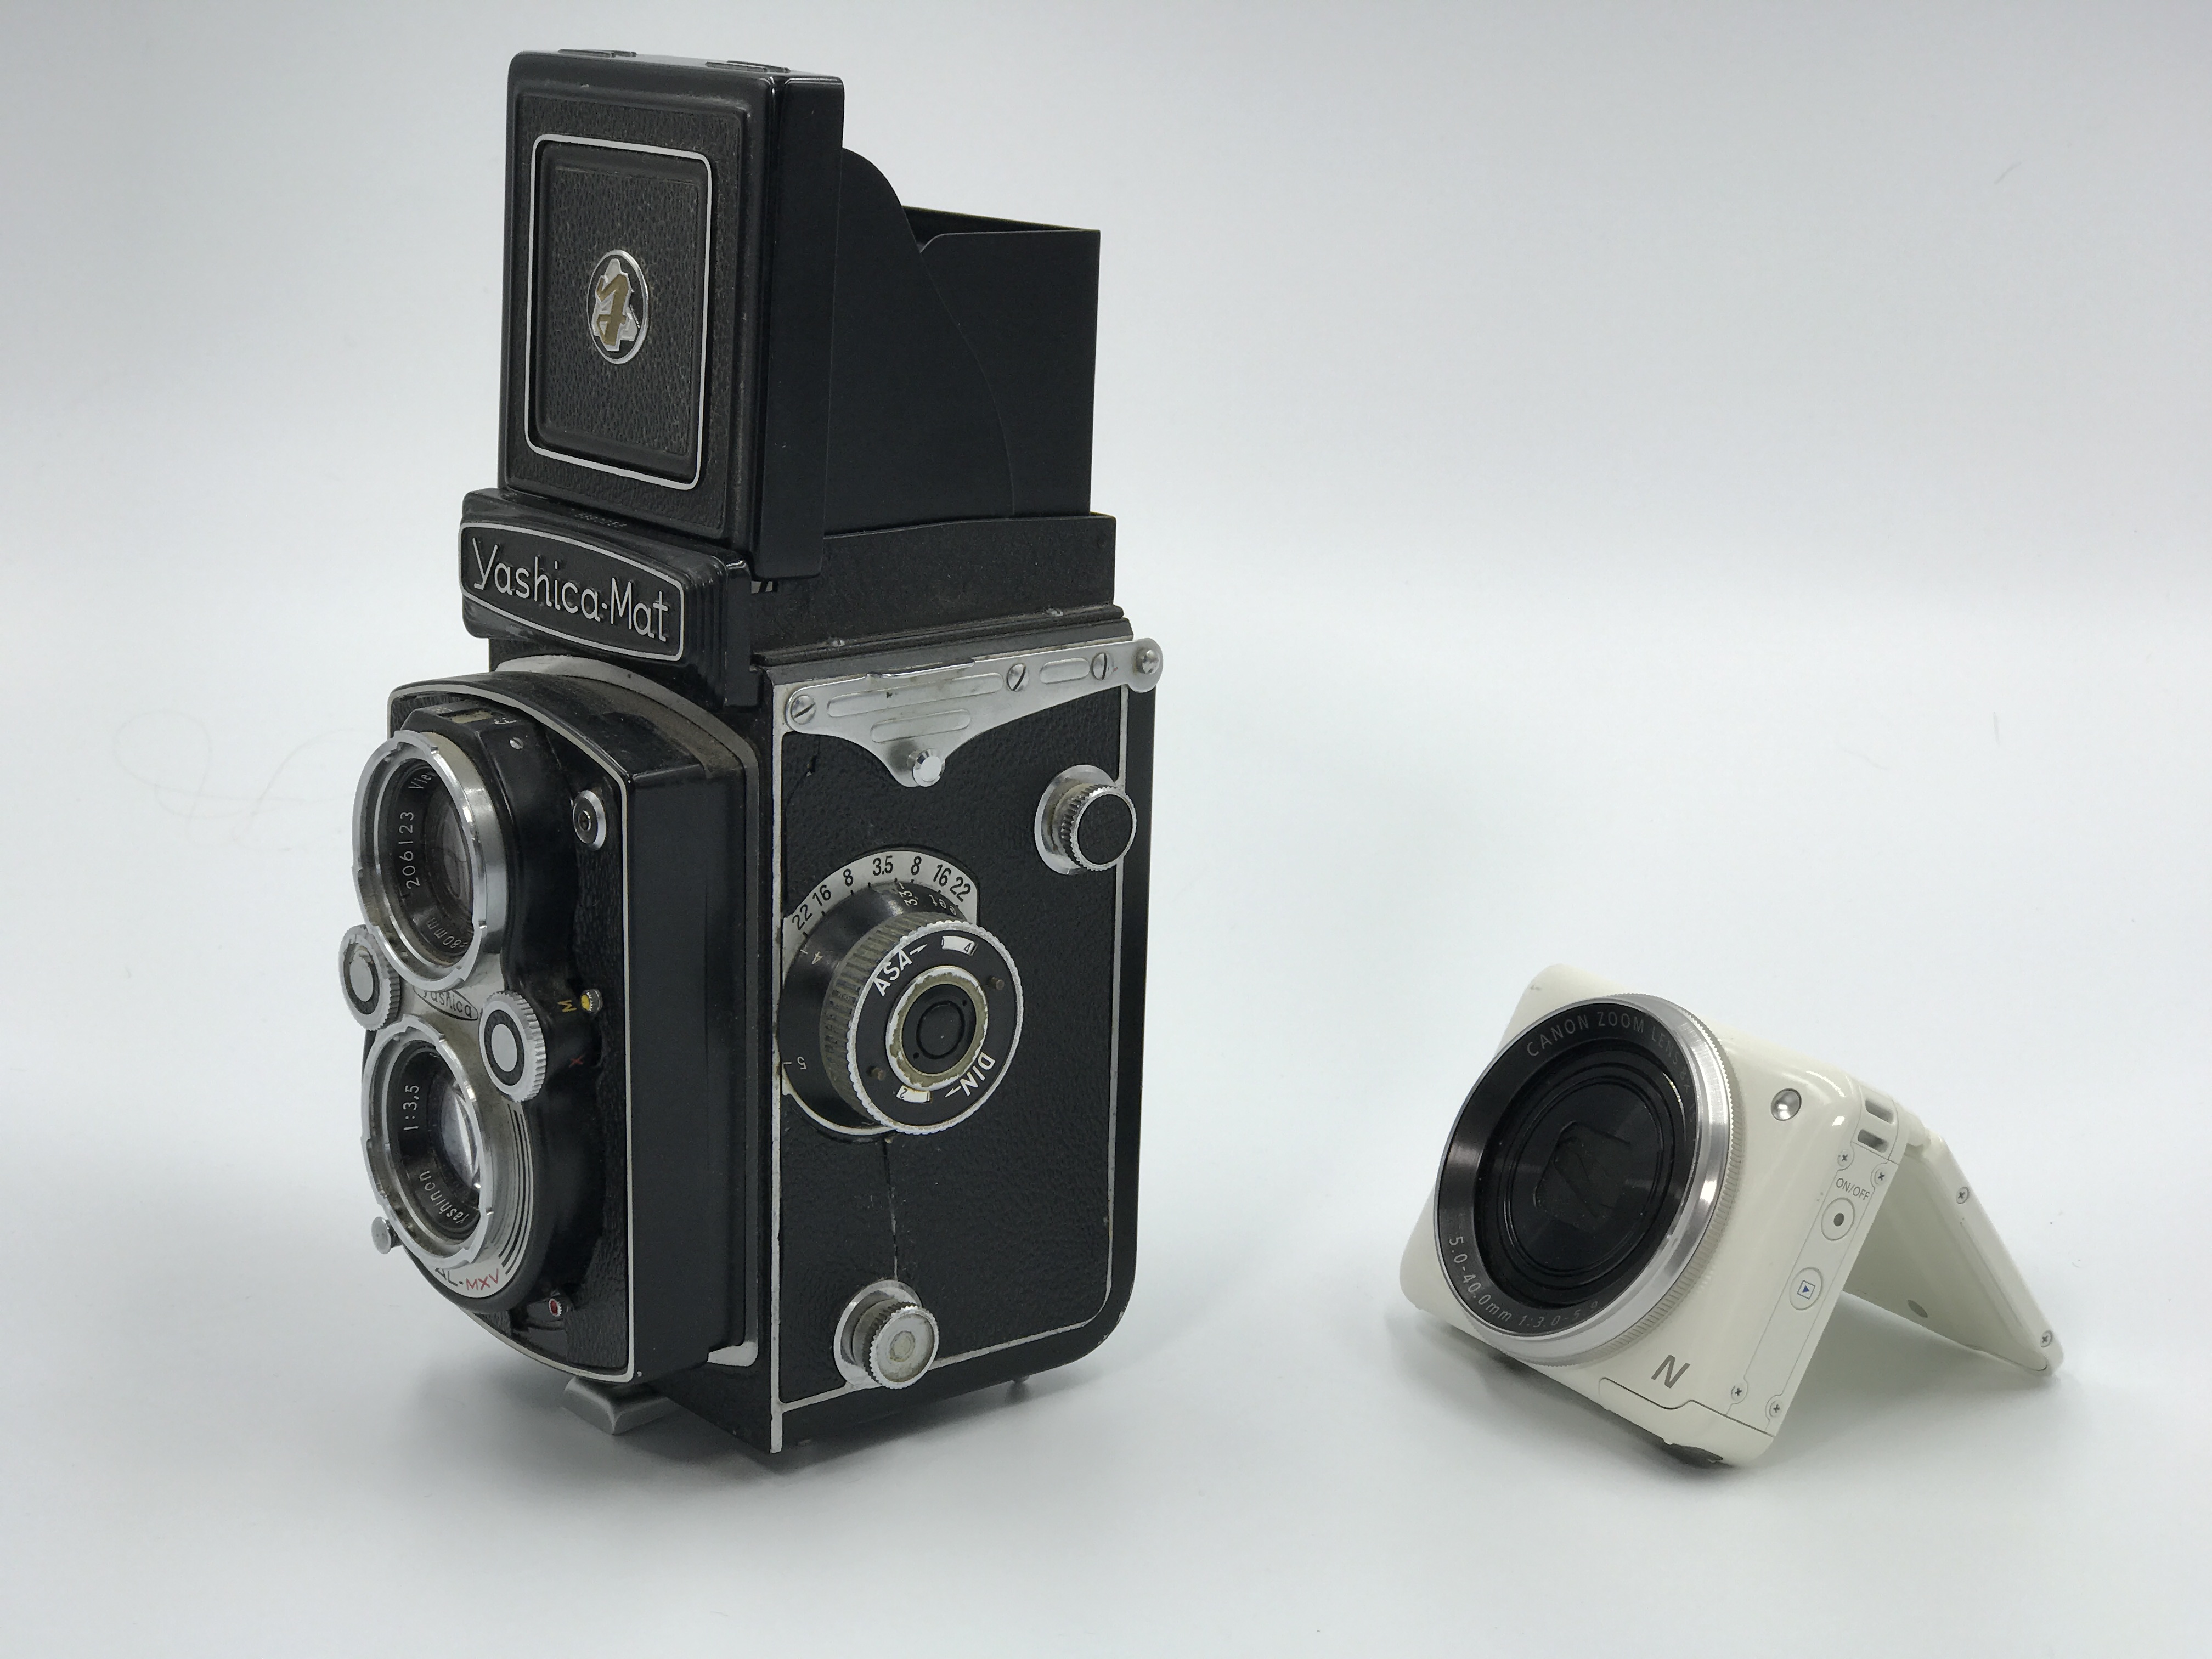
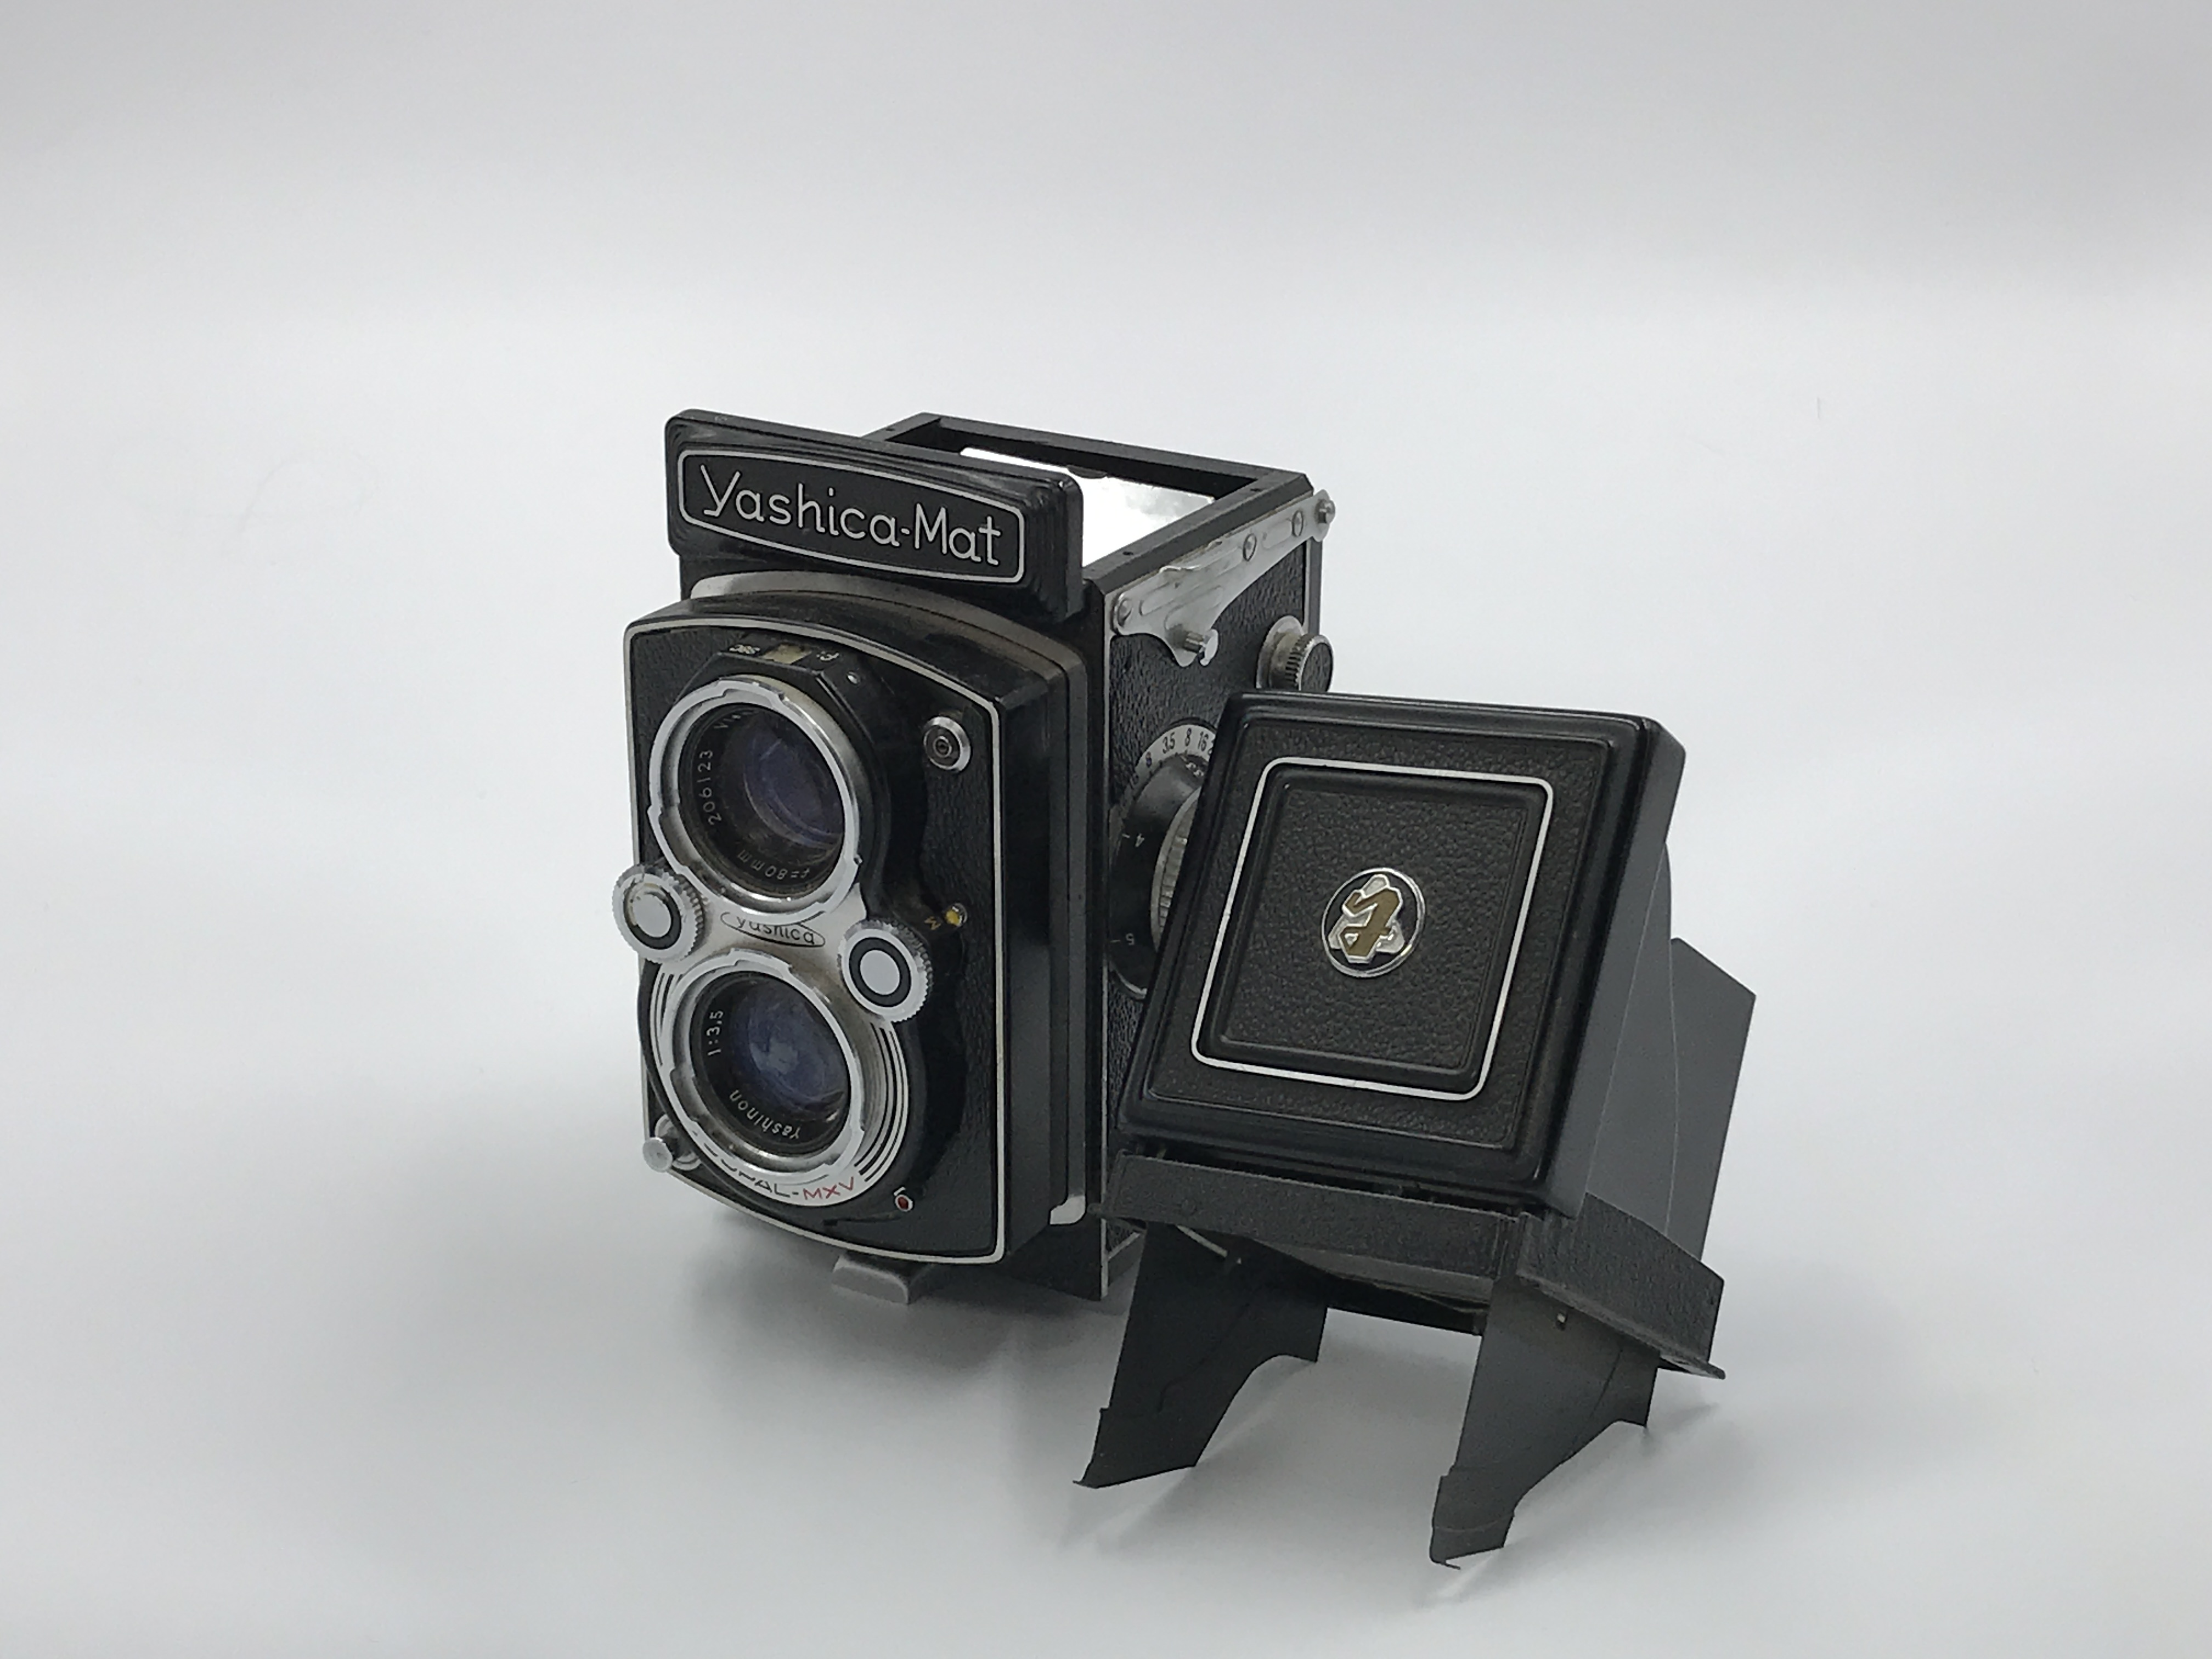
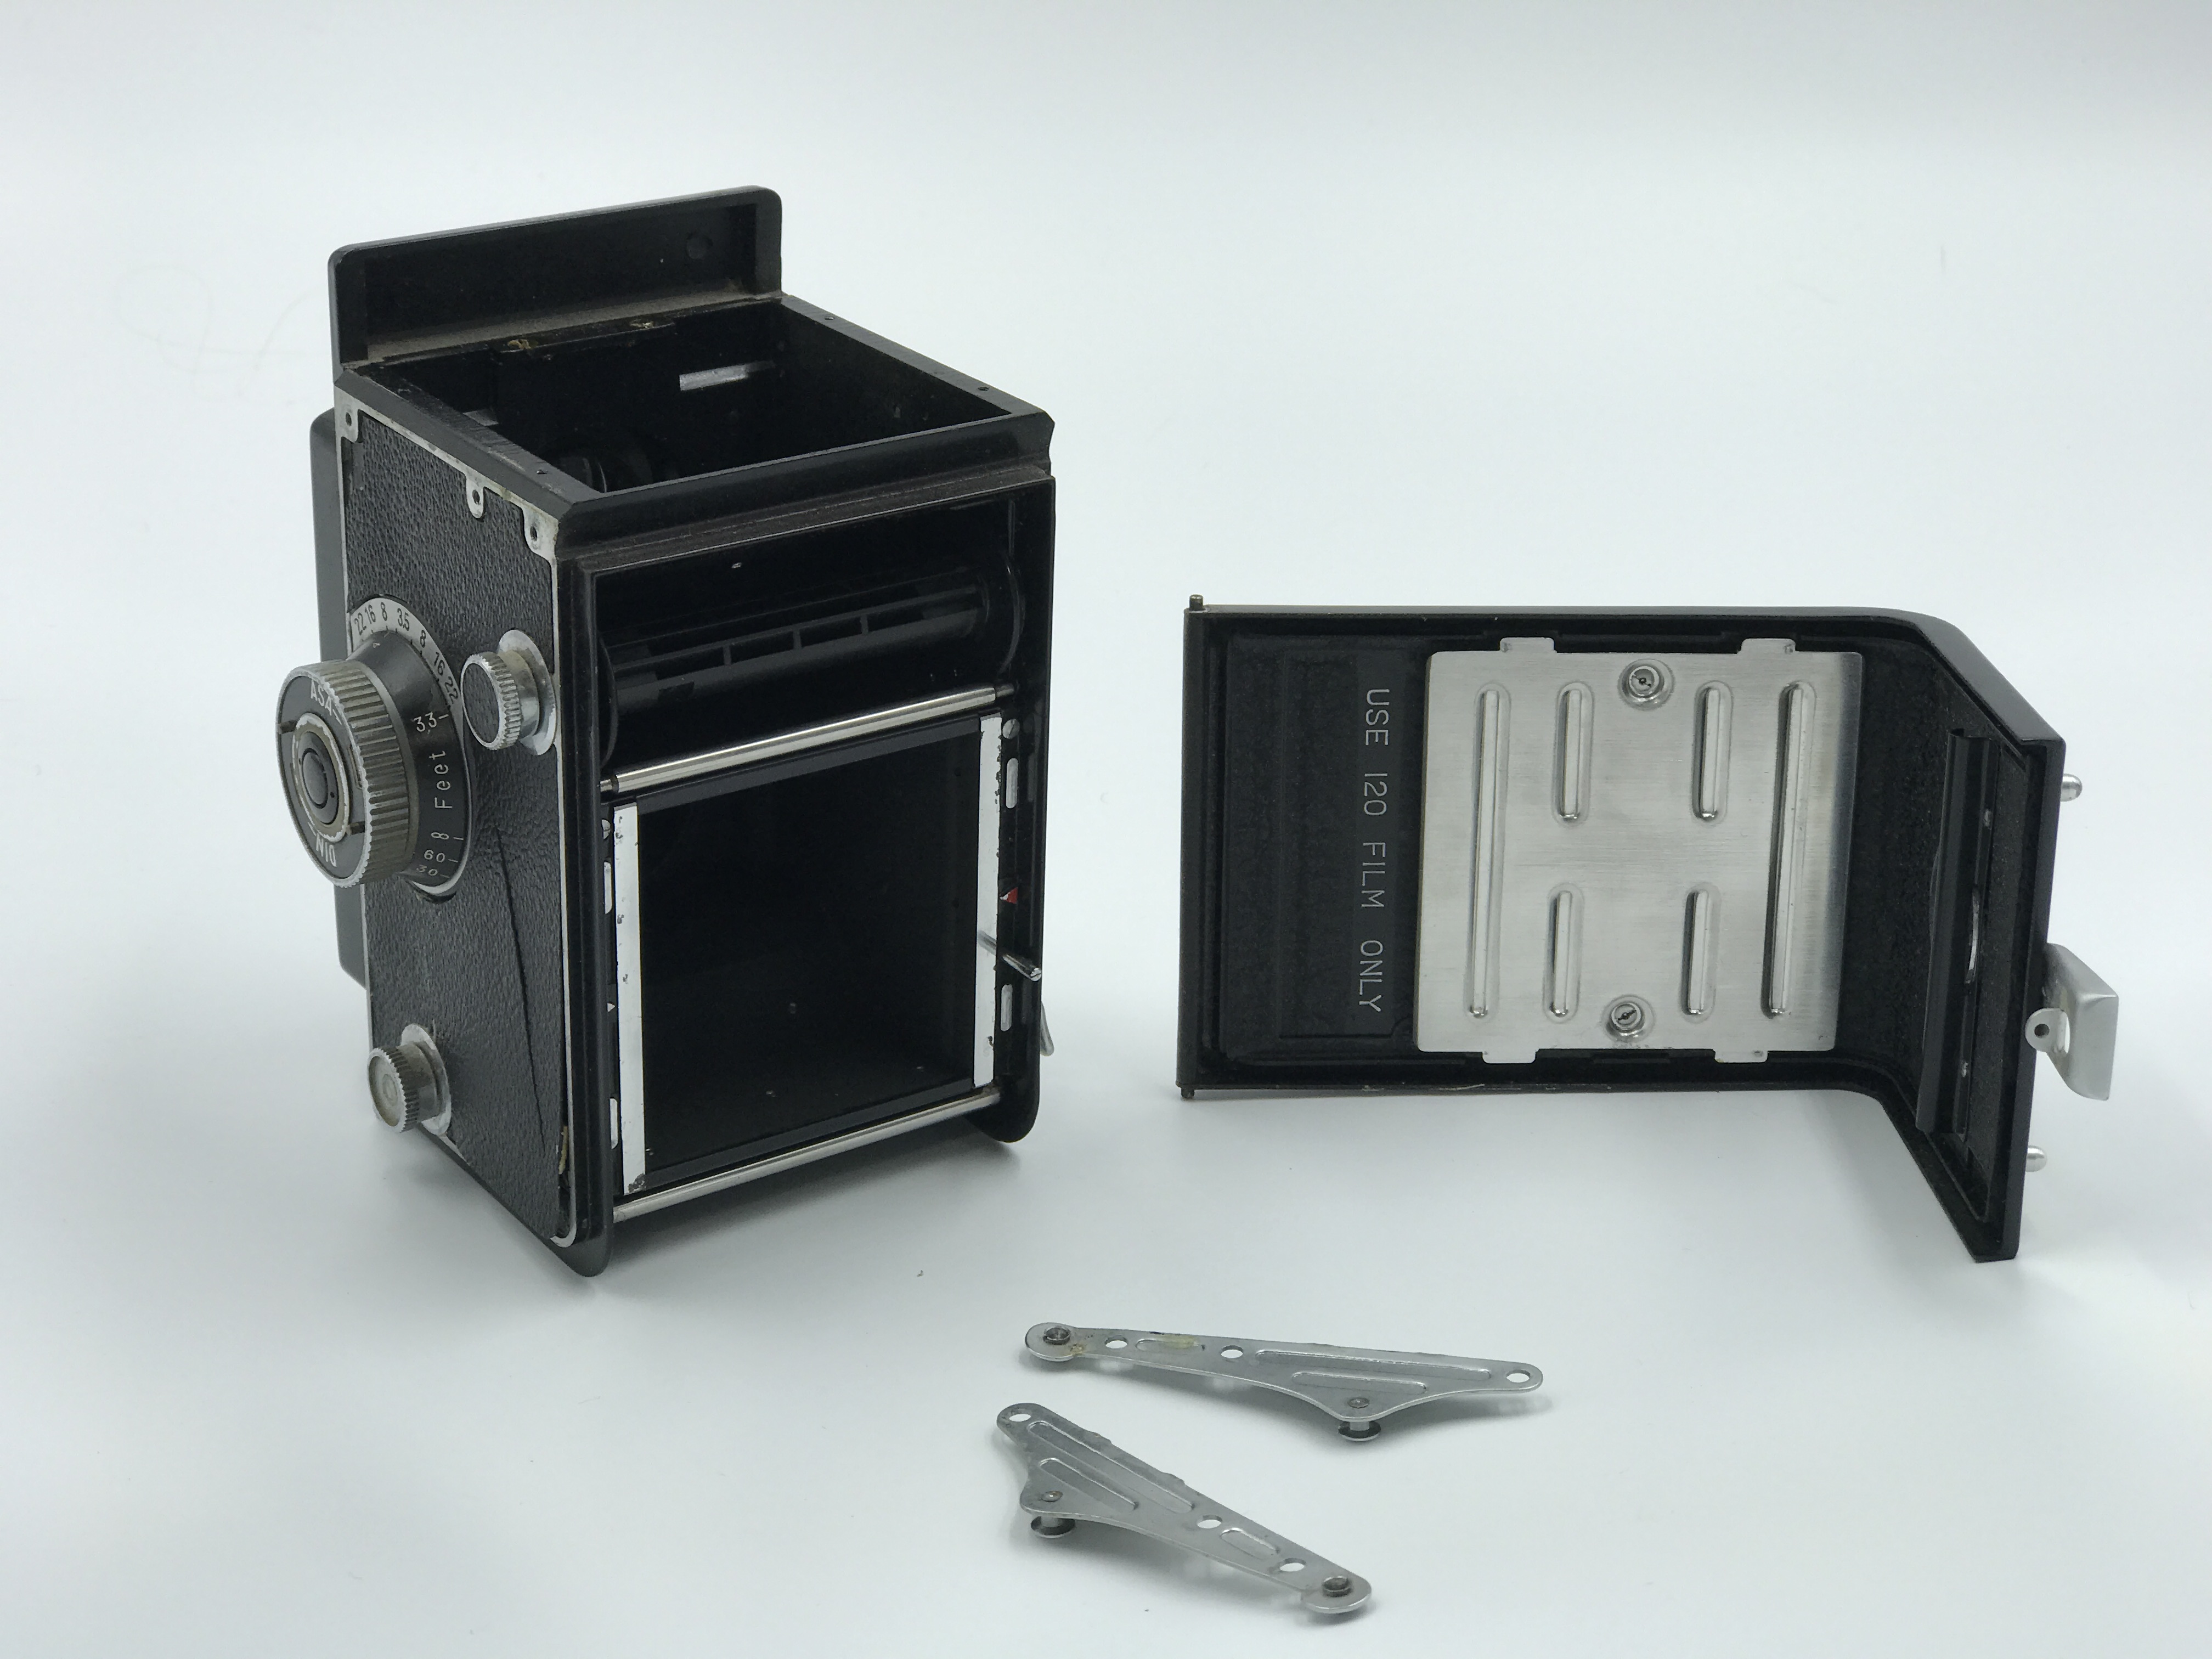
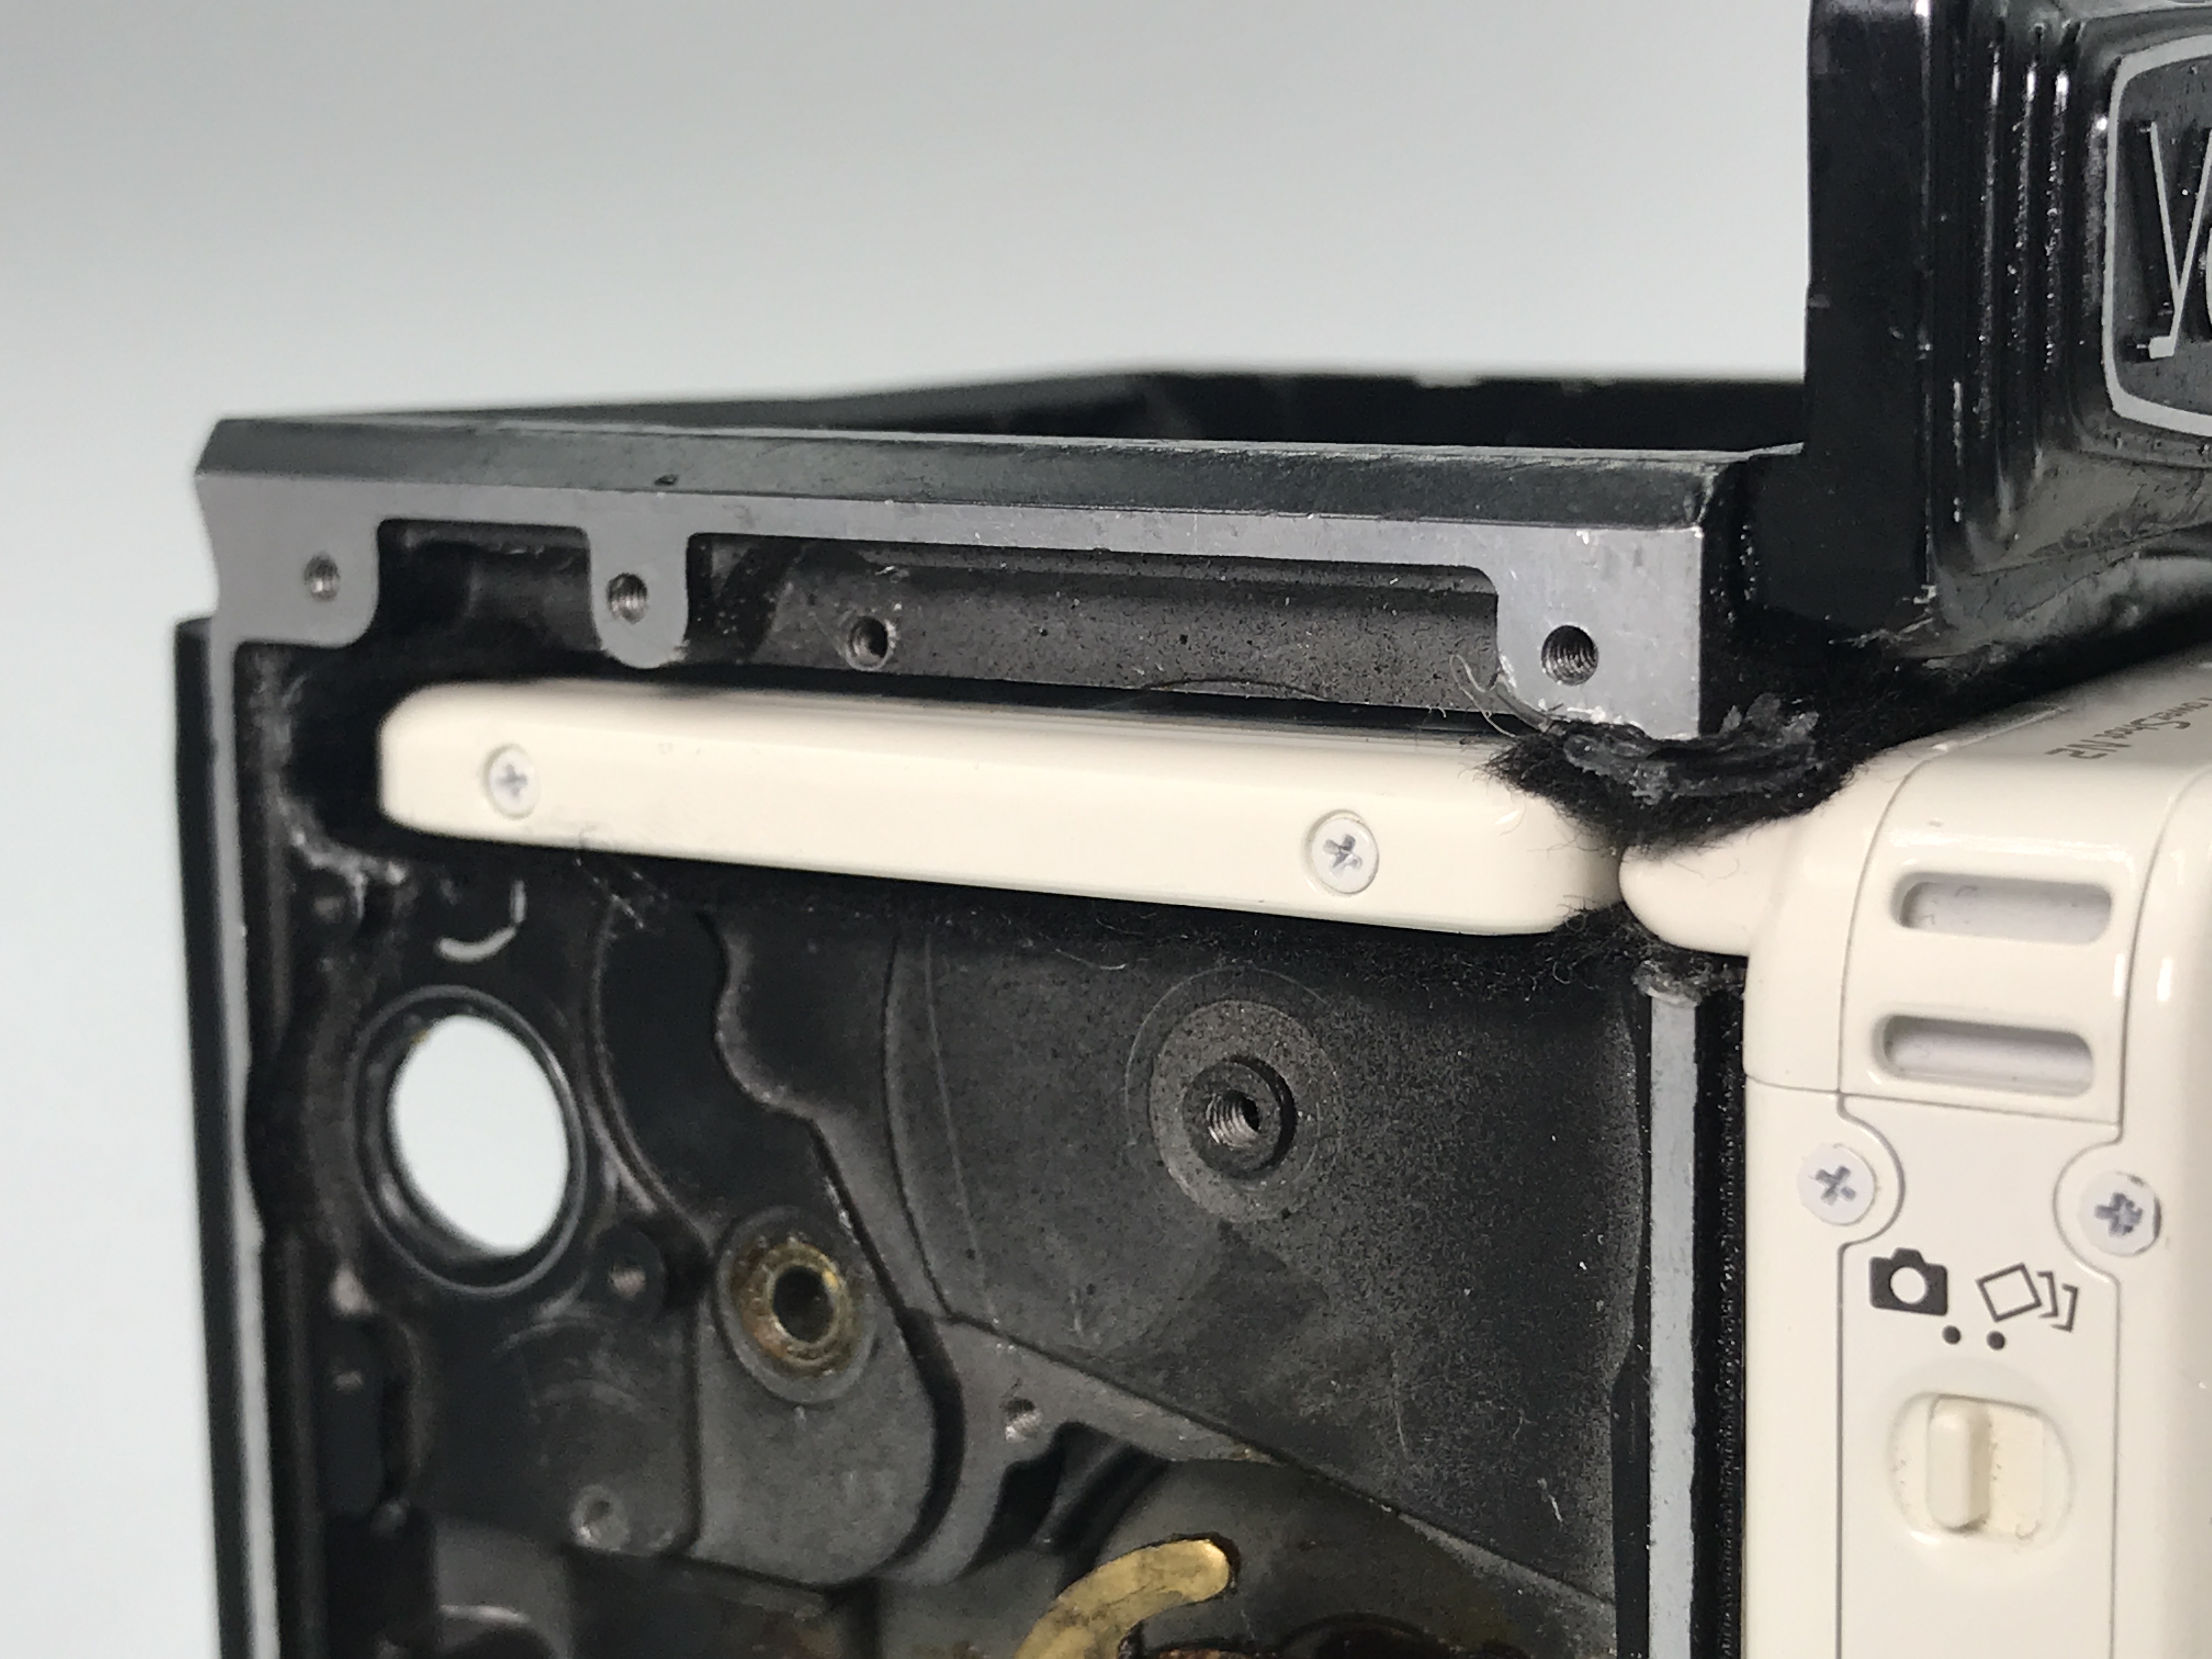
The first thing I did when I had both cameras was to measure the N2 beside the Yashica-Mat. Ideally, the N2 would be small enough that I could simply fit it on front of the camera. It looked like it might be too big but I still had to take the front lens off the Yashica-Mat. But before I did that, I took the back and the pop up shade off the camera.
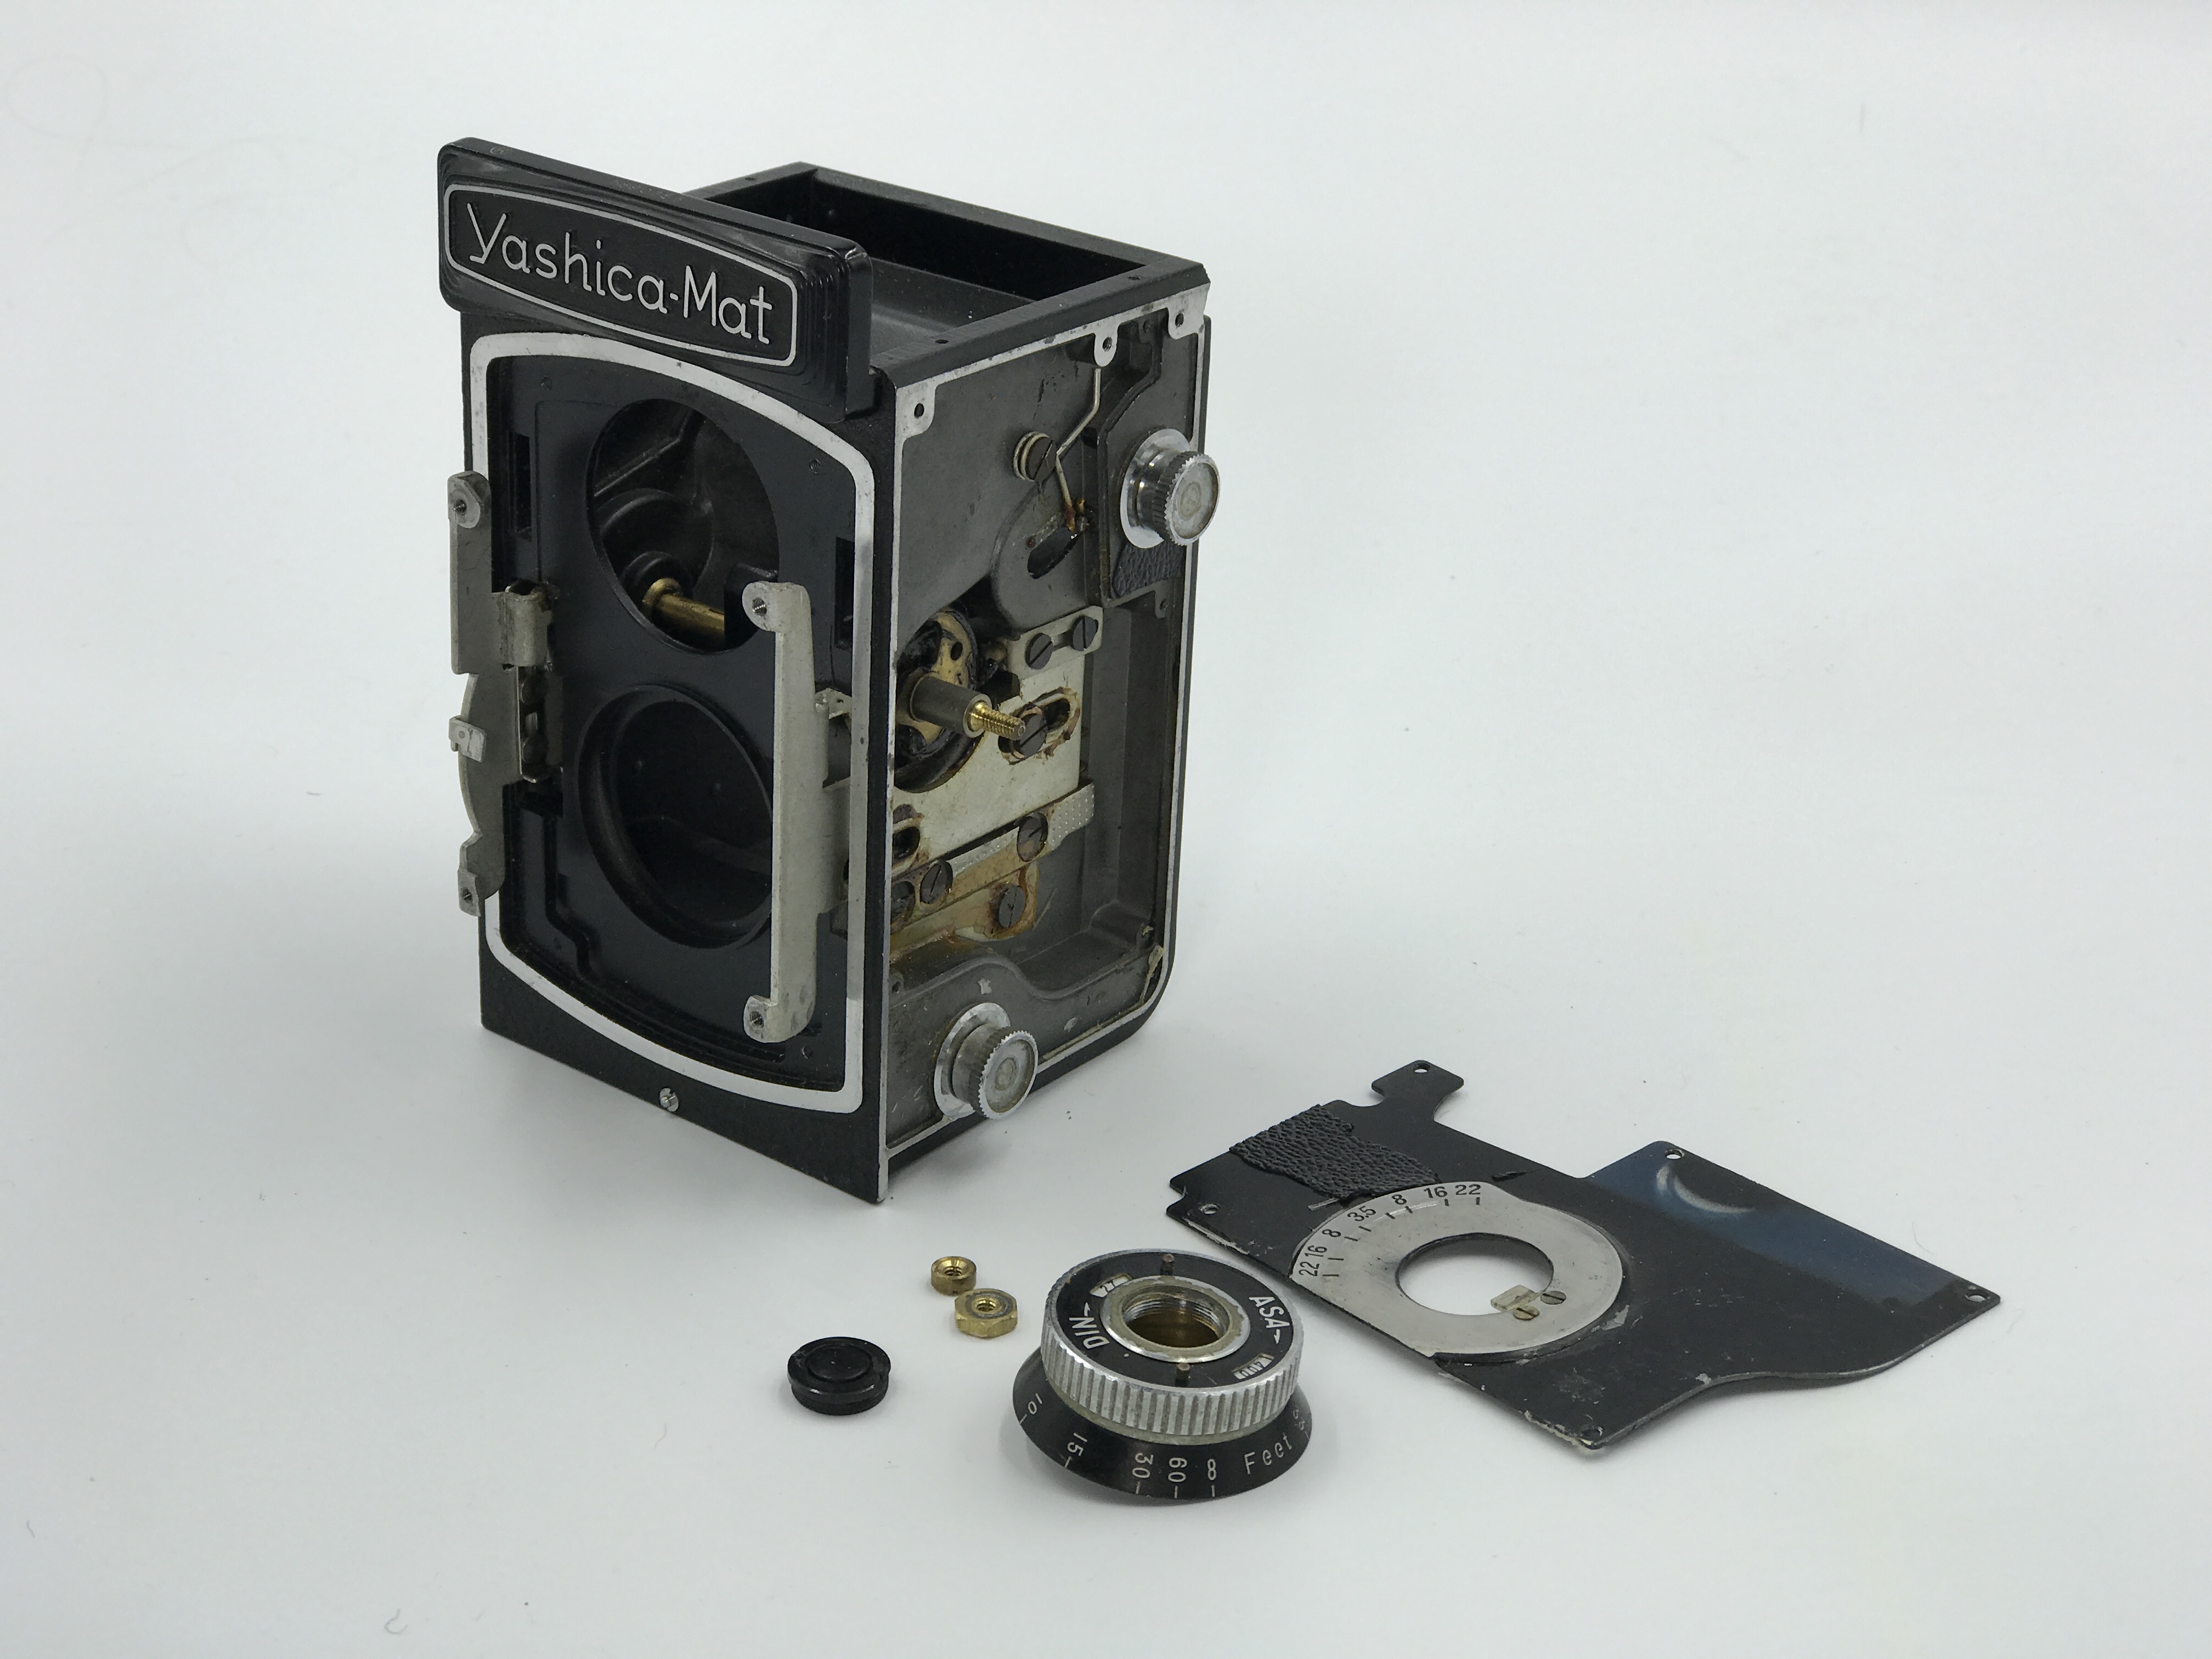
I had to take off the leather type siding to get to the screws. I wanted to save this siding but it was brittle and flaked off and broke. I didn’t worry about it and figured I would find a solution when I got to the point of putting the camera back together. With the screws exposed, the whole lens system came off quite easily.

It was clear that the N2 wouldn’t fit so I had to make my first big decision – cut into the top of the Yashica-Mat so I could slide the N2 camera into the body of the TLR camera. I talked to John Zobrist, head of Design Tech at UWCSEA East, and he helped me learn how to use the drill press. Before I could make the slots in the camera, I had to take off the sides so that I knew what I was cutting into. I took pictures along the way to help me remember where everything went and I put different sections into separate ziplock bags.

I used the drill press to create a slot in the Yashica-Mat so the N2 could slide in but I had to go back to the drill press to keep cutting and make some adjustments.

I needed to widen the space so that I could add a little felt so the N2 wouldn’t get scratched.
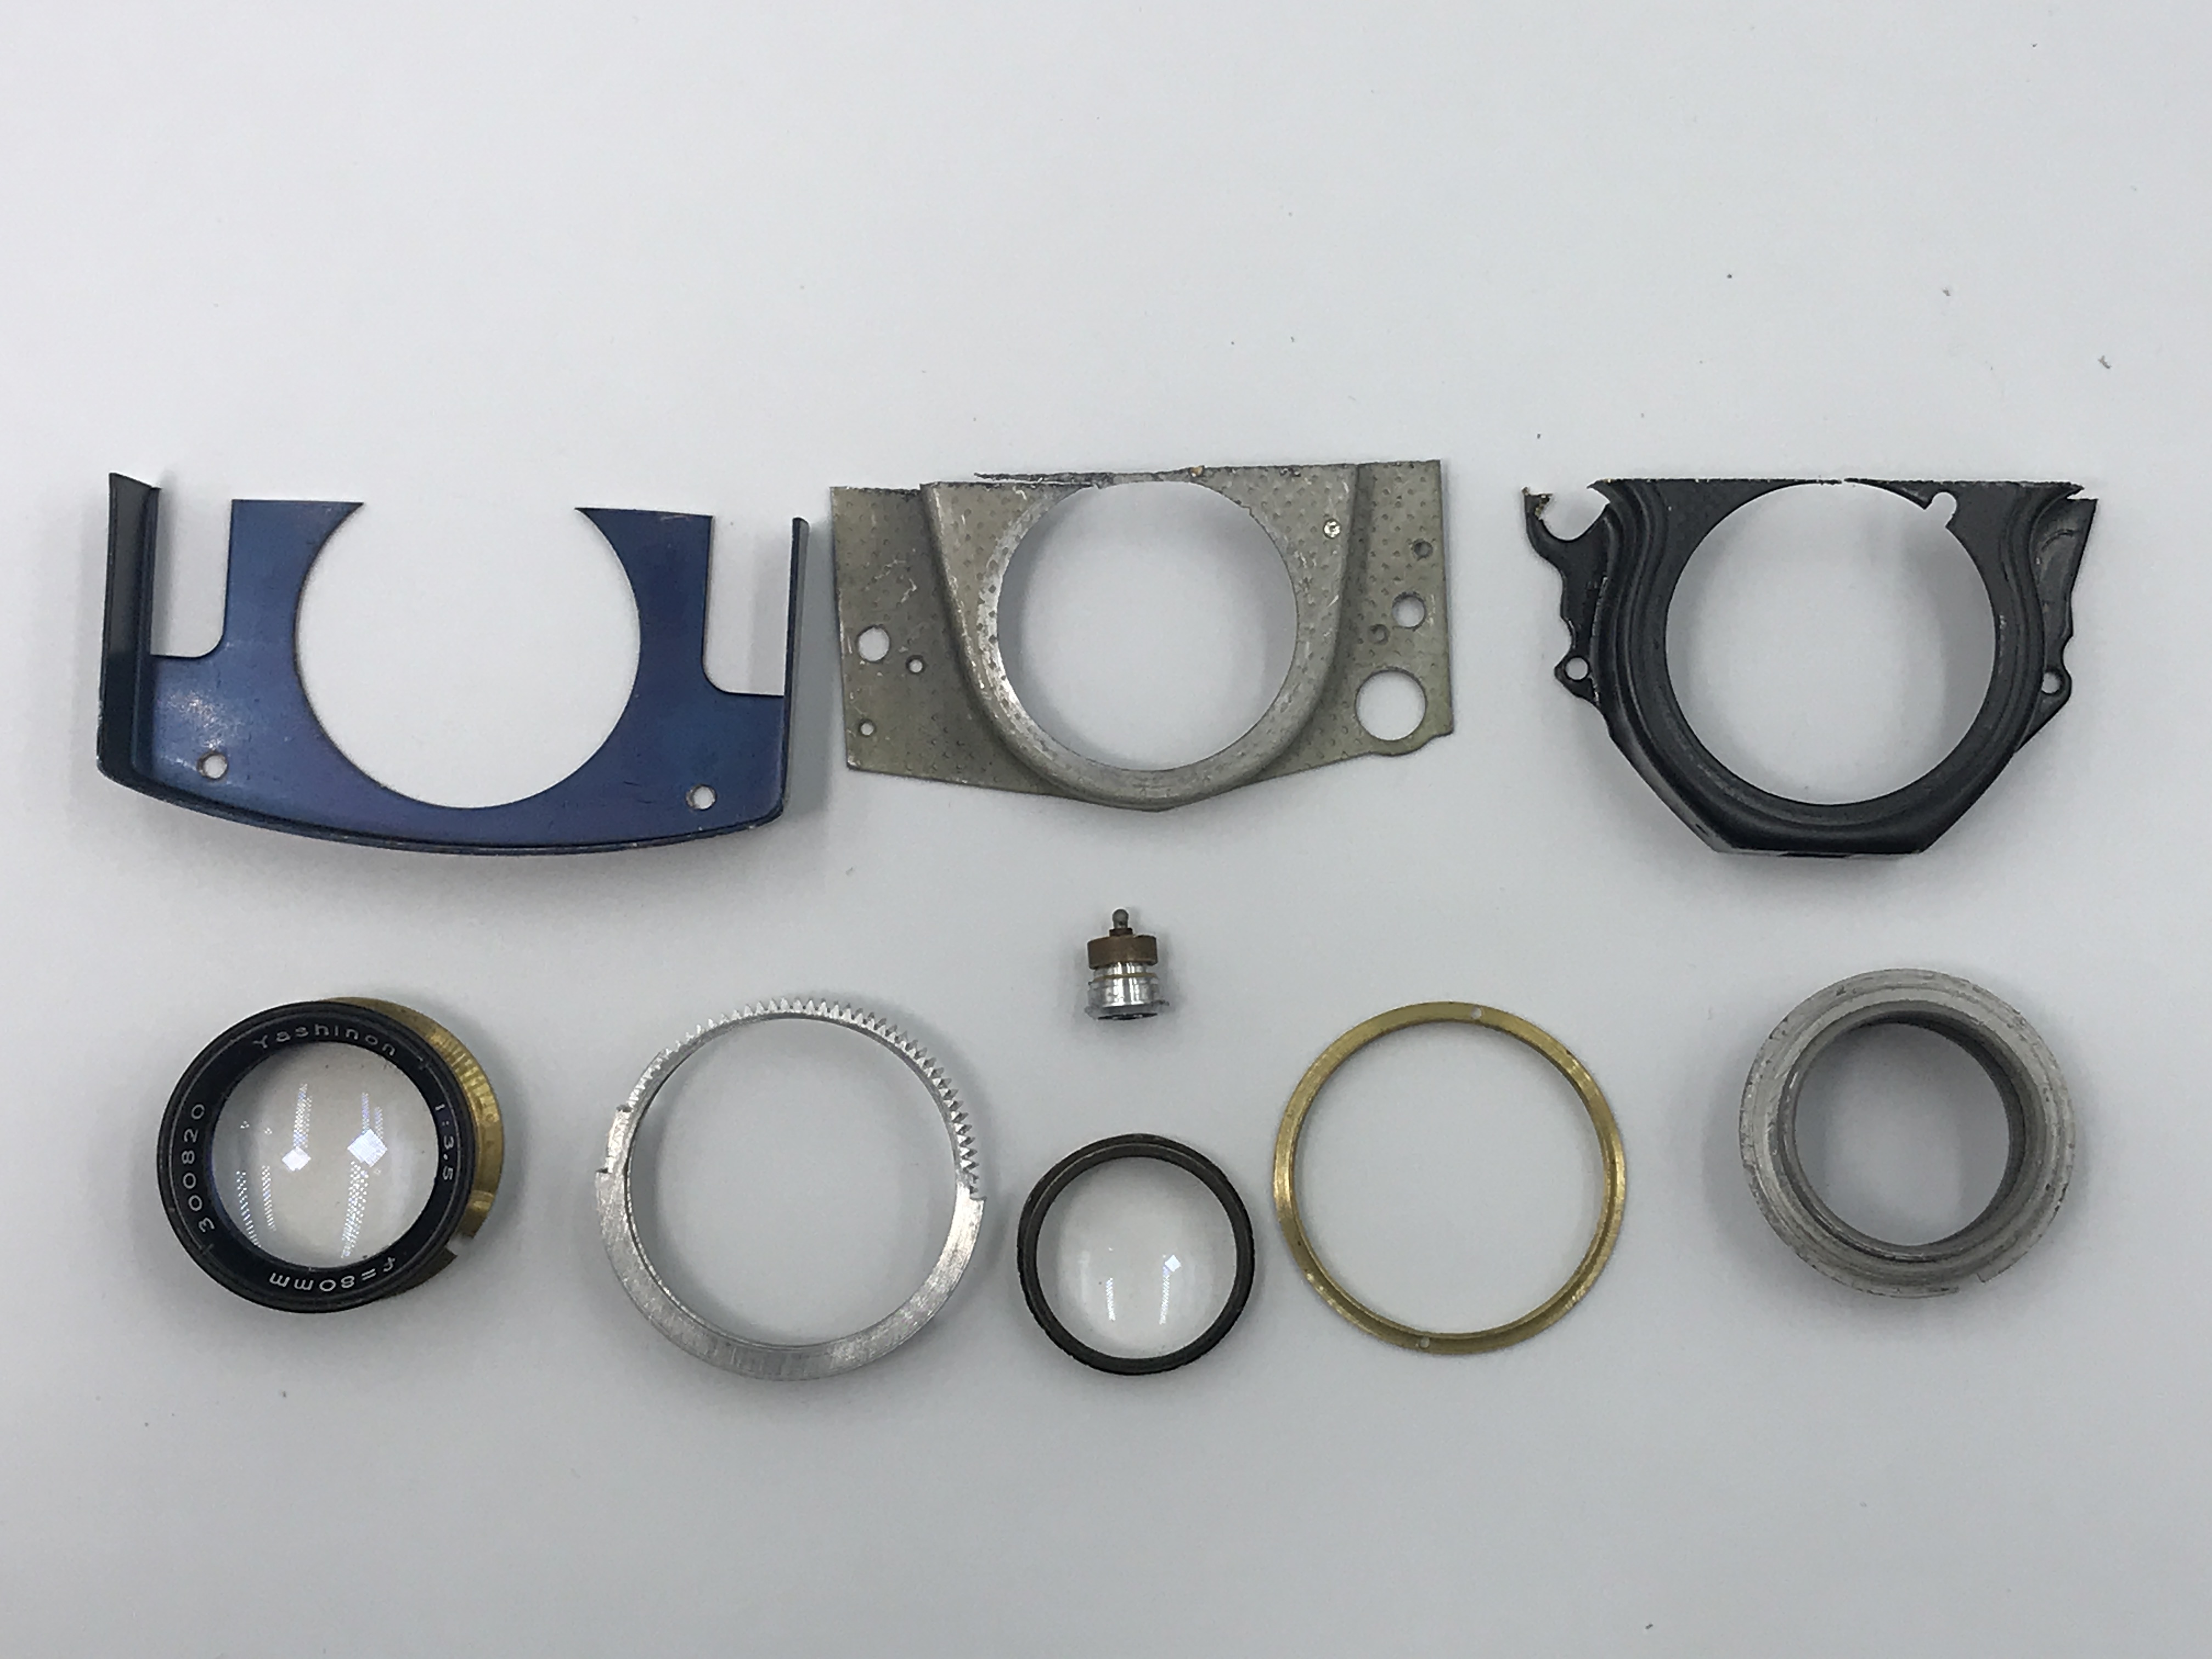
Now came my biggest challenge – to somehow attach one of the two original lenses back onto the TLR camera. I knew I would have to cut the original lens assembly into two separate parts but right away I saw that the bottom lens was way to big to put back on. The N2 wouldn’t fit with that lens underneath it. My plan was to turn the whole lens system upside-down and use the bottom lens instead. I might just have enough room but I still wasn’t sure. I started by taking the lens system apart so I could figure out how to cut it.
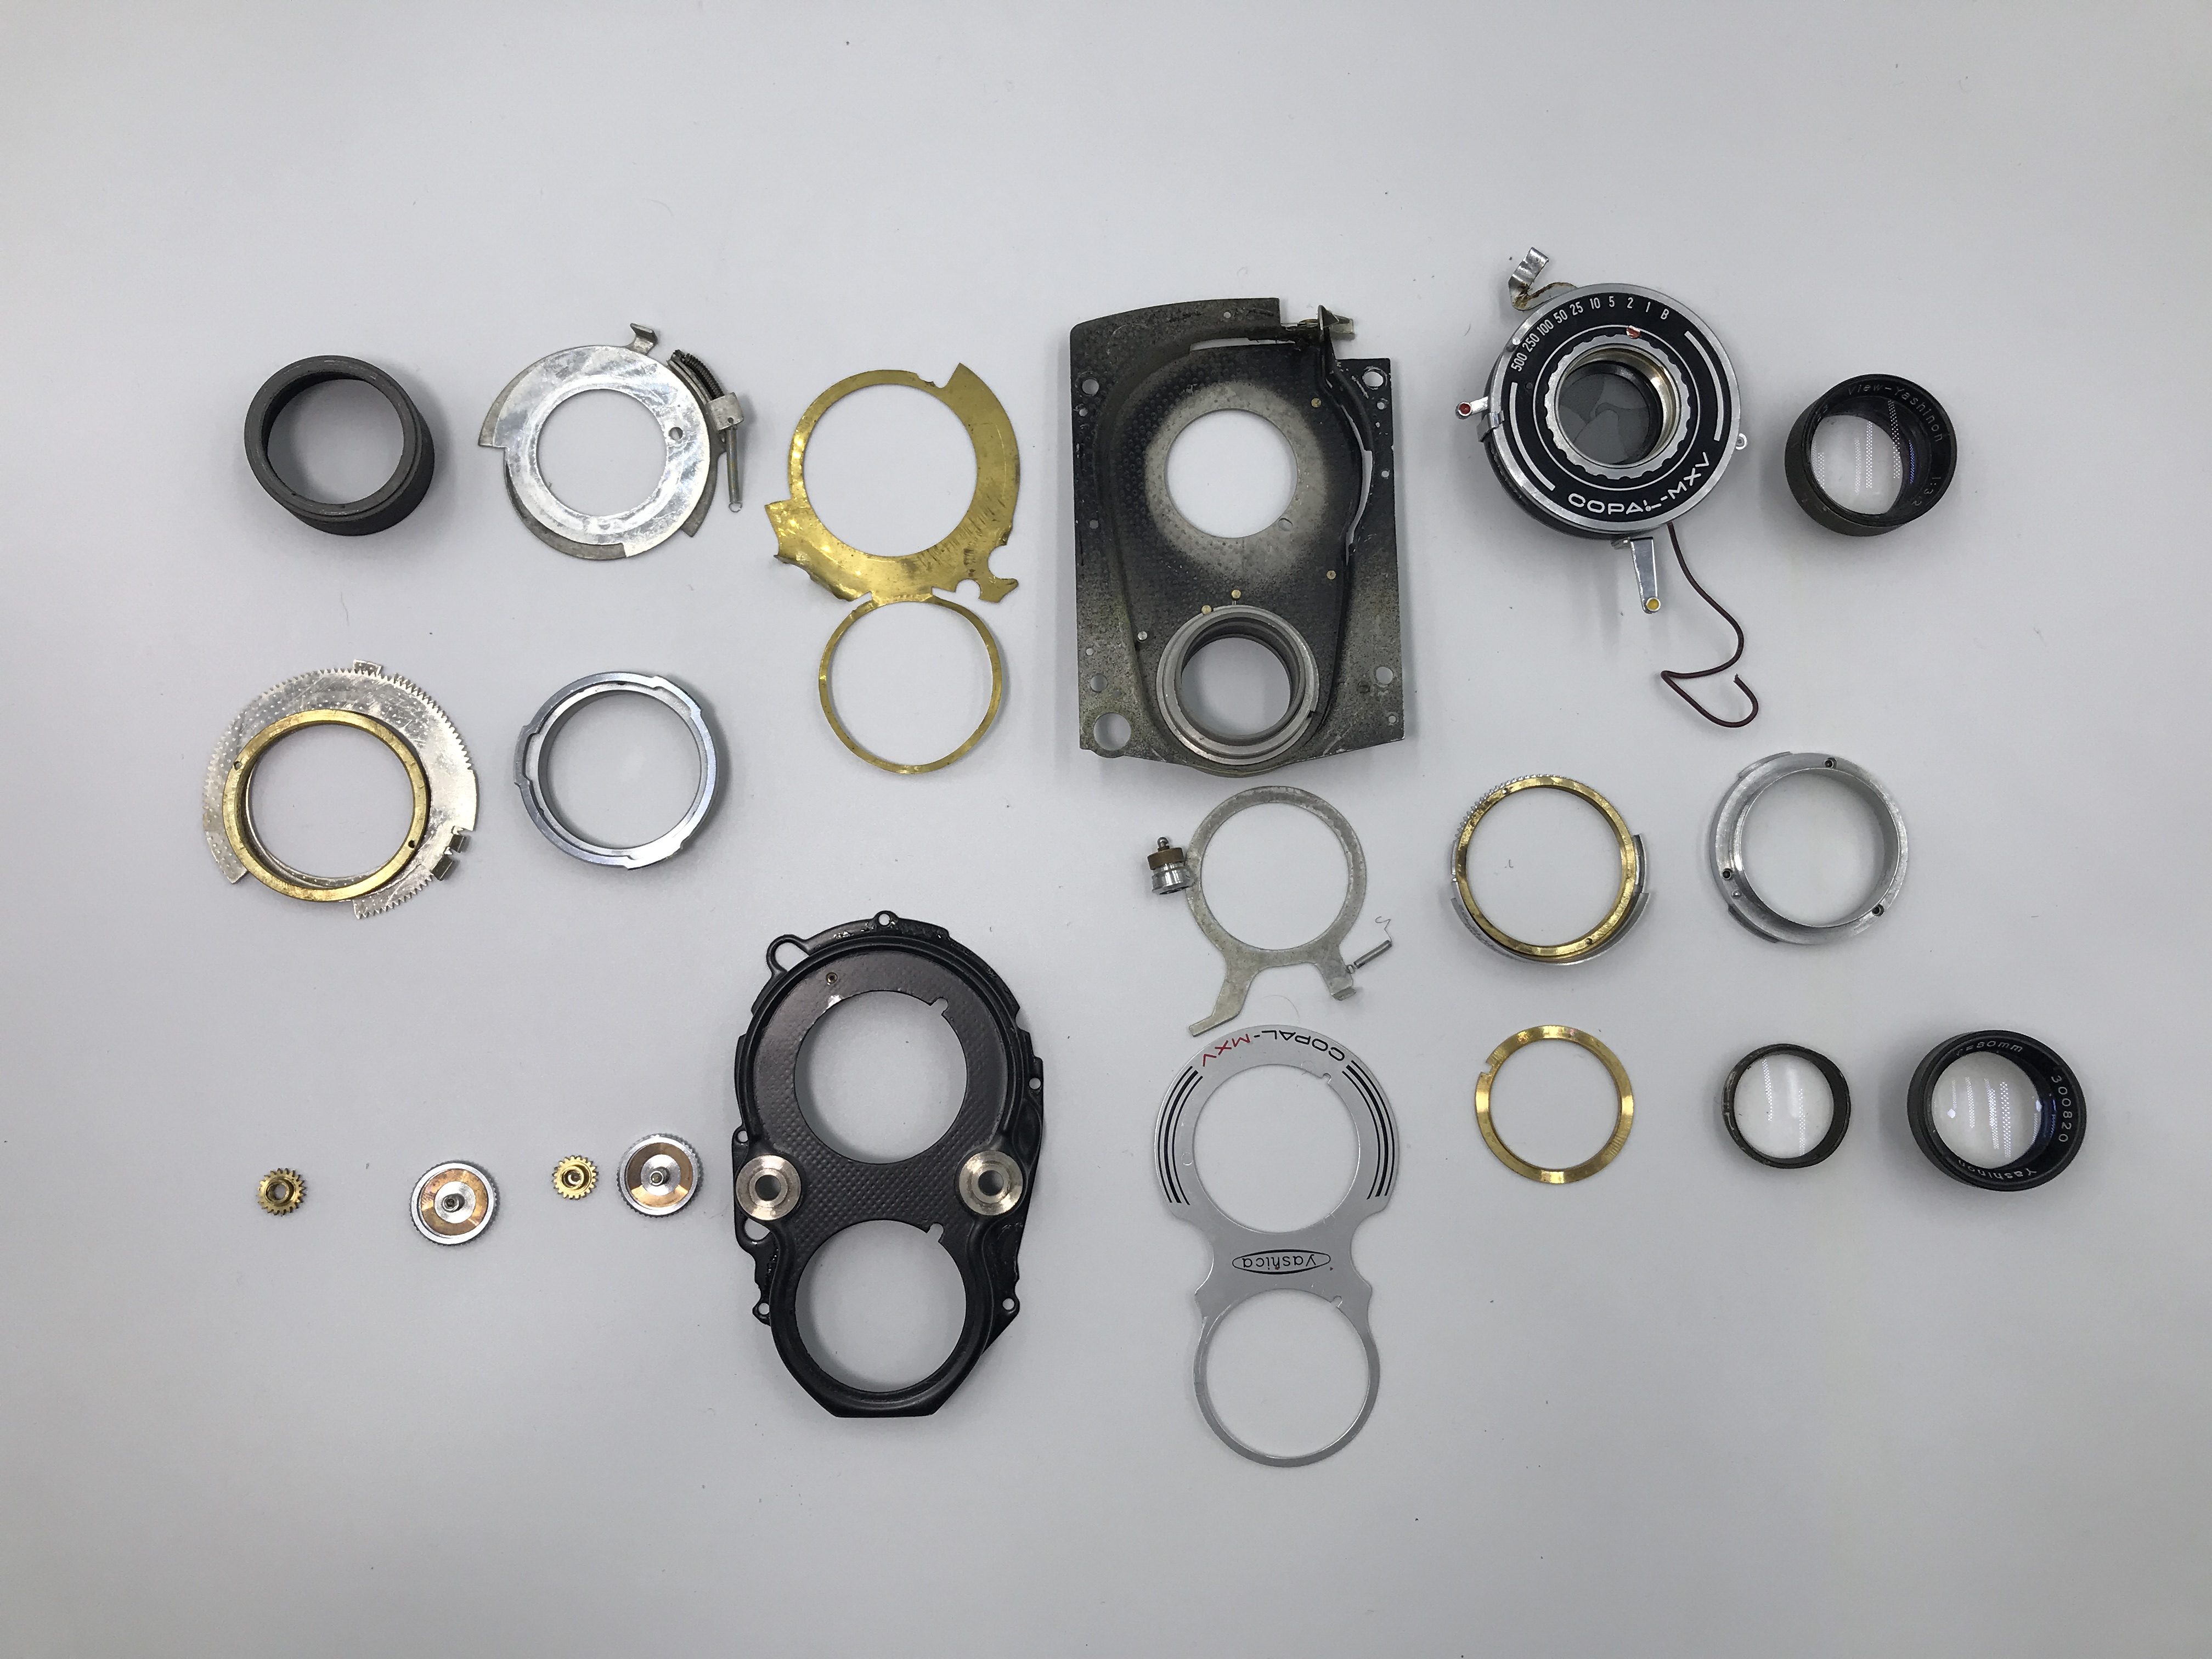
I used a hacksaw and tin snips to cut the separate parts of the front lens and make it as small as possible. I didn’t know if I was going to be able to reattach the parts but I felt that I would be able to figure out a way when I started reassembling the camera. I was solving problems as they appeared and I saw possible complications as puzzles to figure out. How could I make this work? What possible approaches could I take?
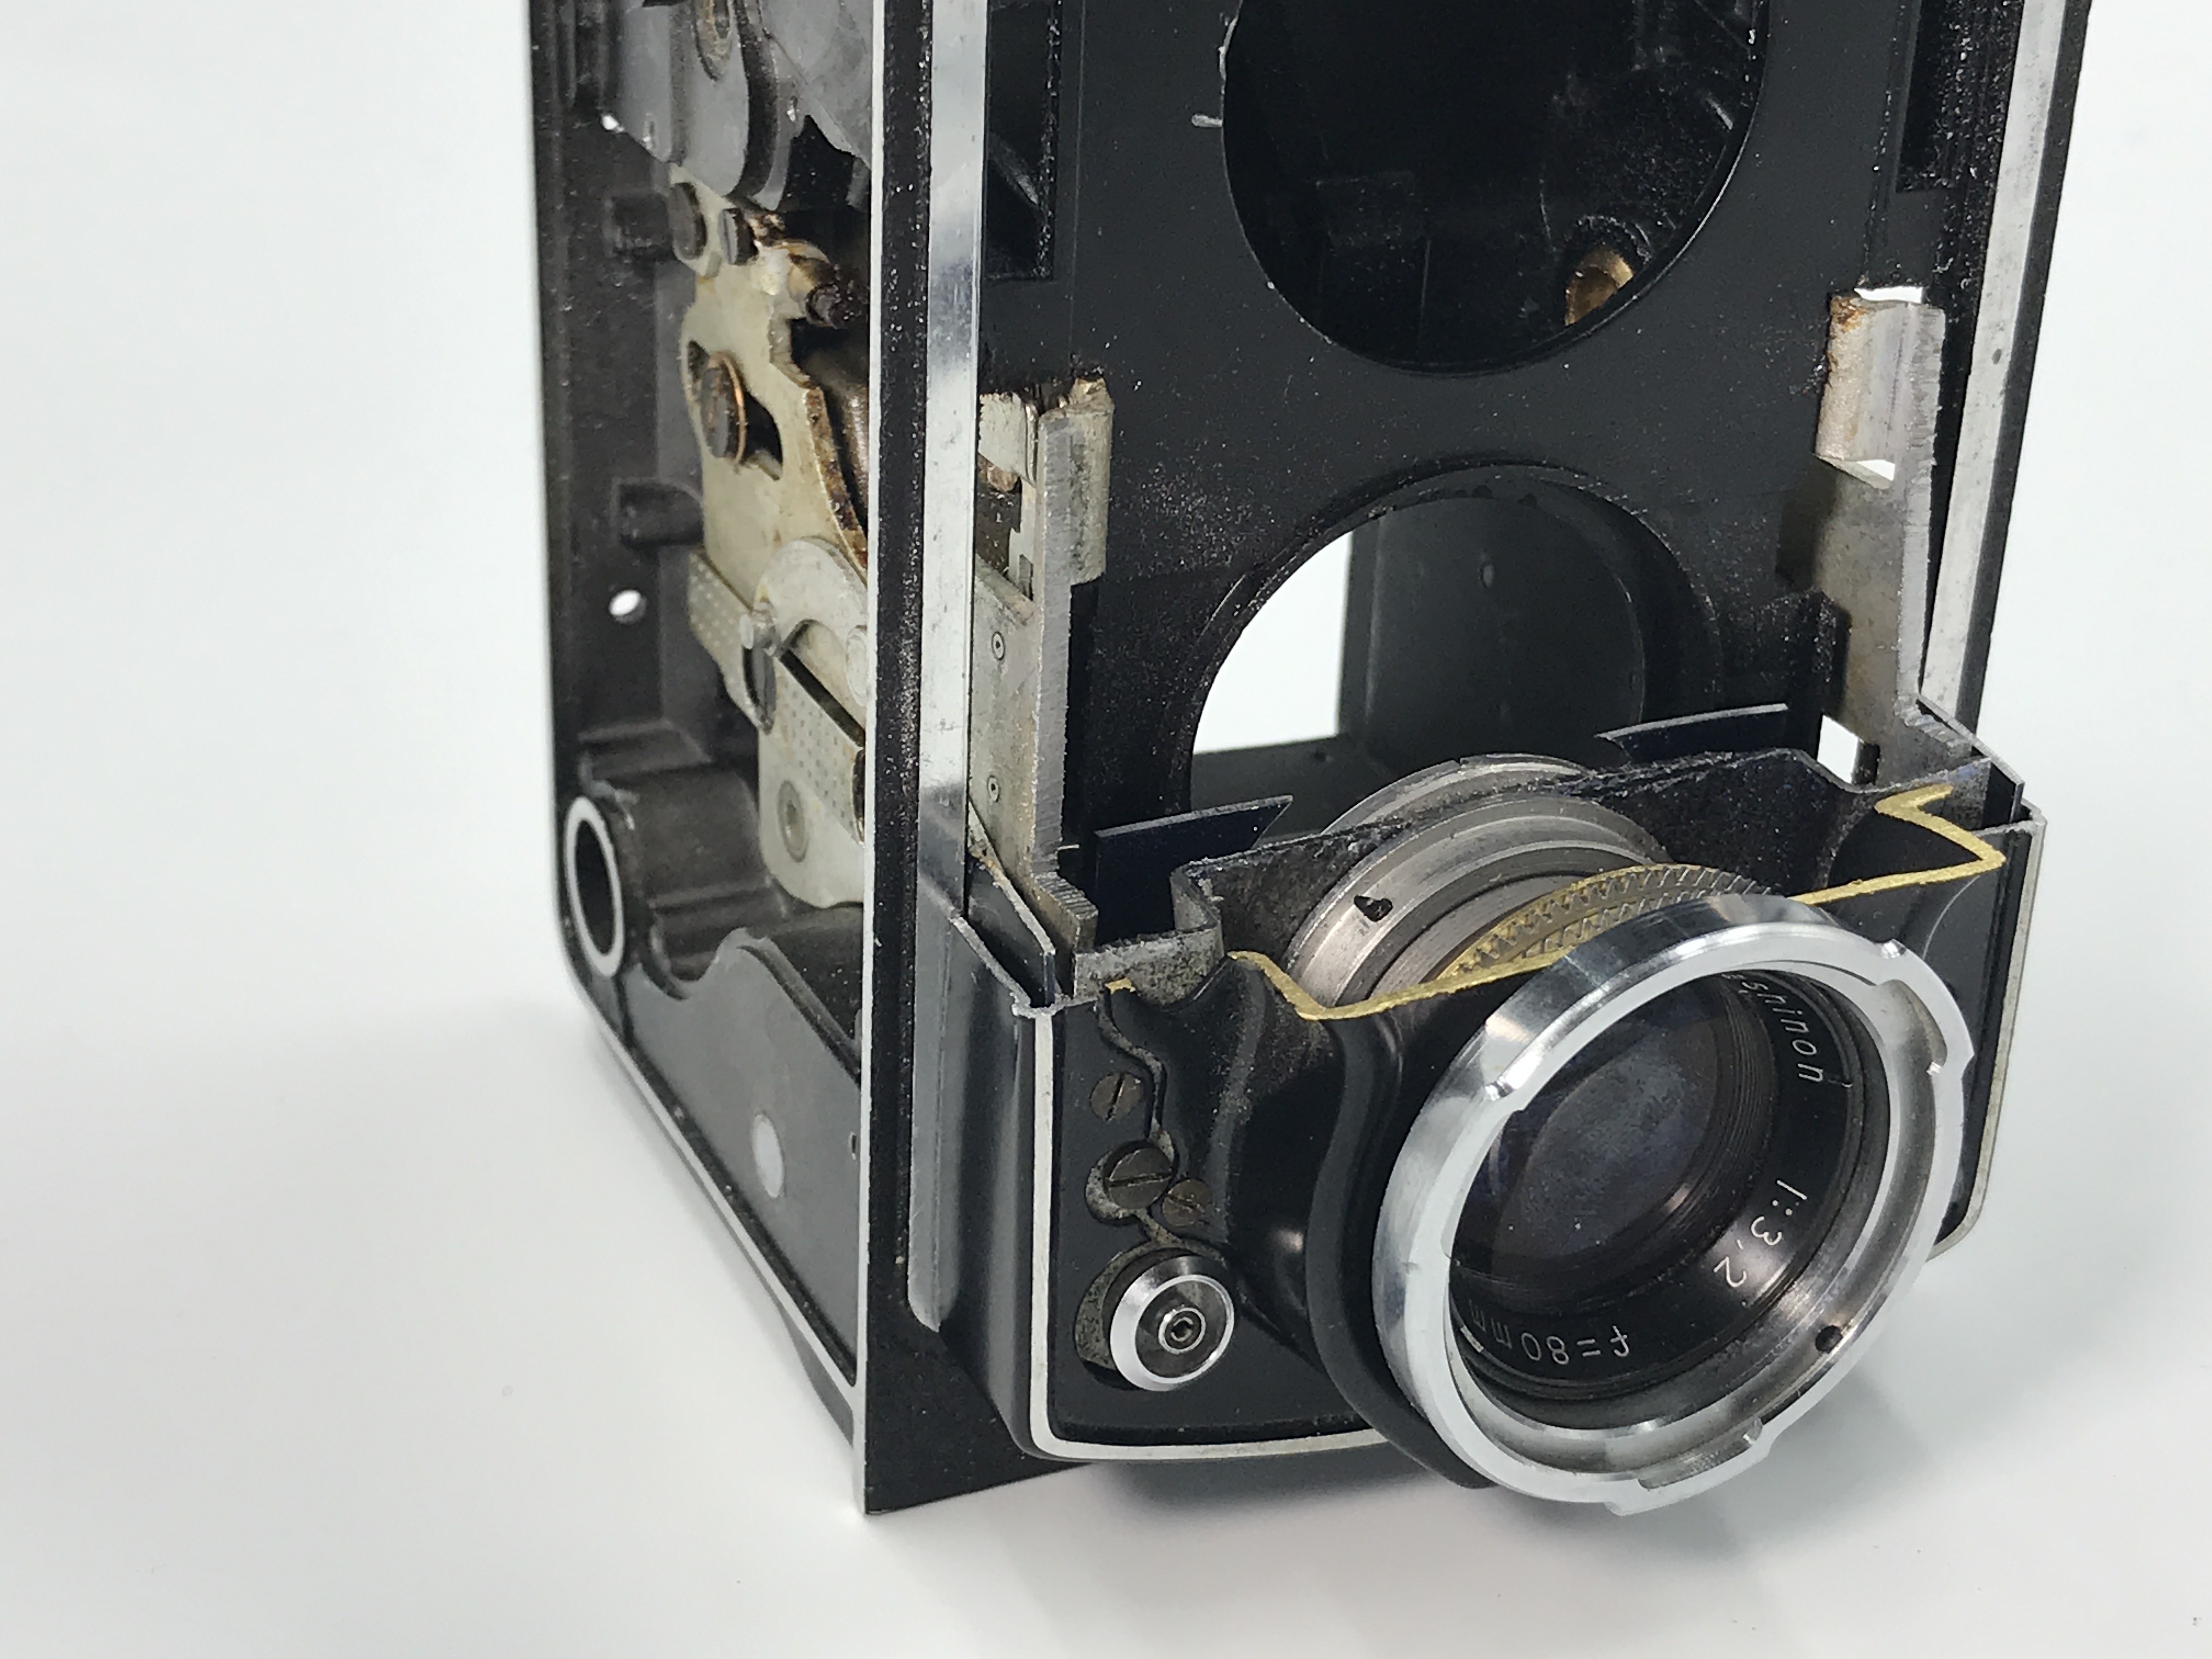
I eventually figured out a way to reattach the lens to the body that involved reconnecting the focusing system which moved the whole front lens system back and forth. Originally, I hadn’t planned on reattaching it because it would bump into the N2 camera but I decided to use the hacksaw to cut out sections of the metal so the digital camera could fit and I could reattach the one lens I had back onto the front of the camera. Space was tight and I had to do some sanding of the metal parts but I managed to make it fit. You’ll notice in the photo below that the hole for the lens in the body of the TLR camera doesn’t line up with the lens that I had to reattach.
Then I started to reattach the rest of the parts of the camera. There were a few problems like the winding mechanism that, if turned, would bump into the N2 digital camera. So I had to go back into the TLR camera and cut out some parts so it would still wind, but not interfere with the N2. Also, to attach the viewfinder back on, I needed to cut off two metal sheets that slid into the body of the Yashica-Mat otherwise the viewfinder wouldn’t be able to be reattached. This also meant that I couldn’t close the shade of the viewfinder when the N2 was attached to the camera but there was no way around this issue. In addition to this, I took the glass prism out of the viewfinder because it wasn’t needed.

I put the sides back on the camera and the next step was to paint the N2 camera black. I went back to the Design Tech space at UWCSEA and used some matte black paint. Before I painted the camera, I used some fine sandpaper on the white parts of the camera to help the paint adhere better.

If you will remember, I had destroyed the leather siding when I took it off the camera at the beginning of the project when I first exposed the screws to open up the camera. I found a place on eBay that sells replacement siding for my camera and I am eagerly awaiting the arrival of my order so I can finish it off.
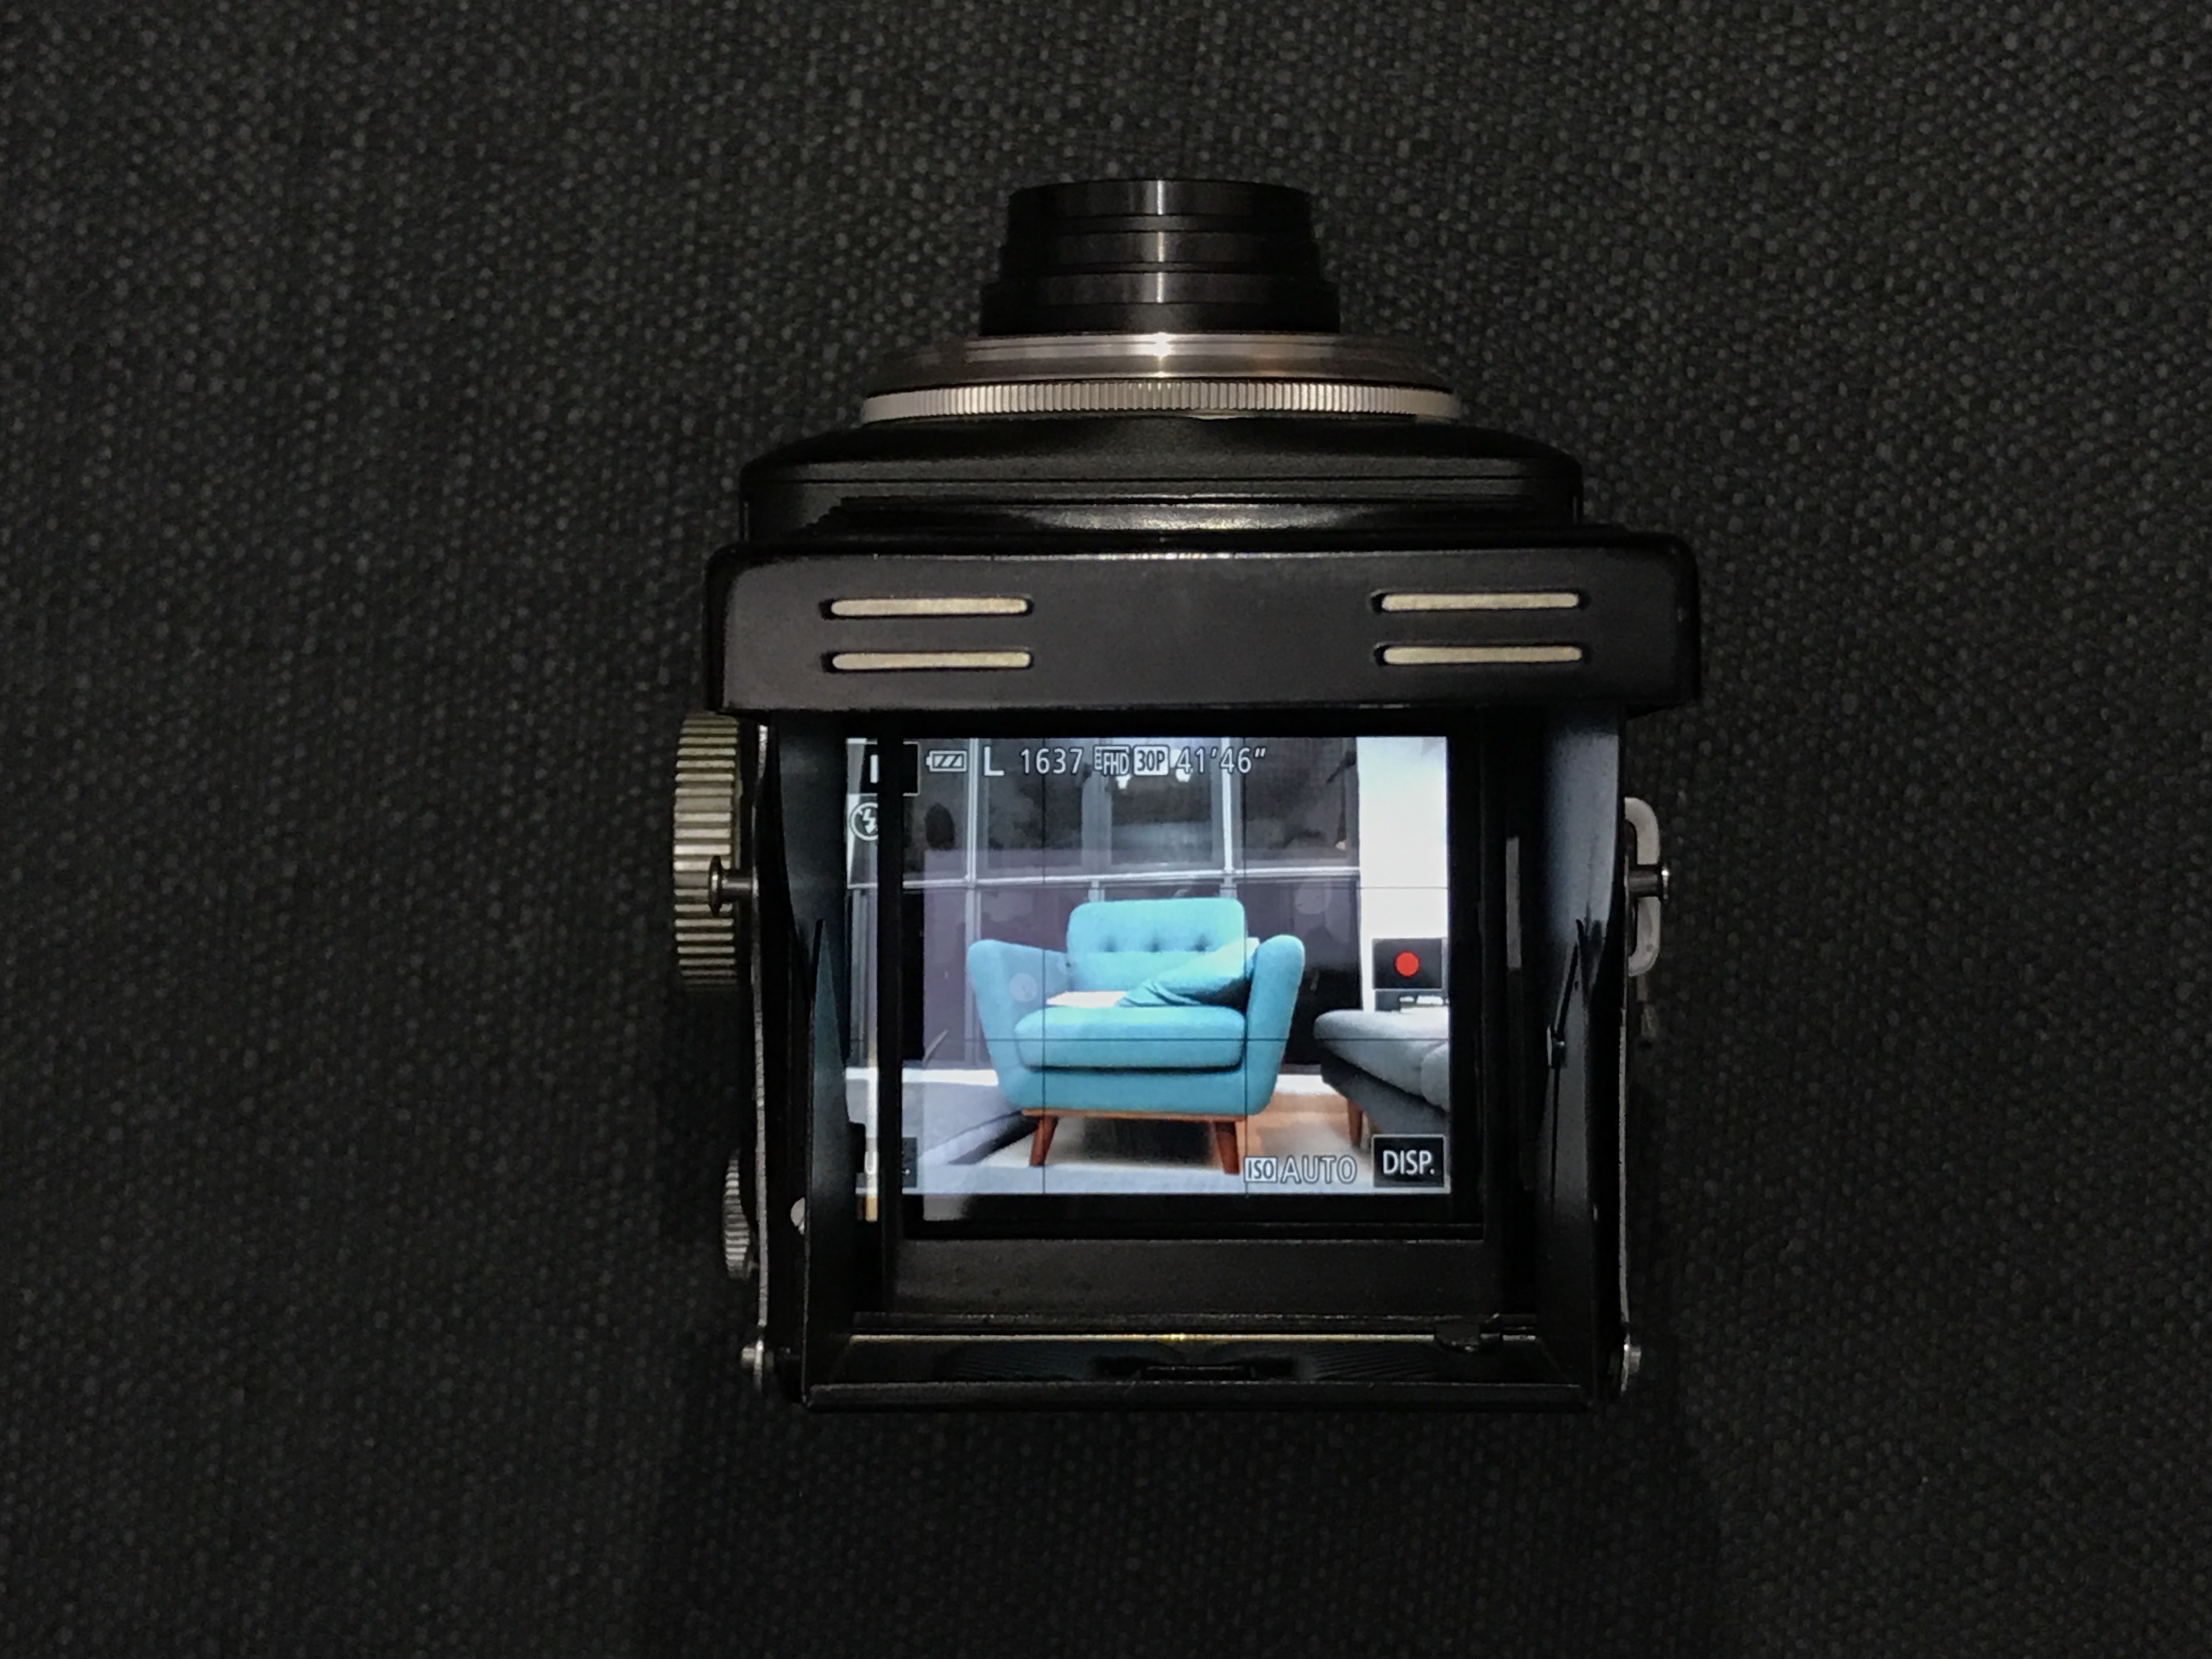
I have really enjoyed the process that took me from idea and inspiration to a camera that has the look and feel of an old school camera with the connivence of a digital camera. I know that I am essentially using a digital point and shoot camera in a frame and I won’t have the quality of a TLR camera but this project is more than that. The next step is to take this camera out into the field and start capturing some images and see if it does change my photography. I am especially interested in capturing images of people from my waist level point of view.
I like the fact that the digital camera gives me options like the choice to shoot square format if I want. I like that I can choose to shoot in black and white too and see what the results will be right in the viewfinder before I even take the photo. I like that the process of capturing photos will probably slow down with this camera.
What is the point other than creating what I think is a pretty cool looking camera? Recently, the World Economic Forum posted a list of the 10 Top Skills That Will Land You a High Paying Job by 2020. Not that getting a high paying job is the most important thing – but the list of skills are important for anyone especially the students in our schools.
Numbers one, two and three on the list of skills are complex problem-solving, critical thinking and creativity. I feel like this project embodied these skills. I wasn’t following a procedure or a manual. I was encountering problems that came up along the way and I had to come up with multiple options or solutions and weigh the pros and cons of each. I had to make decisions (like cutting into the camera) that I couldn’t go back and undo. I had to make sure that I was able to plan ahead and analyze the situation and think logically to complete the project. And of course, it all started with me using my creativity to create something that was an idea that came to me while reading about one of my favourite subjects.
I love when I hear about schools that are prioritizing personal projects for students. These come with many different names: 20% time, iTime, personal projects, challenge based learning, genius hour, etc. I realize that each of these are a bit different from each other but they do have commonalities. At their core there is student choice and personalized learning and this is what this project was for me. I was motivated and engaged and I needed to think critically and solve problems along the way. I want all kids to have the opportunity to do this as much as possible because this is the sort of thing that can prepare them for real life and any job they choose.