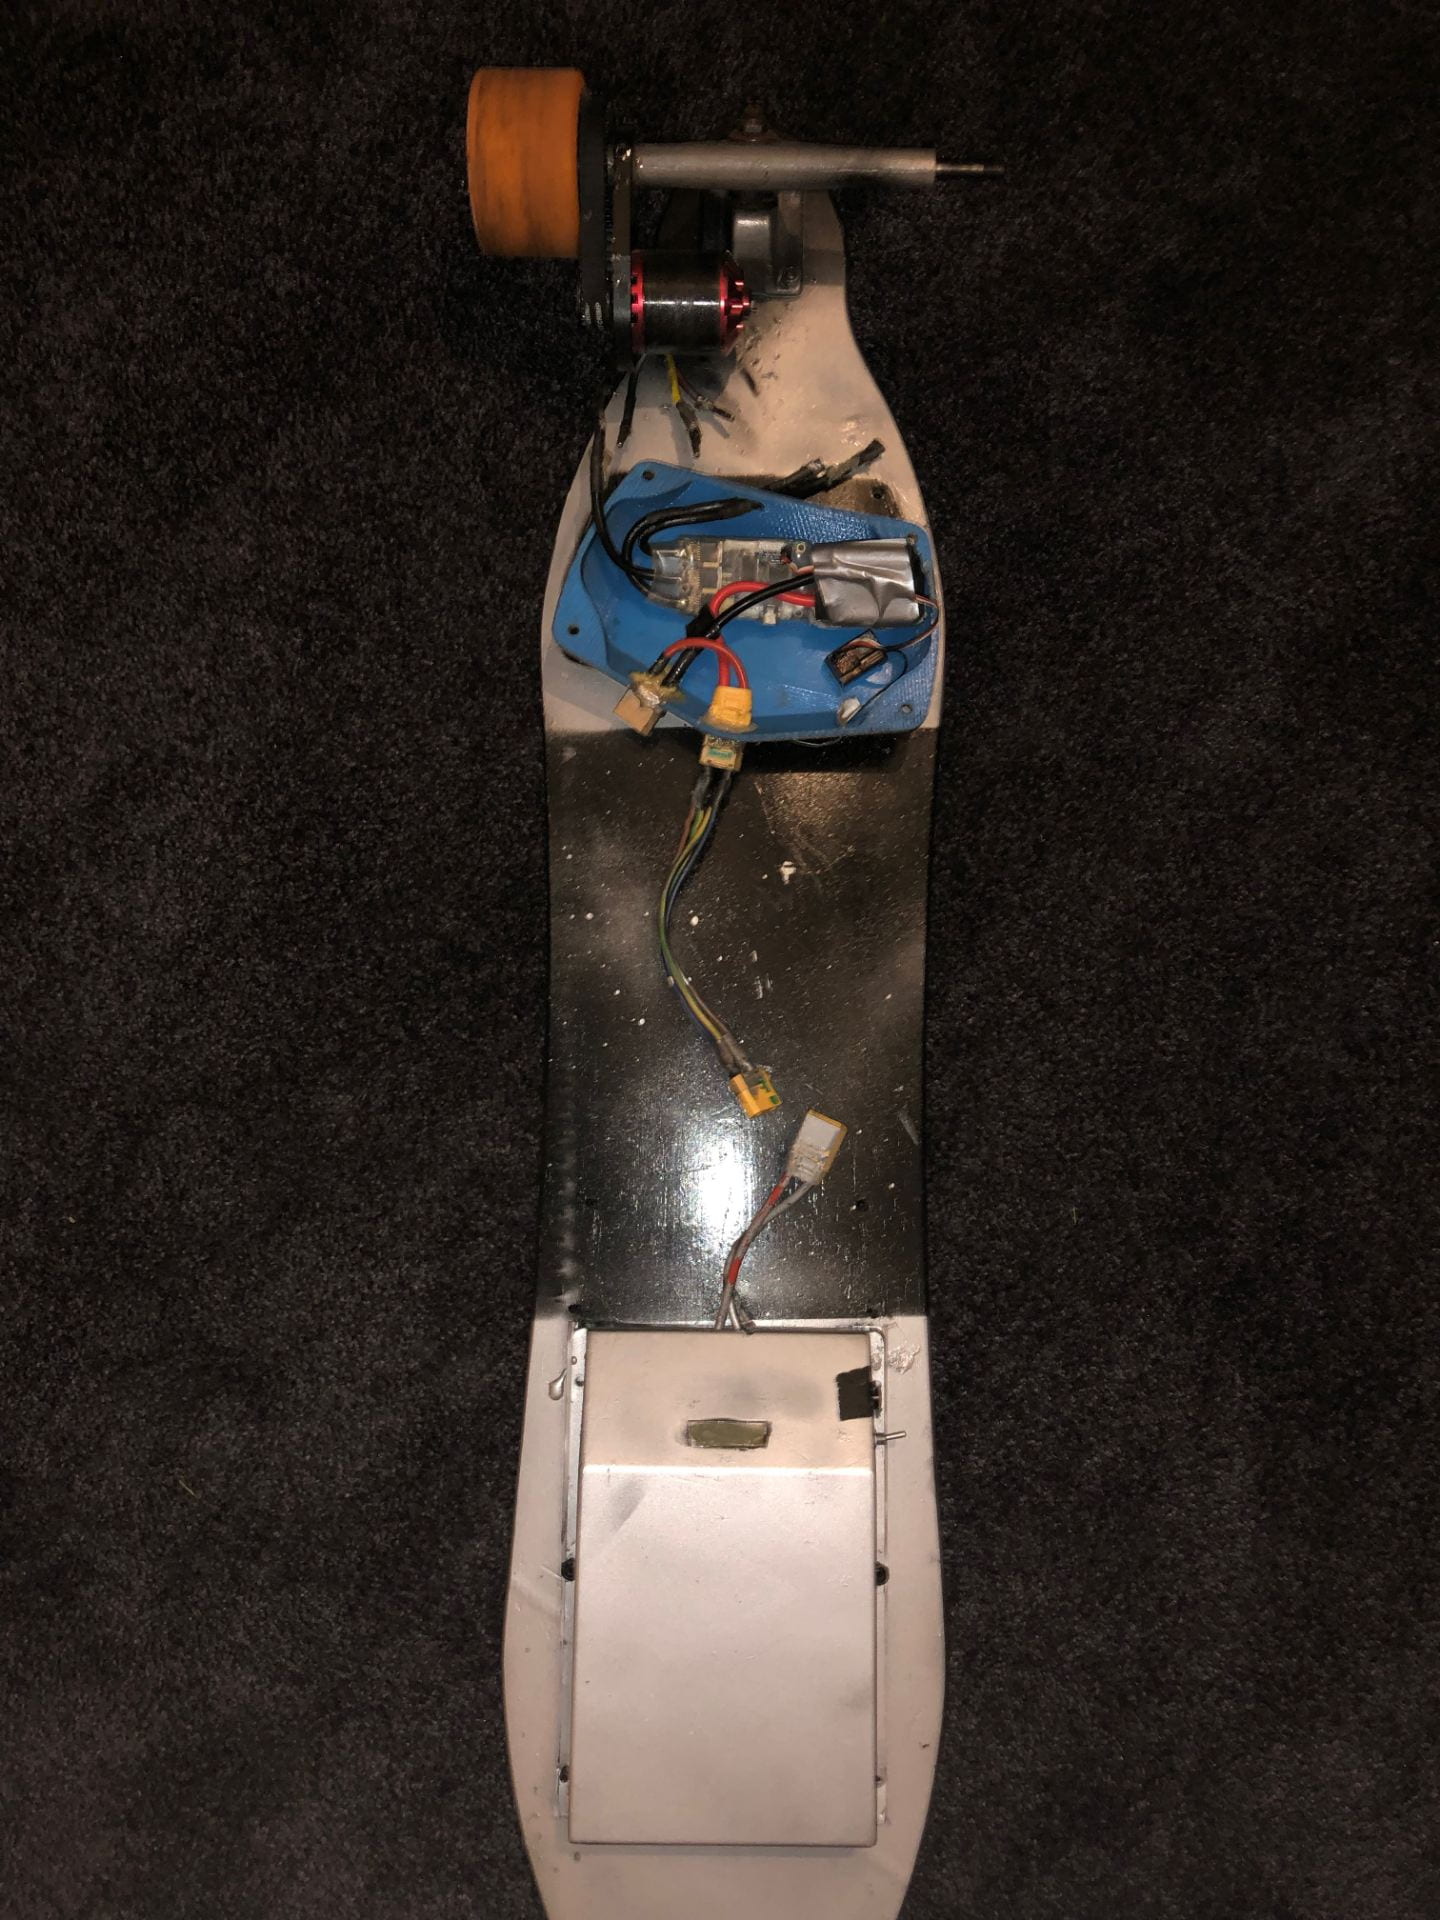
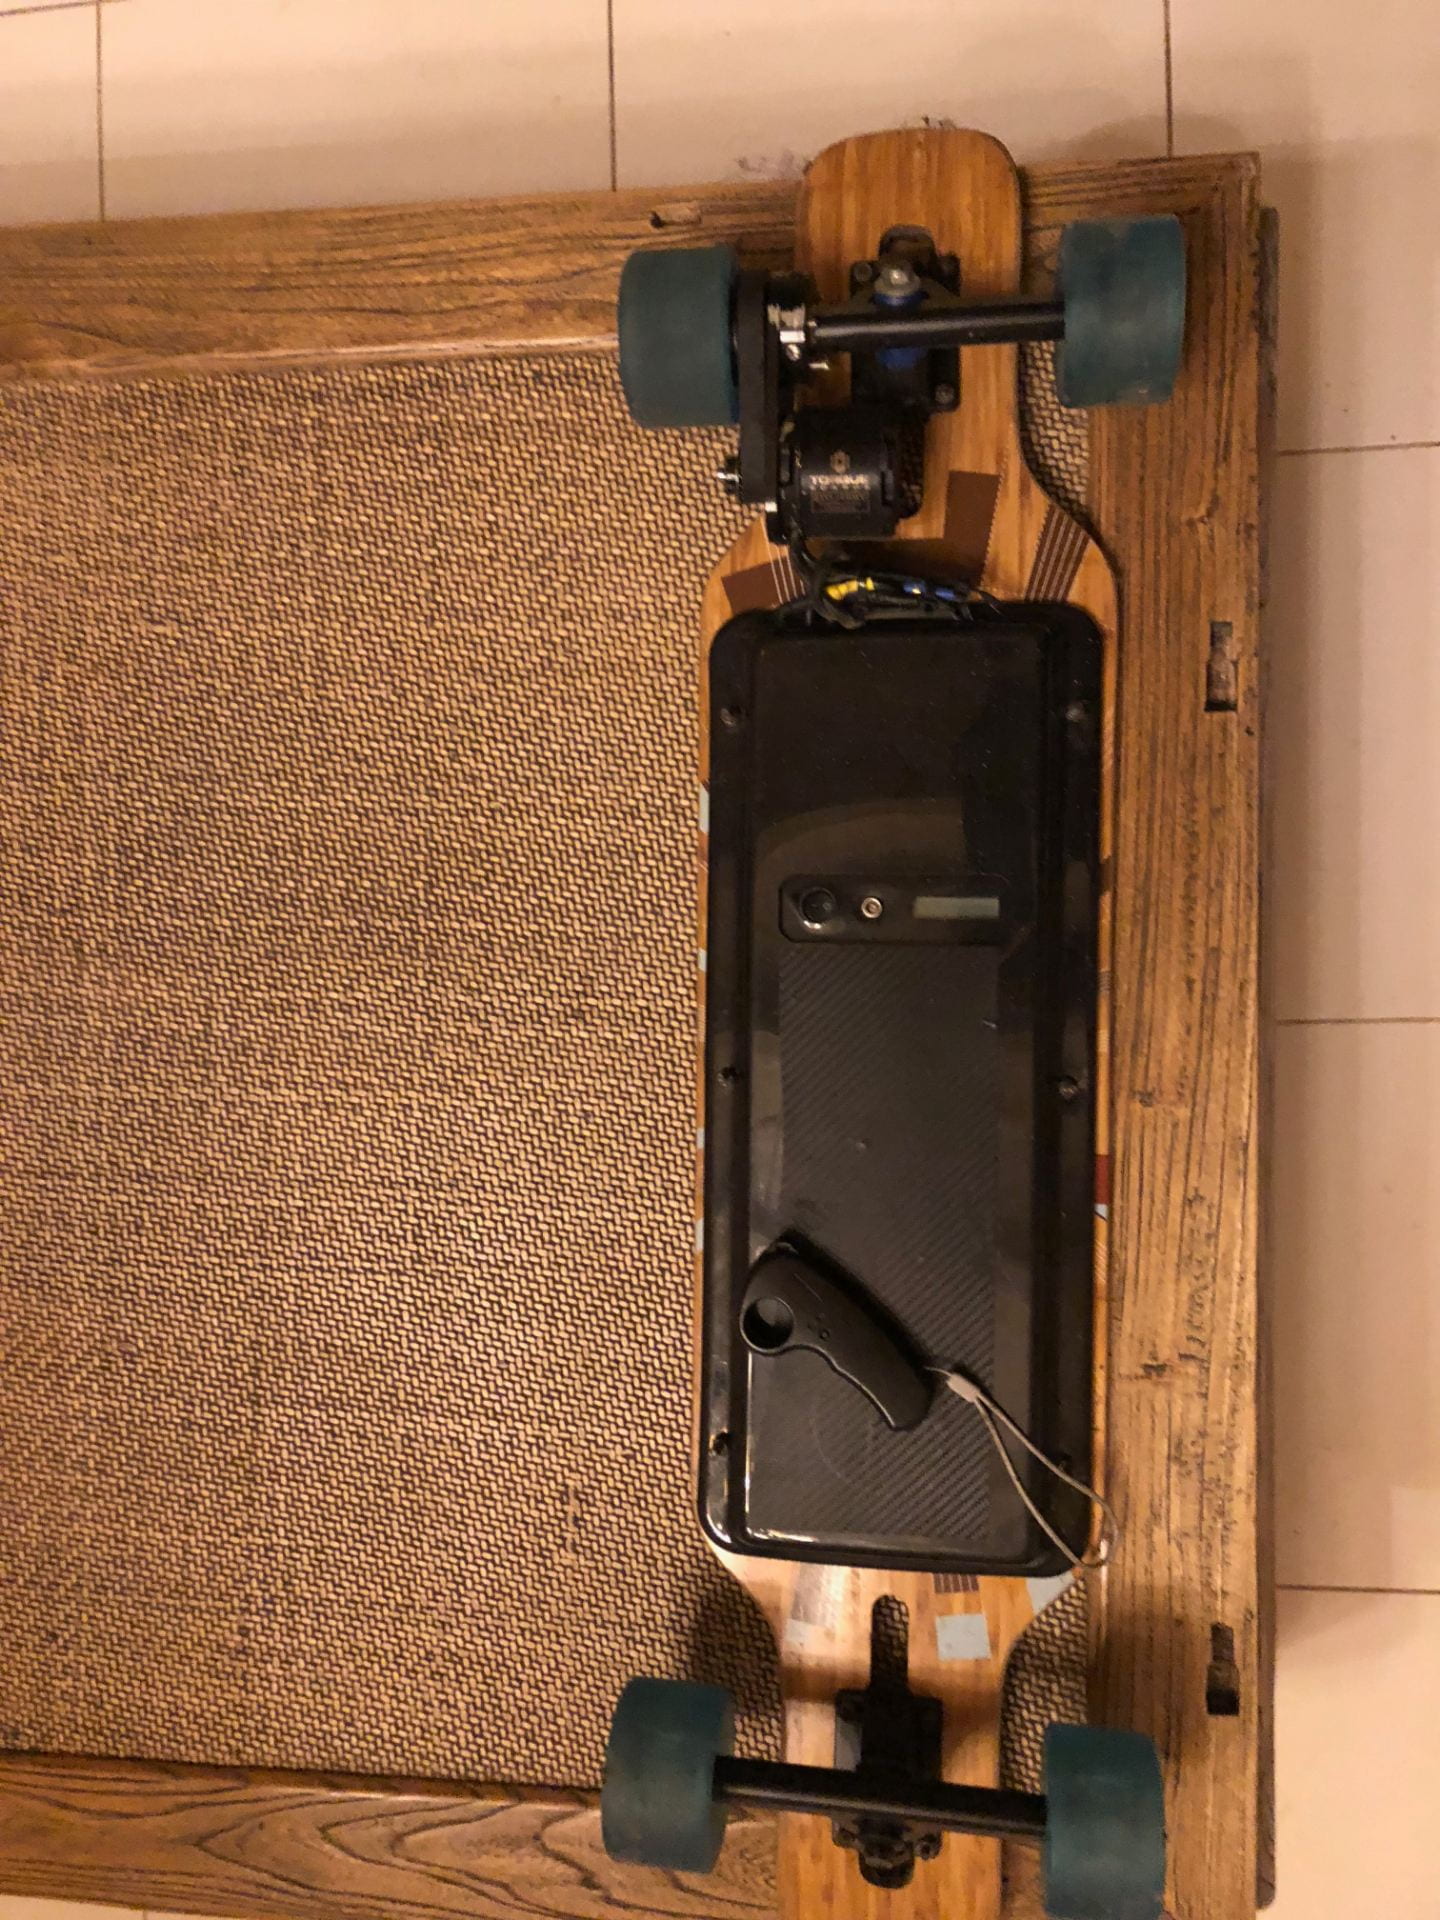
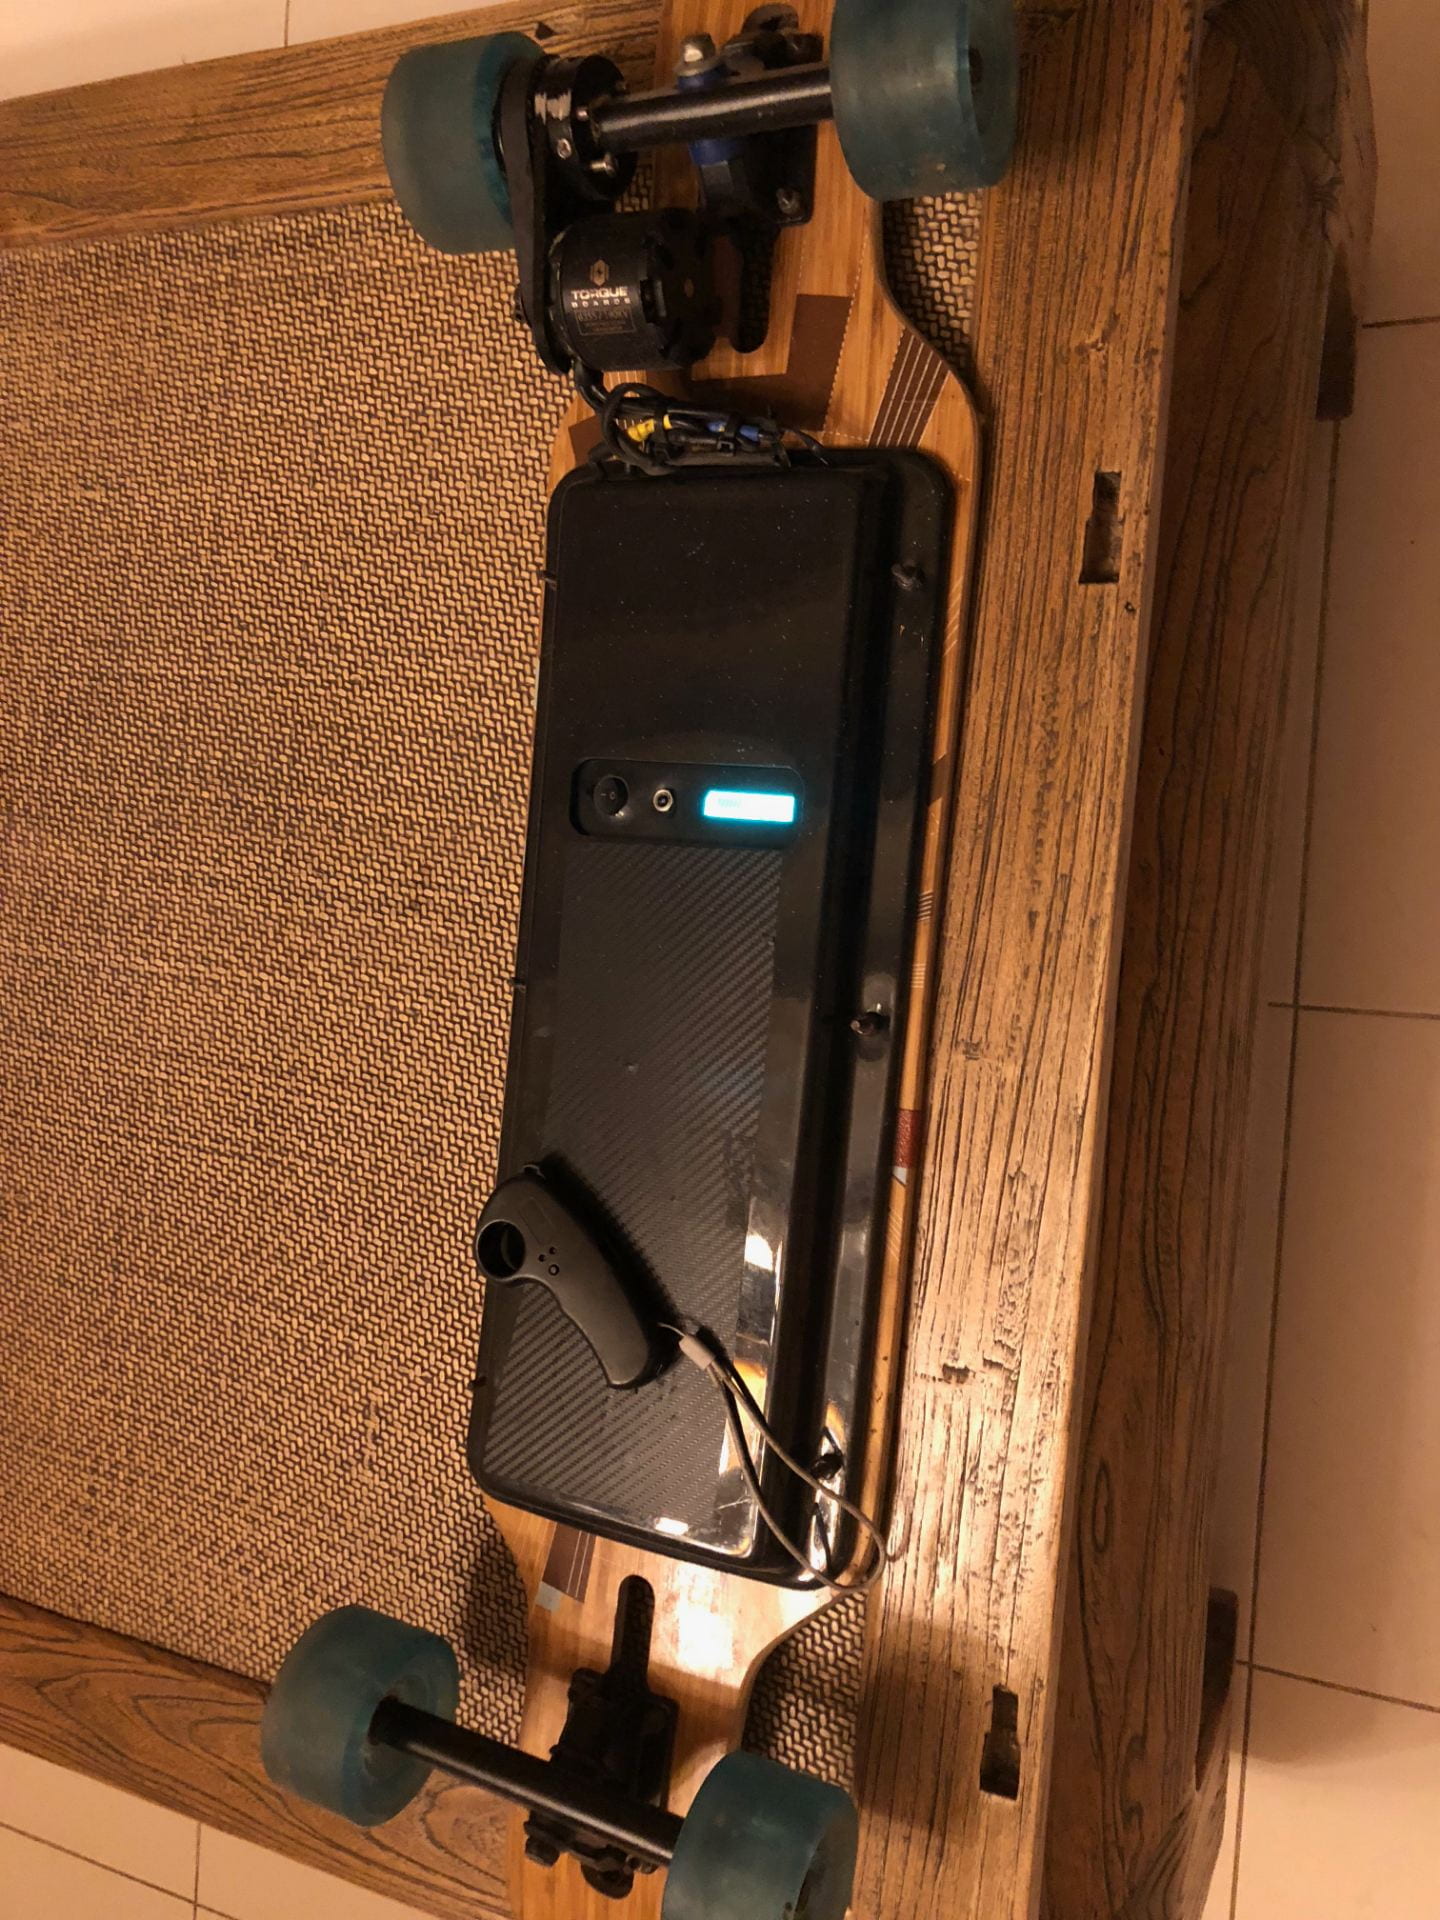
Over the past few weeks, I have been constructing a new electric skateboard. Personally, I am not a big fan of public transport and instead have opted to build my own personal mobility device by way of attaching a programmable electric motor to my longboard. This is actually the second electric skateboard I have built, with the first being very experimental and not turning out very well (shown below).
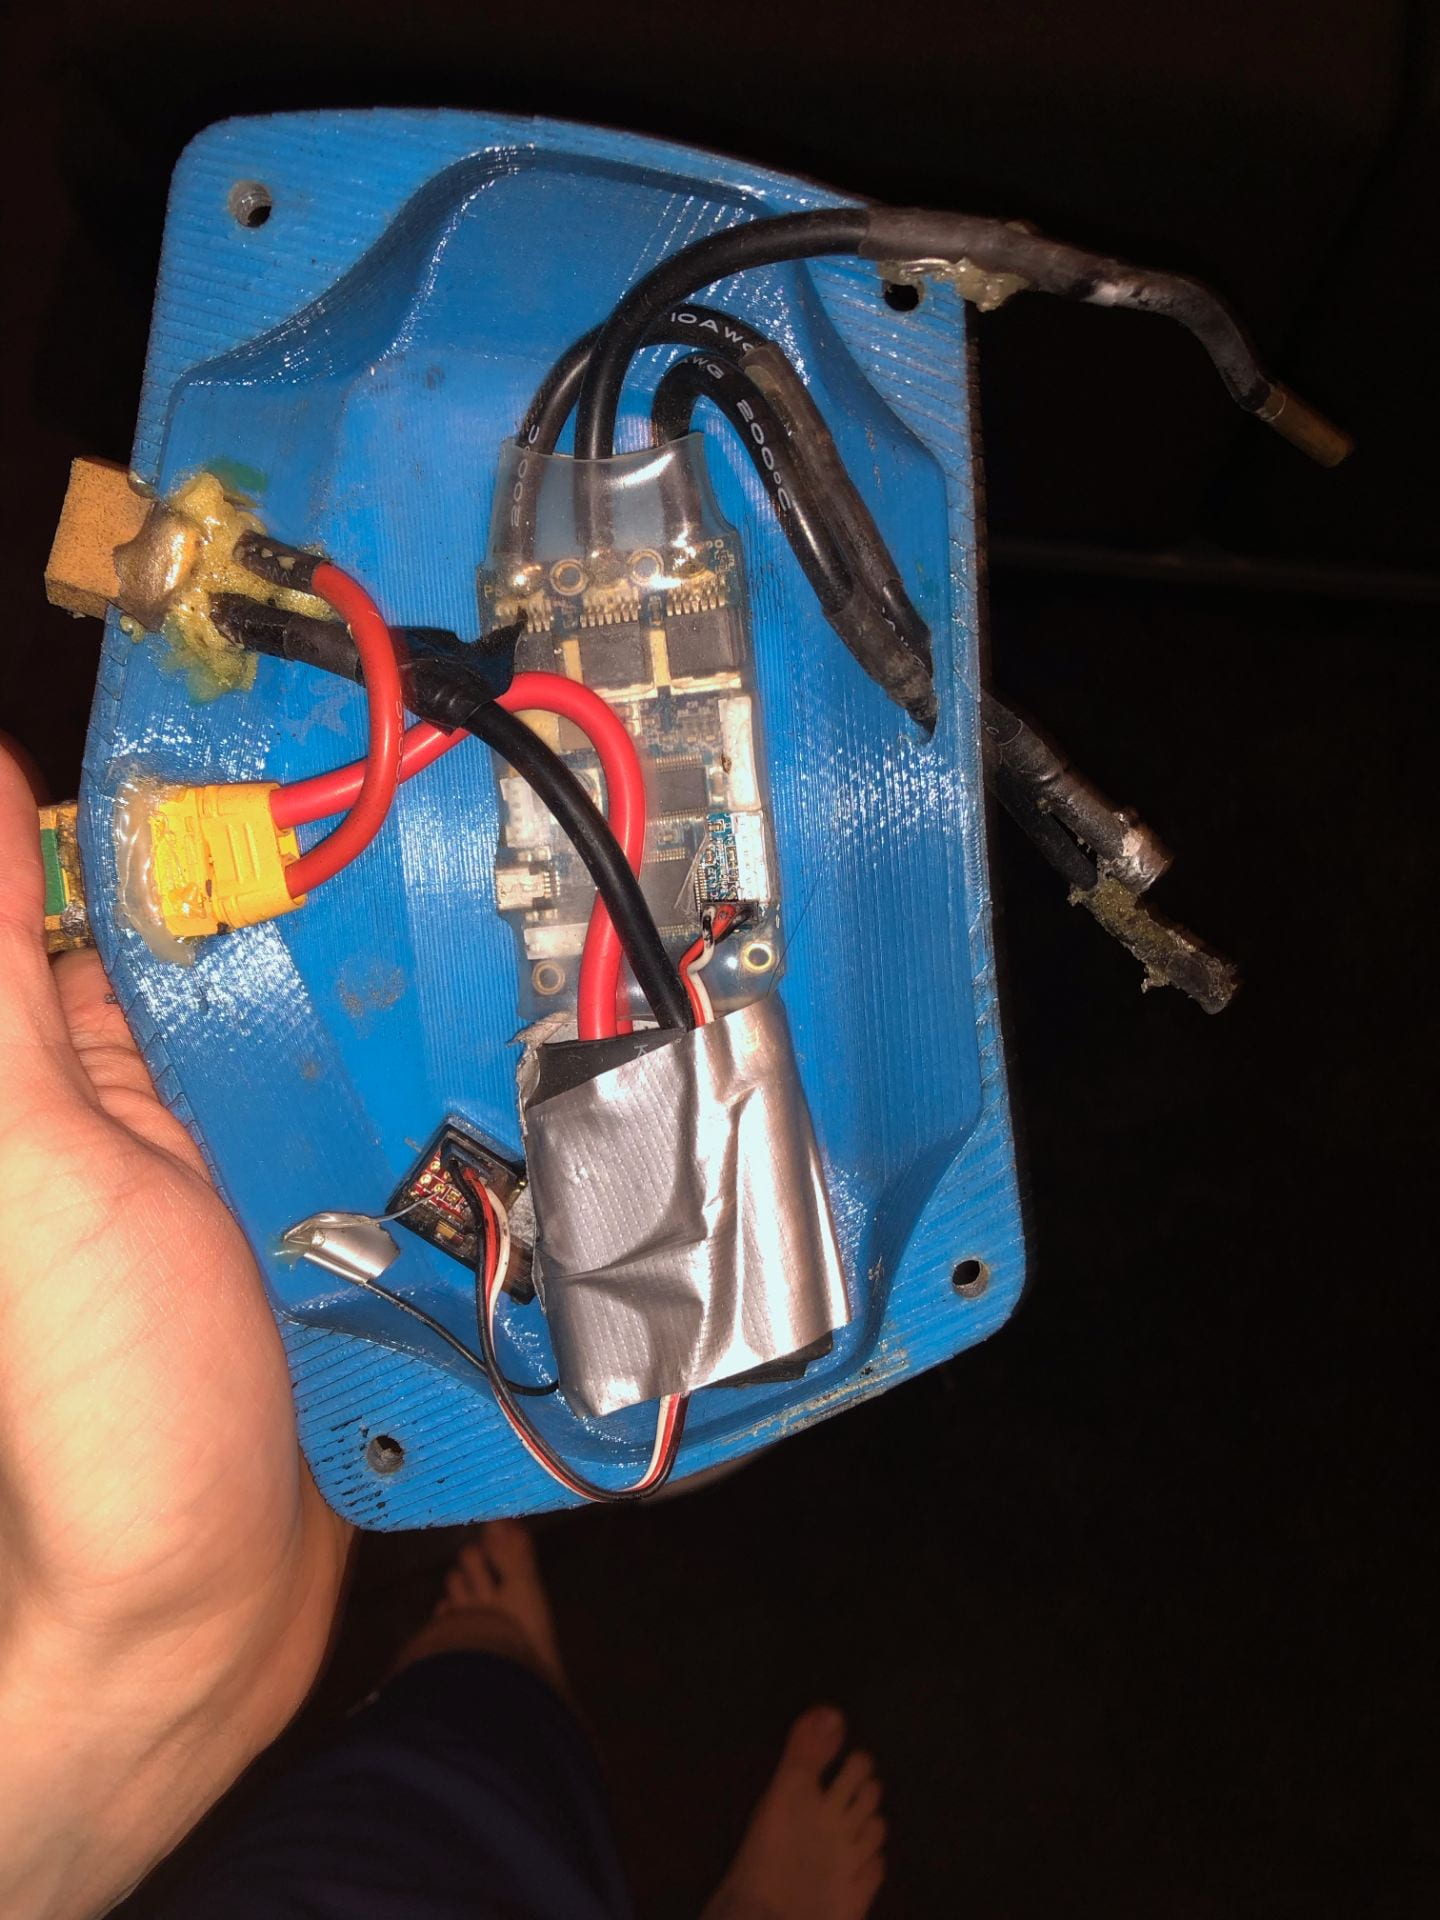
I have always been interested in electronics and have wanted to at least attempt coding of some sort. Although I have never done it before, I was able to program both the remote control, the microcontroller (a component used to determine acceleration, speed, and breaking) and the motor itself. It was quite challenging and took 4-5 hours and many youtube tutorials to correctly calibrate the device for my height and weight as well as creating three different settings, beginner, intermediate and advanced so that others can use the board without me having to reprogram for them. The programming was by far the most challenging portion of this build as it is something that I was least familiar with. It was much more challenging than I was expecting and required a large amount of patience and time to master. The other parts of the build were much easier, as it is my second time arranging and assembling something of this nature, I found it much easier to construct it with little to no problems. An image is shown below with my coding and settings created. Also shown is the completed device and controller. This was also indicative of LO2 as I undertook the challenge of learning how to operate and code more complex electronics as well as develop my confidence in working with batteries. Interestingly, I have generally stayed away from in the past due to an unpleasant experience from one of my first projects but needed to look past that for the board to work.
Although it is finished, things of this nature are very tricky to get right and I will most likely need to alter either the settings or fix certain parts of the board in the near future. From past experience, the battery and motor mount often cause some issues and may need to be fixed in very specific ways. As of yet, however, the board has been working perfectly and not present any faults or issues with either the programming or hardware. LO4 is shown here. I have experienced a huge amount of issues with the first board and decided to essentially re-vamp the resign and build a new board from the ground up. Not only does this show my perseverance and resourcefulness I think it also demonstrates my ability to correct past mistakes and improve with each new attempt.
Another main reason why I decided to build a board instead of buying one is the fact that a manufactured board is far more expensive than my homemade one and has far lower performance. Most commercial board can reach a maximum of 25km/h however mine can, if I removed the limiter, reach close to 60kmk/h (I limited it to 40 as Singaporean law has listed this as a maximum). Additionally my board, due to the massive battery which takes up 70% of the black cover, has an insane range of around 60-75 km, much greater than the 20km of the commercial board. The battery and speed controller were the most expensive parts of the board, making up over 78% fo the total costs, however, the fact that they are so expensive and well-made means that my homemade board is far better than most of the higher end boards on the market.
