Project week

Project week has been very straight forward and easy to plan. Despite some issues in the begging regarding our location and members, everything has run smoothly thus far. I, as the first aider, had to partake in the 9-hour training course where we learnt the basics of first aid and how to handle certain situations. As we are undertaking some dangerous activities such as hiking, rafting abseiling and caving, I had to learn how to be prepared for a wide range of possible problems.

As mentioned, we as a group have decided to do a much more activity-based project week, spending time having fun rather than doing service. Although we are building houses to fill out the service requirements, it is not the main focus of our trip. I personally am looking forward to the hiking and caving portions of our trip and somewhat dreading the rafting. I hate water and water-based sports but did not want to cause any controversy in the group so I just went along.

The members of my group have all worked collaboratively on the booking and planning of the trip. This contributes itself to the smooth and easy nature of the planning stage and hopefully lends itself to a successful project week.


Planning Document: https://docs.google.com/document/d/1NZNLLV67vvccJtkQeEtFJCEpuYiPXV6rgwY4Fl_6sng/edit

EE day: Exit Ticket

One thing I’ve learned…

One thing I have learnt during EE day is that the collection of data is much more difficult than I had expected. It has been very difficult to identify and utilise helpful pieces of data due to the incredible amount of it that I have at my disposal. As my EE is based on secondary data, I must rely on the accuracy and precision of pre-recorded information, as such it is paramount that I ensure that the sources used are not only reliable but also recent and backed up with numerous trials and relevant information.

What I’m proud of…

I have been able to construct a good format on which my EE will be based and written. Additionally, I am proud of the introduction I have written/ begun to write. Although it is not yet complete, I believe it encompasses the totality of what it needs to and provides an accurate and in-depth introduction to the topic that I will cover.


What I’ll be doing next…

Next, I will begin work on creating economic models and obtaining/ writing information relating to the separate production pathways utilised in the creation of plastics and plastic alternatives. I will also be working on my body paragraphs and ensuring the correct ideas and message is conveyed and evaluated throughout.

Home Gym: First reflection

I have been going to the gym every second day for the past 6 weeks to develop my overall stamina and strength. I have been mainly focusing on strength training as I am someone with naturally high stamina and aim to develop myself into an overall allrounder. The aim of my strength training is to aid in my other activities such as softball and boxing.

I have focused my strength training on my back and shoulders. This is as I was born with slight scoliosis and have had very weak shoulders since I was young. I wanted to develop this as it is a real weakness and affects my ability to throw repeatedly in quick succession, something that is quite important in things such as softball and AFL. The first 3 weeks of my training focused on the upper body.

First 3 weeks to develop a basis

  • 1 Bench press.* 10 (25kg)
  • 2 Bent-over row.
  • 3 Overhead press.
  • 4 Lateral raise.
  • 5 Seated dumbbell overhead press. (10kg)
  • 6 Dumbbell triceps extension. *10 (15kg)
  • 7 Pull-up. *15
  • 8 Barbell biceps curl. *10 (15kg)
  • 9 Push up *45

After this, I gradually increased the weight used by up to 5 kg. Although the training itself was not too difficult as I have been doing similar strength training for a while on and off, keeping the routine proved itself difficult. The fact that I had a set plan and schedule help a lot during the first few weeks while I was still making this a habit. I believe this shows LO3 and LO4 as I not only had to create a plan but stick to it.

On the fourth week, I introduced a lower body element as well.

  1. Barbell Back Squat: 3-5 sets of 6-8 reps.
  2. Romanian Deadlift: 2-4 sets of 8-10 reps.
  3. Bulgarian Split Squat: 2-4 sets of 6-10 reps.
  4. Glute Ham Raise: 2-4 sets of 8-12 reps.
  5. Standing Single Leg Calf Raise: 2-4 sets of 6-10 reps.
  6. Seated Calf Raise: 2-4 sets of 10-15 reps.

Once again, the workout itself was not too difficult and as I have quite strong legs I had no problem dealing with this basic set of exercises. As I have been running every day since I was 11, I have quite high stamina and powerful lower body, as such I made some modifications to the original plan, increasing the number of reps from pretty much all of the exercises. Additionally, as this plan was made with the aid of my supervisor, who is also a licensed physiotherapist who has been treating my scoliosis for years, we were able to create a set of exercises that will strengthen my weak points. As mentioned, the main point of this was to strengthen my shoulders and back, this will help in sports and to aid my back and neck problems.

Overall I found these first 6 weeks quite easy going, although quite tedious and annoying to repeat and often found it hard to stick to my set out plan. I have found that after these first 6 weeks the strength of my shoulders and back have improved quite a bit and am now able to use them for far longer without getting fatigued. I believe my next step should be to build muscle on my legs, despite them already being very strong, they are quite scrawny. Although this is good for long distance running and high/long jump, I would like to develop my short distance sprinting by improving the fast twitch muscles.

I believe throughout this process I also demonstrated LO5 as I worked collaboratively with my supervisor to develop a plan to rectify some of my weaknesses and develop my strengths to improve my abilities as an athlete.

Home Design and Technology: PC

As my most recent project, I built a computer for my brother. Around a year ago, I built myself a very powerful and versatile computer as a birthday present to myself. It remains my hardest, favorite and most used project to date. It took around a month to complete, with around 2 weeks of planning and 2 weeks of building. Despite it being very difficult, it was not nearly as difficult as I was expecting it to be. In fact, the only difficult part was that I had never done it before, so when it came to building and designing my brothers it only took around a week in total, with 6 days of planning and 1 day of building. The planning process is by far the most lengthy as you must choose comments that are within your set price range and perform the functions necessary. There are so many parts you need to get to build a computer with an infinite number of brands and models for each of them. On my first try, I realized that building a computer is as much an exercise in economics and budgeting as it is electronics.

LO3 is demonstrated throughout this entire process as the builds revolve around a considerable amount of planning and budgeting. If the plan was abandoned or changed halfway through, it is most likely that the end product would be less than functional.

When it came to building a computer for my brother, I already had a sense of what components were needed and how much they would cost. Things such as the GPU (graphics processing unit) CPU (central processing unit) and PPU (Power processing unit) are the most pricey and delicate parts of a computer and is what you need to find first. Most of the budget is put towards these as they are what affects the performance of the computer the most. Once these were found (items and pictures listed below), I then moved onto the slightly less important components. These are things like the Motherboard, ram and cooling unit. Then move onto the peripherals. It is quite challenging to find all of these components within the budget set, so I incorporated the use of a spreadsheet to capture and plan each part of the build.

My computer

-GTX 1080 ROG Strix (Asus), i7-8700k CPU (Intel), G. Skill Trident Z RGB DDR4 Ram (16gb), EVGA superNova 700 PPU

Brother’s computer

– GTX 1070 Stix GPU(Zotac), i5- 7700k CPU (Intel), G. Skill Ripjaws DDR4 ram (16gb), EVGA superNova 650 PPU

My computer was designed to handle very high-end games and take the strain of playing at high resolutions, as well as needing to be useful for school work. As such I put more money towards the build than my brother, purchasing what is known as a GTX 1080 GPU, i7-8700k CPU and 16gb of DDR4 ram. These are components are built specifically to handle the processing of incredible amounts of information at once, meaning that they were a perfect fit for my build, although quite pricy. The PPU was chosen very carefully as well. This is as the PPU needs to be able to supply a sufficient amount of voltage to the system to keep it functional, I calculated that for my heavy hitting PC I would need around 500 watts and my brother’s slightly less power-hungry build would need around 400 watts.

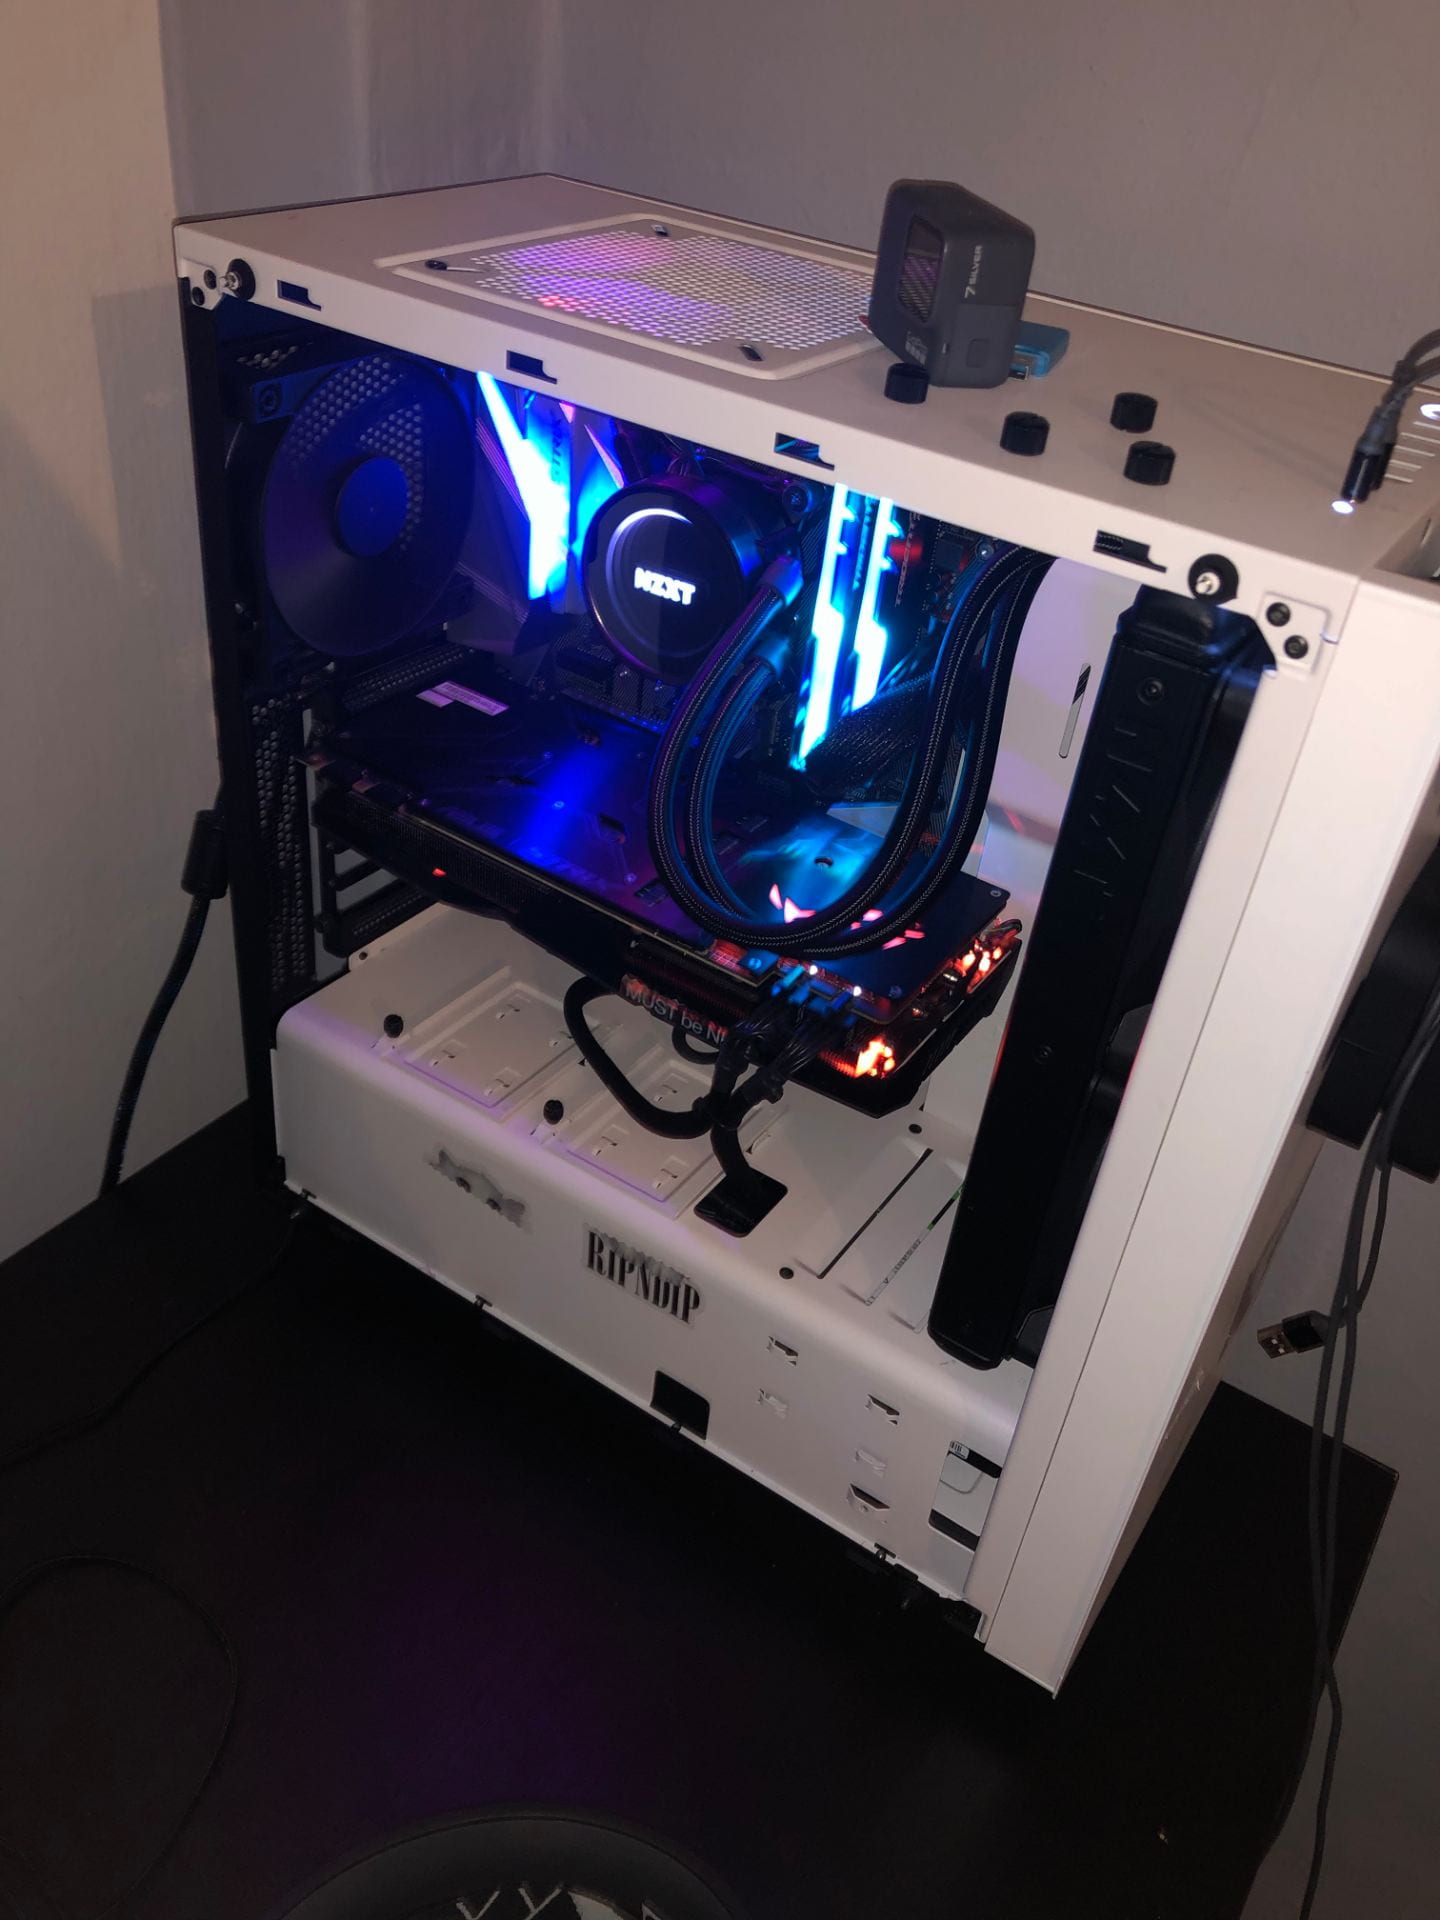
When it came to building the PC, mine had any number of hiccups, whilst building my brothers was very easy and straight forward as I actually knew what I was doing. Building the computer is very fun as well as quite time consuming, despite this on my second try I was able to complete it in under 5 hours and started it up on the first try. The way the computer goes together is as follows; the motherboard is attached to the case followed by the CPU and ram being inserted into their respective connectors. Next, the PPU is attached to the bottom of the case and each cable is attached to their respective connections, this is the part of the build that often takes the longest and cable management is key to keeping the PC at peak performance. After this, the heaviest and most expensive part, the GPU is placed in and connected to the PPU by 1-2 cables depending on the wattage. Then the absolute worst part of building a computer and what took up the most time by far is the mounting of the CPU cooler. I actually broke two of these before getting it on for my computer and slightly bent my brothers. I am quite tall and have large hands so it was very difficult for me to insert 4 tiny screws into plastic mounts without breaking them. In fact, I ended up 3d printing a separate mount and attaching it myself as it was just not possible for me to fix the screws in place.  Another issue that was rectified by the first build was that you actually cannot ship in PPU from different countries and have to source them locally. As the one I had purchased was from America it was not compatible with Singaporean city power and therefore did not work. As such, I had to return the PPU and go to Sim Lim, a place I am not a very big fan of at all, and purchase another. This was the most infuriating part of the first build and clearly shows my perseverance and resourcefulness, calculating the necessary voltage and power requirements again but this time in accordance with local power ratings.

LO4 and LO2 were shown here as not only did I develop my skills in handling very delicate electronics as well as calculating wattage requirements, I also showed perseverance by way of not abandoning the project after major hiccups ie broken PPU and cooling bracket.

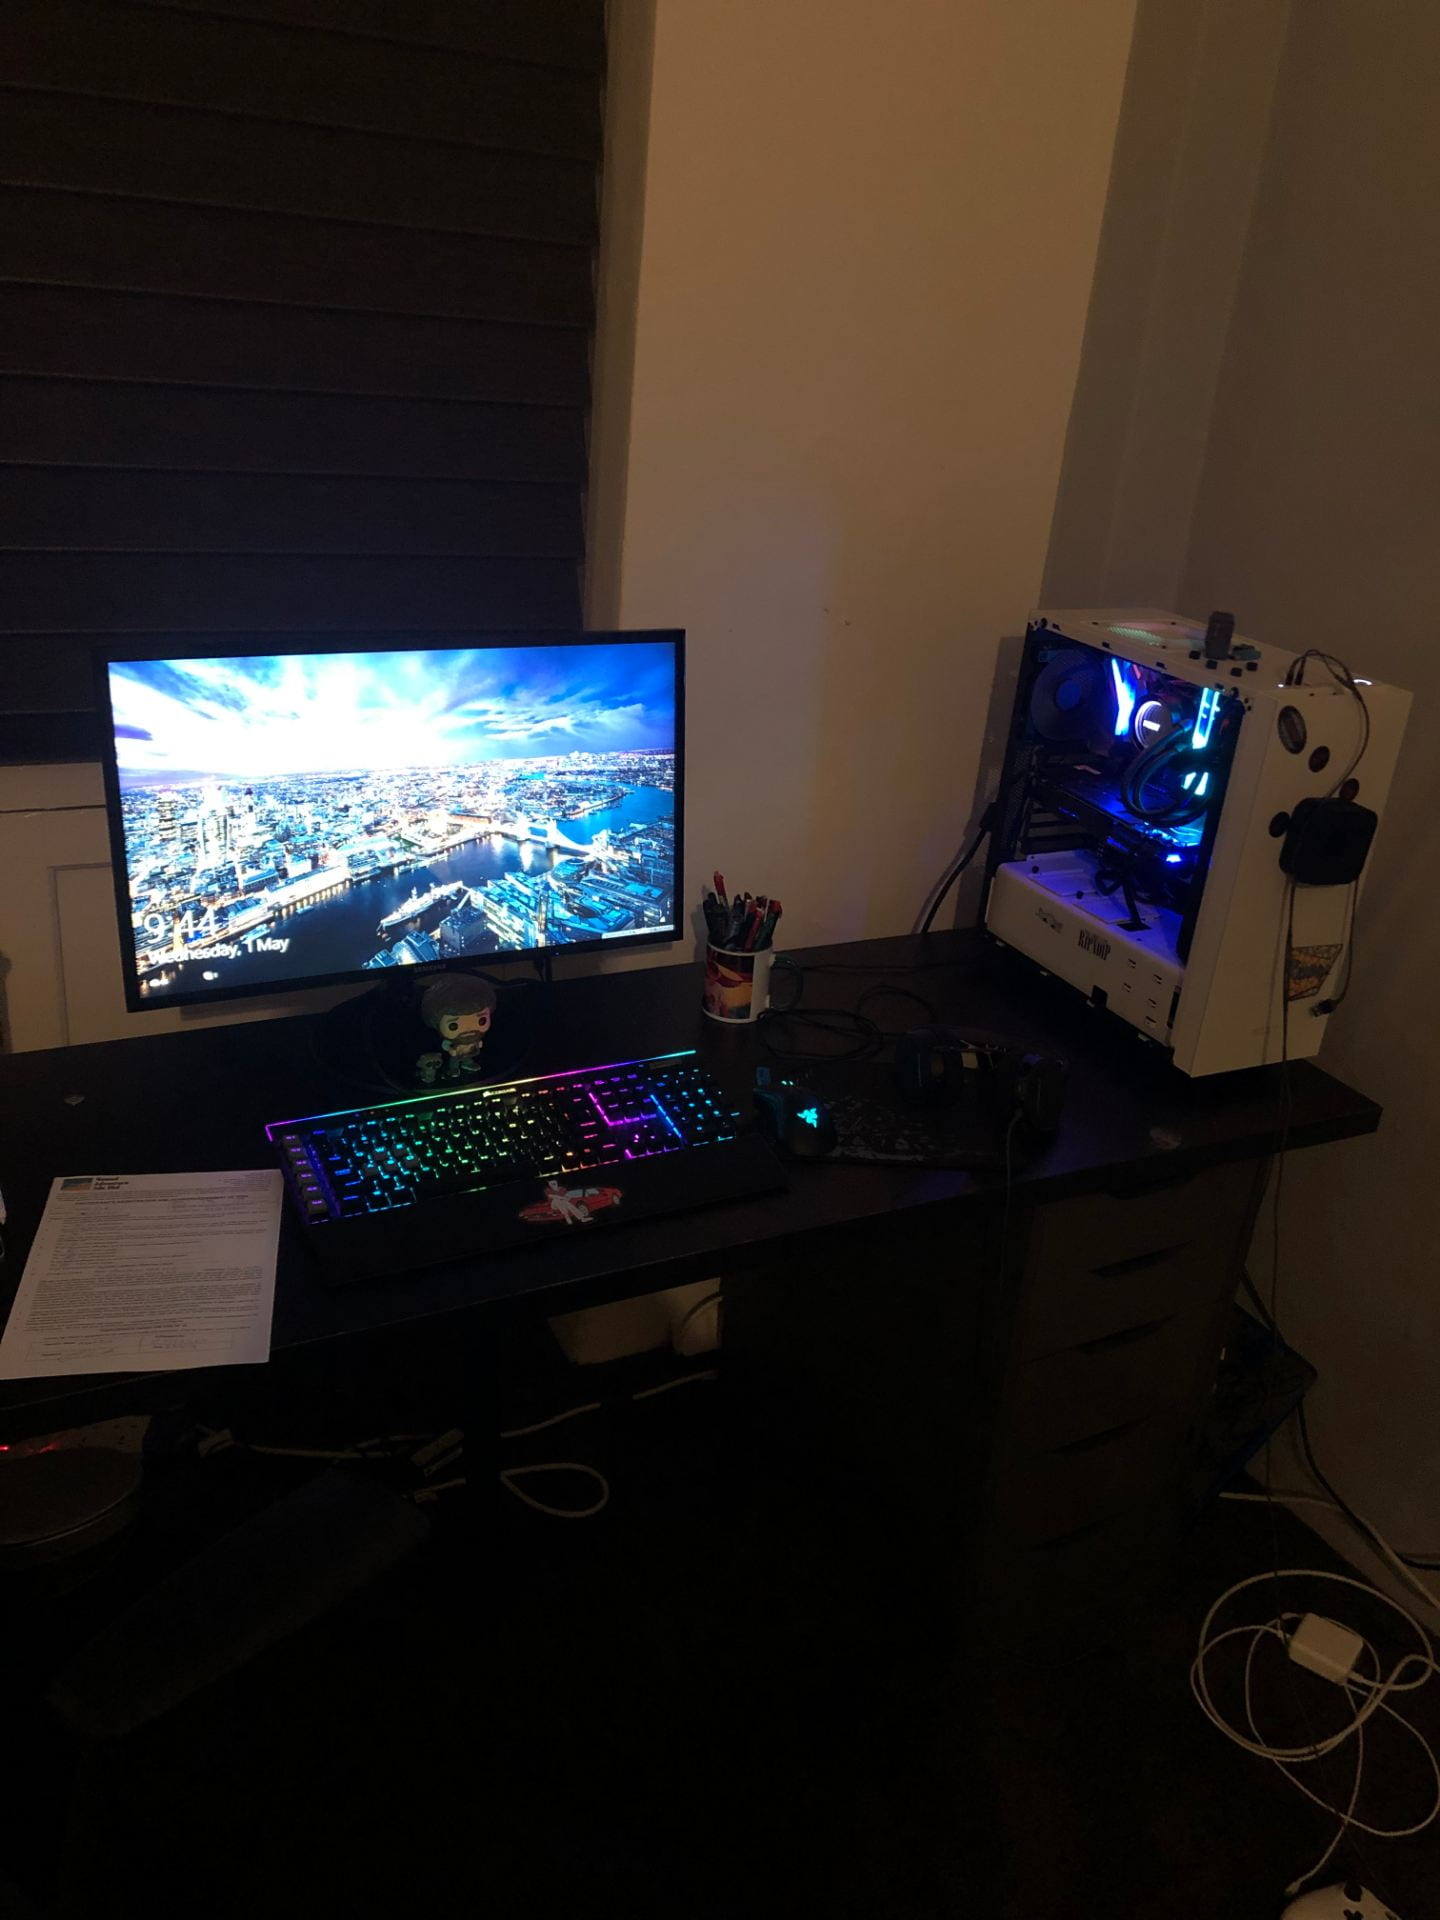
Despite this, the builds were both relatively easy, if not time-consuming and expensive, with large portions of time dedicated to figuring out how things are attached and booted up. I use my computer for games and school work very often, replacing my laptop with a more powerful device and hardly ever using it when at home. My brother also uses his quite a bit, spending copious amounts of time in games and online.

Overall this was my favorite project and I am planning further upgrades to my computer in the near future.

Home Design and Technology: Electric longboard part 1

Over the past few weeks, I have been constructing a new electric skateboard. Personally, I am not a big fan of public transport and instead have opted to build my own personal mobility device by way of attaching a programmable electric motor to my longboard. This is actually the second electric skateboard I have built, with the first being very experimental and not turning out very well (shown below).

I have always been interested in electronics and have wanted to at least attempt coding of some sort. Although I have never done it before, I was able to program both the remote control, the microcontroller (a component used to determine acceleration, speed, and breaking) and the motor itself. It was quite challenging and took 4-5 hours and many youtube tutorials to correctly calibrate the device for my height and weight as well as creating three different settings, beginner, intermediate and advanced so that others can use the board without me having to reprogram for them. The programming was by far the most challenging portion of this build as it is something that I was least familiar with. It was much more challenging than I was expecting and required a large amount of patience and time to master. The other parts of the build were much easier, as it is my second time arranging and assembling something of this nature, I found it much easier to construct it with little to no problems. An image is shown below with my coding and settings created. Also shown is the completed device and controller. This was also indicative of LO2 as I undertook the challenge of learning how to operate and code more complex electronics as well as develop my confidence in working with batteries. Interestingly, I have generally stayed away from in the past due to an unpleasant experience from one of my first projects but needed to look past that for the board to work.

Although it is finished, things of this nature are very tricky to get right and I will most likely need to alter either the settings or fix certain parts of the board in the near future. From past experience, the battery and motor mount often cause some issues and may need to be fixed in very specific ways. As of yet, however, the board has been working perfectly and not present any faults or issues with either the programming or hardware. LO4 is shown here. I have experienced a huge amount of issues with the first board and decided to essentially re-vamp the resign and build a new board from the ground up. Not only does this show my perseverance and resourcefulness I think it also demonstrates my ability to correct past mistakes and improve with each new attempt.

Another main reason why I decided to build a board instead of buying one is the fact that a manufactured board is far more expensive than my homemade one and has far lower performance. Most commercial board can reach a maximum of 25km/h however mine can, if I removed the limiter, reach close to 60kmk/h (I limited it to 40 as Singaporean law has listed this as a maximum). Additionally my board, due to the massive battery which takes up 70% of the black cover, has an insane range of around 60-75 km, much greater than the 20km of the commercial board. The battery and speed controller were the most expensive parts of the board, making up over 78% fo the total costs, however, the fact that they are so expensive and well-made means that my homemade board is far better than most of the higher end boards on the market.